Task 1: Set up the project
Step 1: Create a React App with Vite
To create the Posts App, start by creating a folder named proj-posts-app. Open the folder in VSCode and open the terminal. Next, type in pnpm create vite in the terminal and follow the prompts, selecting React as the framework and TypeScript as the variant.
✔ Project name: … .
✔ Select a framework: › React
✔ Select a variant: › TypeScript
This process creates a starter project that provides a basic structure for a React application using Vite.
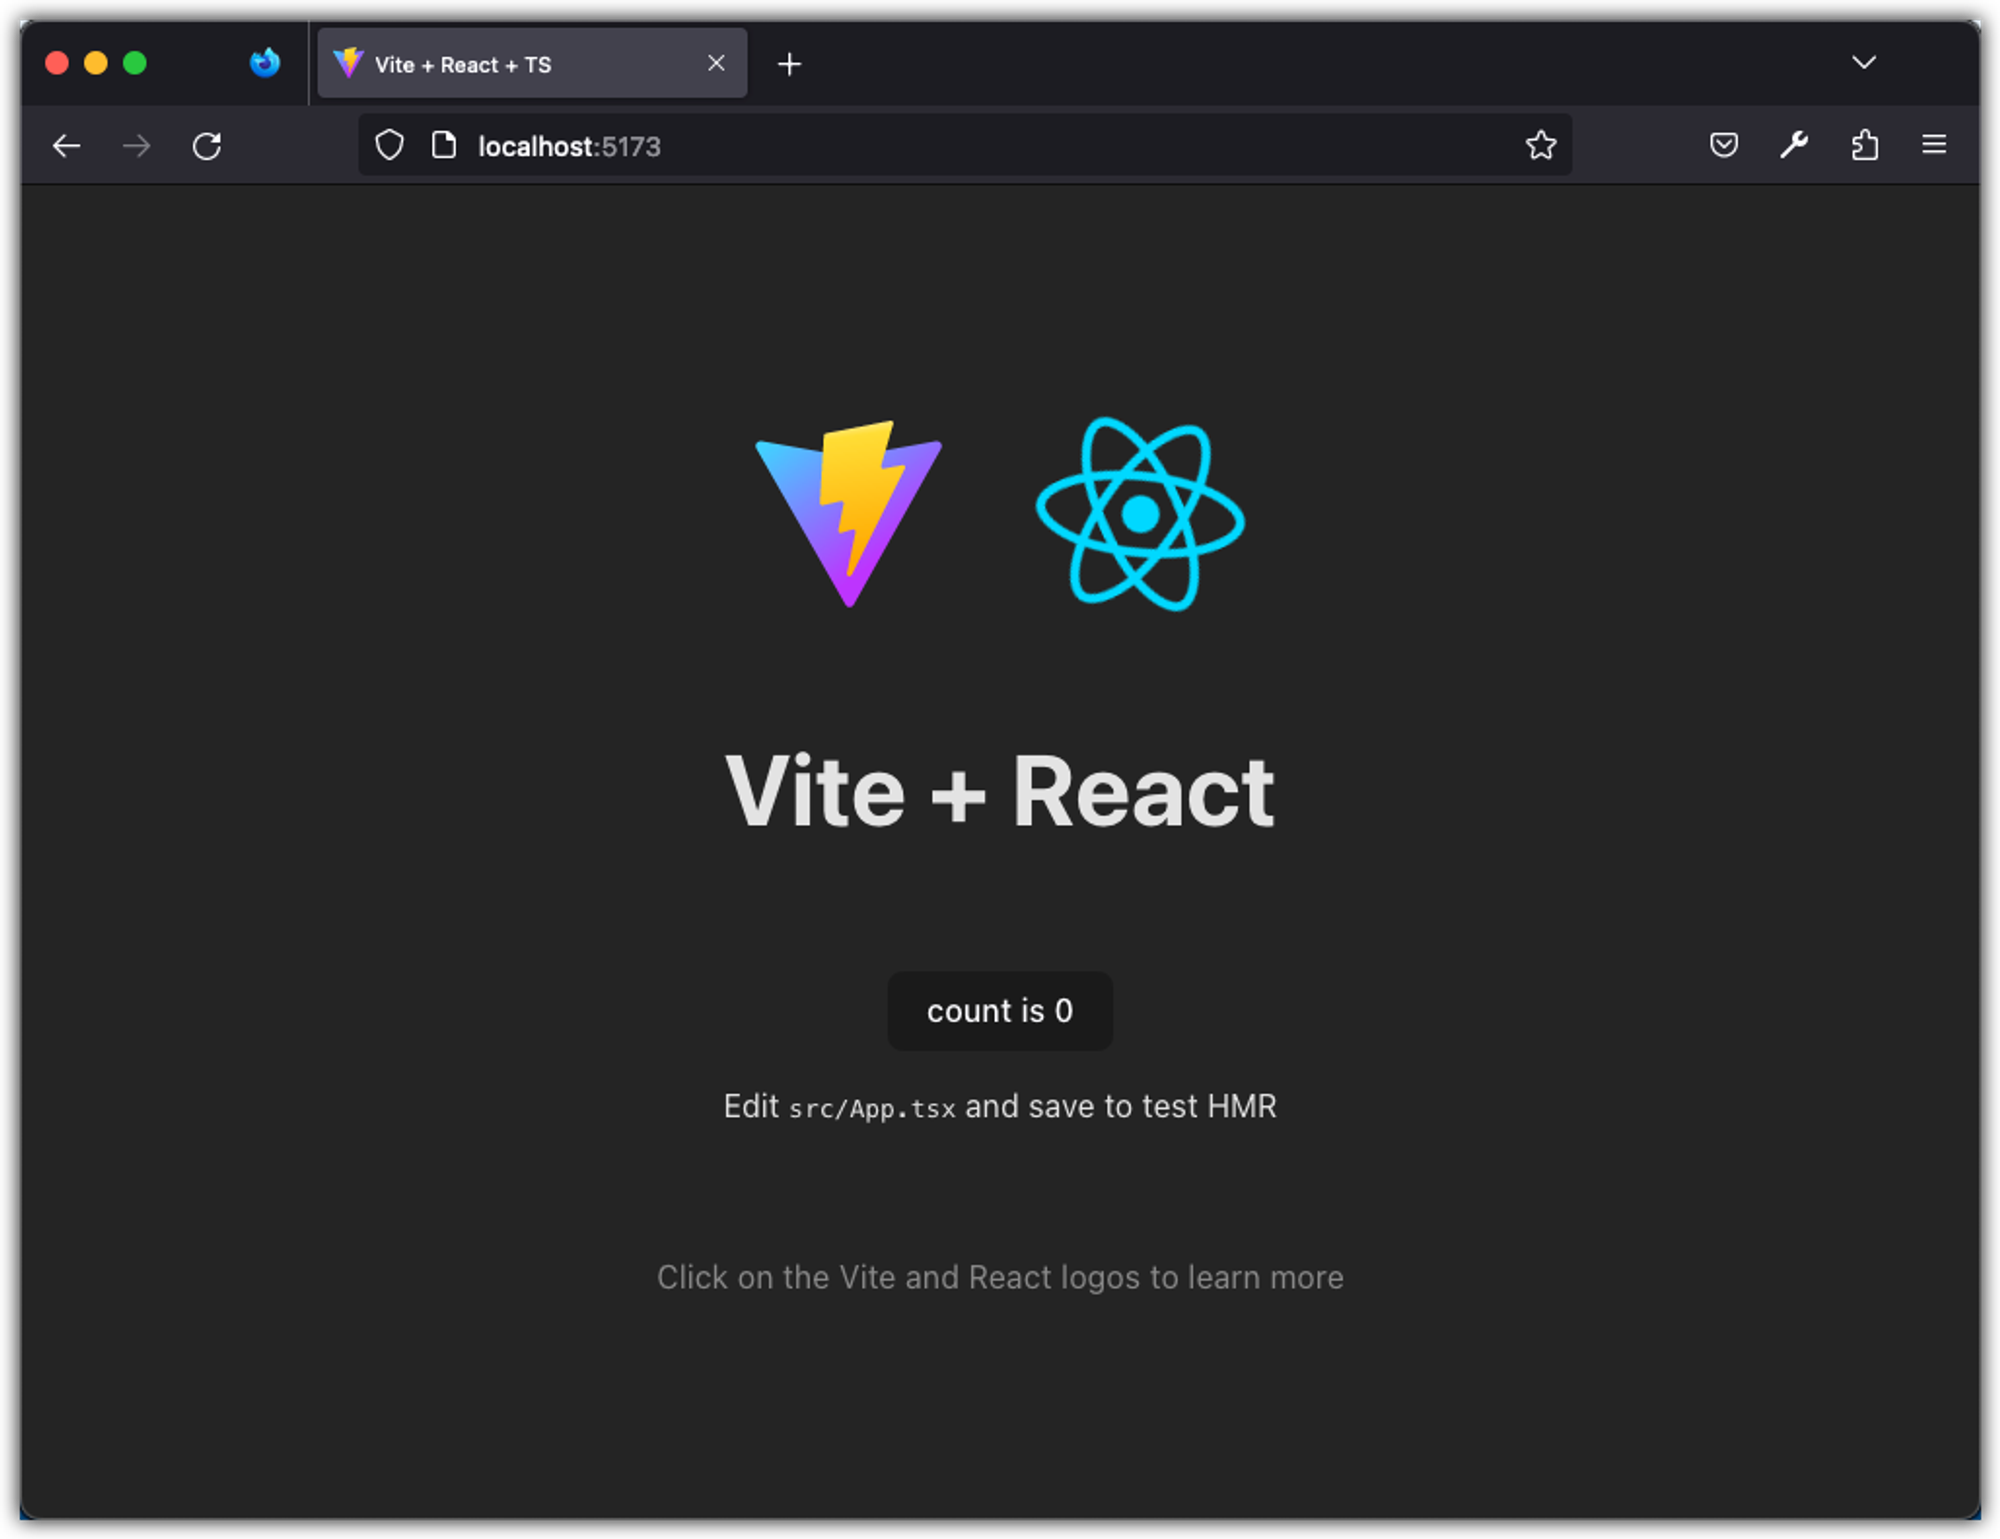
After completing the prompts, run pnpm install in the terminal to install the dependencies. Finally, run pnpm dev to launch the project in development mode. Open your browser and navigate to localhost:5173. The screenshot provided shows what the web page should look like once properly set up.
To stop the Posts App, use the key combination Ctrl + C. After that, initialize Git in the project directory by running git init -b main. Then, stage all files using git add .. Finally, commit all changes with a message by running:
git commit -m "Create a React App with Vite"
Step 2: Explore the Scaffolded App
Here is the tree view of the files and folders in proj-posts-app directory:
.
├── .eslintrc.cjs
├── .gitignore
├── README.md
├── index.html
├── package.json
├── pnpm-lock.yaml
├── public
│   └── vite.svg
├── src
│   ├── App.css
│   ├── App.tsx
│   ├── assets
│   │   └── react.svg
│   ├── index.css
│   ├── main.tsx
│   └── vite-env.d.ts
├── tsconfig.json
├── tsconfig.node.json
└── vite.config.ts
Project Dependencies
Let’s start by inspecting the package.json file:
{
  "name": "proj-posts-app",
  "private": true,
  "version": "0.0.0",
  "type": "module",
  "scripts": {
    "dev": "vite",
    "build": "tsc && vite build",
    "lint": "eslint . --ext ts,tsx --report-unused-disable-directives --max-warnings 0",
    "preview": "vite preview"
  },
  "dependencies": {
    "react": "^18.2.0",
    "react-dom": "^18.2.0"
  },
  "devDependencies": {
    "@types/react": "^18.2.15",
    "@types/react-dom": "^18.2.7",
    "@typescript-eslint/eslint-plugin": "^6.0.0",
    "@typescript-eslint/parser": "^6.0.0",
    "@vitejs/plugin-react": "^4.0.3",
    "eslint": "^8.45.0",
    "eslint-plugin-react-hooks": "^4.6.0",
    "eslint-plugin-react-refresh": "^0.4.3",
    "typescript": "^5.0.2",
    "vite": "^4.4.5"
  }
}
Notice the dependencies react and react-dom.
React is a JavaScript library for building user interfaces. It allows developers to create reusable UI components and efficiently update the user interface when the underlying data changes. React is widely used in web development and provides a declarative syntax for describing how the UI should look based on the application's state. It was originally developed by Facebook and was first open-sourced in May 2013.
React DOM is a package that serves as the entry point for rendering React components in the browser. It provides methods for efficiently updating the DOM when changes occur in the React components.
Both React and React DOM are essential dependencies for building a React application. They work together to enable the creation and rendering of interactive user interfaces.
Under dev dependencies, we have typescript and vite as we had when we were building vanilla TypeScript apps with Vite. Notice the addition of @vitejs/plugin-react, @types/react, and @types/react-dom. The dev dependencies serve specific purposes in the development of a React application using Vite:
@vitejs/plugin-reactis a Vite plugin that enables React support in Vite. It provides the necessary configurations and optimizations for compiling and bundling React components in the application.@types/reactand@types/react-domare TypeScript declaration files for React and ReactDOM, respectively. They provide type definitions for the React and ReactDOM libraries, allowing developers to write TypeScript code with proper type checking and autocompletion when working with React components.
The following files in the project directory are configuration files for TypeScript and Vite:
tsconfig.json: The main TypeScript configuration file which controls compiler options and includes/excludes specific files for TypeScript transpilation.tsconfig.node.json: A secondary TypeScript configuration file, often used for settings specific to running TypeScript in a Node.js environment, or for scripts that are run outside the context of the browser.vite.config.ts: The configuration file for Vite. Here, you can define plugins, modify build options, and set other configurations specific to Vite.
Eslint
Notice the eslint and several other related packages among dev dependencies. The eslint package is a popular JavaScript linter that helps enforce coding standards and catch common programming errors. It analyzes your code for potential issues and provides suggestions for improvement. By using eslint, you can ensure consistent code quality across your project and catch errors early in the development process.
The related packages listed in the dev dependencies section provide additional functionality and rules specific to React development:
@typescript-eslint/eslint-pluginand@typescript-eslint/parserare plugins that alloweslintto work with TypeScript code. They provide TypeScript-specific rules and configurations foreslint.eslint-plugin-react-hooksis a plugin that provides rules and guidelines for using React hooks correctly. It helps enforce best practices and prevent common mistakes when working with hooks.eslint-plugin-react-refreshis a plugin that integrateseslintwith React's Fast Refresh feature. It ensures thateslintworks seamlessly with code that uses Fast Refresh for hot module reloading in development.
These dev dependencies work together to enhance the development experience and ensure code quality in a React project using Vite and TypeScript.
Notice one of the files in your project directory is .eslintrc.cjs. This file contains the configuration for ESLint:
module.exports = {
  root: true,
  env: { browser: true, es2020: true },
  extends: [
    'eslint:recommended',
    'plugin:@typescript-eslint/recommended',
    'plugin:react-hooks/recommended',
  ],
  ignorePatterns: ['dist', '.eslintrc.cjs'],
  parser: '@typescript-eslint/parser',
  plugins: ['react-refresh'],
  rules: {
    'react-refresh/only-export-components': [
      'warn',
      { allowConstantExport: true },
    ],
  },
}
Looking back into the package.json, you will find the lint command under scripts:
"lint": "eslint . --ext ts,tsx --report-unused-disable-directives --max-warnings 0",
The lint command is used to run the ESLint linter on the project files. Here's a breakdown of the command:
eslint: Executes the ESLint linter..: Specifies the directory to lint. In this case, it is set to the current directory, which is the project root.-ext ts,tsx: Specifies the file extensions to lint. In this case, it is set totsandtsx, which are TypeScript file extensions.-report-unused-disable-directives: Reports any unused eslint-disable directives found in the code.-max-warnings 0: Sets the maximum number of warnings allowed before the linter fails. In this case, it is set to0, meaning any warnings will cause the linter to fail.
Run the command pnpm lint to ensure there are not linting issues.
The source files
Open the src folder and inspect the files:
App.css: Styling for your mainApp.tsxcomponent.App.tsx: This is the main React component for your app.assets: A directory containing assets that are imported in your JavaScript/TypeScript files. Thereact.svgis just an example asset.index.css: Global styles for your app.main.tsx: The entry point of your React app where theAppcomponent is rendered.vite-env.d.ts: Type declarations for Vite-specific environment variables and other global variables provided by Vite.
Open the App.tsx file:
import { useState } from 'react'
import reactLogo from './assets/react.svg'
import viteLogo from '/vite.svg'
import './App.css'

function App() {
  const [count, setCount] = useState(0)

  return (
    <>
      <div>
        <a href="https://vitejs.dev" target="_blank">
          <img src={viteLogo} className="logo" alt="Vite logo" />
        </a>
        <a href="https://react.dev" target="_blank">
          <img src={reactLogo} className="logo react" alt="React logo" />
        </a>
      </div>
      <h1>Vite + React</h1>
      <div className="card">
        <button onClick={() => setCount((count) => count + 1)}>
          count is {count}
        </button>
        <p>
          Edit <code>src/App.tsx</code> and save to test HMR
        </p>
      </div>
      <p className="read-the-docs">
        Click on the Vite and React logos to learn more
      </p>
    </>
  )
}

export default App
The content of App.tsx represents the page that is displayed when the app is run. It is not written in standard JavaScript or TypeScript syntax, but rather in a syntax called JSX. JSX is a syntax extension for JavaScript that allows us to write HTML-like code within our JavaScript or TypeScript code. Since we scaffolded the app in TypeScript, the extension of this file is tsx.
JSX stands for JavaScript XML. It combines the power of JavaScript with the expressiveness of HTML, making it easier to create and manipulate the user interface of our application. It is a fundamental part of React.
In App.tsx, we define a function component called App using the function keyword. This component returns JSX elements that define the structure and content of our app's user interface. We can use HTML-like tags such as <div>, <h1>, and <button> to create elements, and we can use curly braces {} to embed JavaScript or TypeScript expressions within the JSX code.
The useState hook from React is used to define a state variable count and a function setCount to update that variable. This allows us to track and update the value of count within our component.
When we run the app, this JSX code is transformed into JavaScript code that can be rendered by the browser. Vite takes care of this transformation. Under the hood, it uses a library called Babel to convert JSX syntax into regular JavaScript function calls that create and manipulate DOM elements.
In summary, App.tsx uses JSX syntax to define the structure and content of our app's user interface. It leverages the power of React to create interactive and dynamic web applications. The JSX code is transformed into JavaScript code during the build process and rendered by the browser.
We will cover all of this in great details in the following sections.
Open the main.tsx file:
import React from 'react'
import ReactDOM from 'react-dom/client'
import App from './App.tsx'
import './index.css'

ReactDOM.createRoot(document.getElementById('root')!).render(
  <React.StrictMode>
    <App />
  </React.StrictMode>,
)
The main.tsx file is responsible for rendering the main React component, App, into the HTML document.
Here's a breakdown of the content of main.tsx:
- The first two lines import the necessary modules:
ReactandReactDOM.Reactis the main library for creating and managing React components, whileReactDOMis the package that provides the methods for rendering React components into the DOM. - Next, the
Appcomponent is imported from theApp.tsxfile. This is the main component that represents the structure and content of the app's user interface. - The line
import './index.css'imports the CSS file that contains global styles for the app. - The final line
ReactDOM.createRoot(document.getElementById('root')!).render(...)is where the rendering actually occurs. It creates a root for the React app by selecting the HTML element with theidof "root" (typically a<div>element) and then renders theAppcomponent inside it. - The
<React.StrictMode>component is a wrapper that enables additional checks and warnings for potential problems in the application during development. It helps highlight potential issues and encourages best practices.
Overall, the main.tsx file sets up the necessary dependencies and renders the App component, which serves as the entry point for the app's user interface.
The separation of App.tsx (or .jsx) from main.tsx (or index.tsx/.jsx) is more symbolic or convention-based than a strict requirement. Let's dissect the idea a bit:
- Separation of Concerns: By having a distinct
App.tsxandmain.tsx, you are implicitly adhering to the principle of separation of concerns.App.tsxis dedicated solely to the primary structure and logic of your application. In contrast,main.tsxis concerned with bootstrapping that app into the DOM (or potentially some other environment in the future). - Flexibility: This separation can provide flexibility. For instance, you might want to render your app in different ways or in multiple places. Having a dedicated bootstrapping file (
main.tsx) makes this more straightforward. - Decoupling: React's philosophies is to decouple the process of creating an app from rendering it. You can see this in the way React has separate
createElementandrenderfunctions, or how the concept of React and ReactDOM are distinct. KeepingApp.tsxandmain.tsxseparate can be seen as a manifestation of this philosophy at the project level.
Step 3: Simplify the Boilerplate Code
In this step, we will simplify the scaffolded app. We will delete unnecessary files and update existing files. These changes will make the app more streamlined and easier to work with going forward.
-
Delete these files:
public/vite.svgsrc/assets/react.svgsrc/App.csssrc/index.css
-
Update the
src/main.tsxfile by removing theimport './index.css'.import React from 'react' import ReactDOM from 'react-dom/client' import App from './App.tsx' - import './index.css' ReactDOM.createRoot(document.getElementById('root')!).render( <React.StrictMode> <App /> </React.StrictMode>, ) -
Update the
src/App.tsxfile by replacing its content with the following code:function App() { return ( <div> <p>Hello, world!</p> </div> ); } export default App; -
Create a new file
public/favicon.svgwith the following content:<?xml version="1.0" encoding="utf-8"?> <!-- Uploaded to: SVG Repo, www.svgrepo.com, Generator: SVG Repo Mixer Tools --> <svg width="800px" height="800px" viewBox="0 0 24 24" fill="white" xmlns="http://www.w3.org/2000/svg"> <path d="M5 11.5C5 9.61438 5 8.67157 5.58579 8.08579C6.17157 7.5 7.11438 7.5 9 7.5H15C16.8856 7.5 17.8284 7.5 18.4142 8.08579C19 8.67157 19 9.61438 19 11.5V12.5C19 14.3856 19 15.3284 18.4142 15.9142C17.8284 16.5 16.8856 16.5 15 16.5H9C7.11438 16.5 6.17157 16.5 5.58579 15.9142C5 15.3284 5 14.3856 5 12.5V11.5Z" stroke="#1C274C" stroke-width="1.5" /> <path opacity="0.5" d="M19 2V2.5C19 3.88071 17.8807 5 16.5 5H7.5C6.11929 5 5 3.88071 5 2.5V2" stroke="#1C274C" stroke-width="1.5" stroke-linecap="round" /> <path opacity="0.5" d="M19 22V21.5C19 20.1193 17.8807 19 16.5 19H7.5C6.11929 19 5 20.1193 5 21.5V22" stroke="#1C274C" stroke-width="1.5" stroke-linecap="round" /> </svg> -
Update the
index.htmlas per the following diff:<html lang="en"> <head> <meta charset="UTF-8" /> - <link rel="icon" type="image/svg+xml" href="/vite.svg" /> + <link rel="icon" type="image/svg+xml" href="/favicon.svg" /> <meta name="viewport" content="width=device-width, initial-scale=1.0" /> - <title>Vite + React + TS</title> + <title>Posts</title> </head> <body> <div id="root"></div> <script type="module" src="/src/main.tsx"></script> </body> </html> -
Update the
README.mdfile by replacing its content with the following:# Posts - A Simplified Social Media Platform Posts is a minimalistic clone of https://posts.cv/, which is itself a simplified and scaled-down alternative to Twitter. We built this clone solely for educational purposes. The app includes the following features: - User authentication - Ability to create text, image, or combined posts - Ability to follow other users - Ability to like and comment on posts - "Highlights" tab: posts from those you follow - "Everyone" tab: all posts in reverse chronological order ## Running Locally To run the app locally, follow these steps: 1. Clone this repository. 2. Open the terminal at the root of the repository. 3. Install dependencies with `pnpm install`. 4. Run the app with `pnpm dev`. -
Stage and commit all changes:
git add . git commit -m "Simplify app structure" -
Run the app with
pnpm dev
Step 4: Install and Configure Prettier
As with our previous projects, we will install Prettier as a development dependency.
pnpm install --save-dev --save-exact prettier
Remember that Prettier is a code formatter that automatically formats your code based on a set of rules. You can customize these rules by creating a .prettierrc.json file in the root of your project to further configure Prettier.
{
  "semi": true,
  "trailingComma": "all",
  "singleQuote": false,
  "printWidth": 80,
  "tabWidth": 2,
  "endOfLine": "auto"
}
Next, create a .prettierignore file to let Prettier and editors know which files not to format.
dist
When we use Vite to build the site, it creates the build artifacts in the dist folder. We have added the dist folder in the .prettierignore file to avoid formatting it.
Finally, add this command to the scripts section of the package.json file:
"prettier": "prettier --write \"src/**/*.{ts,tsx}\" --config \".prettierrc.json\""
Now you can run Prettier from the terminal:
pnpm prettier
Stage and commit all changes:
git add .
git commit -m "Install and Configure Prettier"
Step 5: Install and Configure Tailwind CSS
As we did with our previous projects, we will install and configure Tailwind CSS for the Posts App. Remember that Tailwind CSS is a utility-first CSS framework that simplifies and streamlines the process of styling web applications. It offers a comprehensive set of pre-built classes that can be readily applied to HTML elements for styling purposes.
-
Install
tailwindcssand its peer dependencies:pnpm add -D tailwindcss postcss autoprefixer -
Generate the required configuration files,
tailwind.config.jsandpostcss.config.js, by running this command:npx tailwindcss init -p -
Update the
contentsection of thetailwind.config.jsfile as follows:content: [ "./index.html", "./src/**/*.{js,ts,jsx,tsx}", ], -
Add a file
src/index.csswith the following content:@tailwind base; @tailwind components; @tailwind utilities; -
Add the following import to the top of the
src/main.tsxfile:import "./index.css"; -
Update the
src/App.tsxas follows:function App() { return ( <div className="flex flex-col items-center justify-center min-h-screen"> <div className="text-3xl font-bold underline">Hello, world!</div> </div> ); } export default App; -
Run the app with
pnpm dev
-
Stage and commit all changes.
git add .
git commit -m "Install and Configure Tailwind CSS"
Step 6: Install Shad UI
In this step, we will install Shad UI, which is a UI component library built on top of Tailwind CSS and Radix UI. Shad UI offers pre-built components to expedite development. Additionally, we will update our project configuration to include Shad UI and ensure correct path resolution in our app.
-
Add the code below to the
compilerOptionsof yourtsconfig.jsonso that your app can resolve paths without errors:"baseUrl": ".", "paths": { "@/*": ["./src/*"] } -
Update the
vite.config.tsso that your app can resolve paths without errors:import path from "path"; import react from "@vitejs/plugin-react"; import { defineConfig } from "vite"; // https://vitejs.dev/config/ export default defineConfig({ plugins: [react()], resolve: { alias: { "@": path.resolve(__dirname, "./src"), }, }, }); -
Since the code above imports the "path" module from the Node runtime environment, we must install its type declarations.
pnpm i -D @types/node -
Run the
shadcn-uiinit command to set up your project:pnpm dlx shadcn-ui@latest initFollow the prompts and provide the answers as follows:
✔ Would you like to use TypeScript (recommended)? yes ✔ Which style would you like to use? › New York ✔ Which color would you like to use as the base color? Slate ✔ Where is your global CSS file? src/index.css ✔ Would you like to use CSS variables for colors? yes ✔ Where is your tailwind.config.js located? tailwind.config.js ✔ Configure the import alias for components: @/components ✔ Configure the import alias for utils: @/lib/utils ✔ Are you using React Server Components? no ✔ Write configuration to components.json. Proceed? yes -
You can now start adding components to your project. For example, let's add a button component:
pnpm dlx shadcn-ui@latest add button -
Update
src/App.tsxas follows:import { Button } from "./components/ui/button"; function App() { return ( <div className="flex flex-col items-center justify-center min-h-screen"> <Button>Hello, world!</Button> </div> ); } export default App; -
Run the app with
pnpm dev
-
Stage and commit all changes.
git add .
git commit -m "Install `shadcn/ui`"
Step 7: Install and Configure tslog
In this step, we will install and configure tslog, a logging utility for TypeScript that provides a simpler and more flexible logging experience. We can use tslog to log messages to the console and to file, and to customize the format and color of log messages.
-
Add the tslog package to the project:
pnpm install tslog -
Create a file
src/lib/logger.tswith the following content:import { Logger, ILogObj } from "tslog"; const isProduction = import.meta.env.PROD; // Vite provides `import.meta.env` to access environment variables export const log: Logger<ILogObj> = new Logger({ minLevel: isProduction ? 6 : 0, // Only fatal errors will be logged in production, while in dev all log levels will be shown prettyLogTemplate: "{{logLevelName}}\t[{{filePathWithLine}}{{name}}]\t", prettyErrorTemplate: "\n{{errorName}} {{errorMessage}}\nerror stack:\n{{errorStack}}", prettyErrorStackTemplate: "{{fileName}}\t{{method}}\n\t{{filePathWithLine}}", prettyErrorParentNamesSeparator: ":", prettyErrorLoggerNameDelimiter: "\t", stylePrettyLogs: true, prettyLogTimeZone: "local", prettyLogStyles: { logLevelName: { "*": ["bold", "black", "bgWhiteBright", "dim"], SILLY: ["bold", "white"], TRACE: ["bold", "whiteBright"], DEBUG: ["bold", "green"], INFO: ["bold", "blue"], WARN: ["bold", "yellow"], ERROR: ["bold", "red"], FATAL: ["bold", "redBright"], }, dateIsoStr: "white", filePathWithLine: "white", name: ["white", "bold"], nameWithDelimiterPrefix: ["white", "bold"], nameWithDelimiterSuffix: ["white", "bold"], errorName: ["bold", "bgRedBright", "whiteBright"], fileName: ["yellow"], }, }); -
Update the
tsconfig.jsonto reference a correct line number in your TypeScript source code:// tsconfig.json { // ... compilerOptions: { // ... "inlineSourceMap": true, // <!-- here // ... }, } -
Update
src/App.tsxas follows:import { Button } from "@/components/ui/button"; import { log } from "@/lib/logger"; function App() { log.debug("Hello, world!"); return ( <div className="flex flex-col items-center justify-center min-h-screen"> <Button>Hello, world!</Button> </div> ); } export default App; -
Run the app with
pnpm devand open the console in the browser.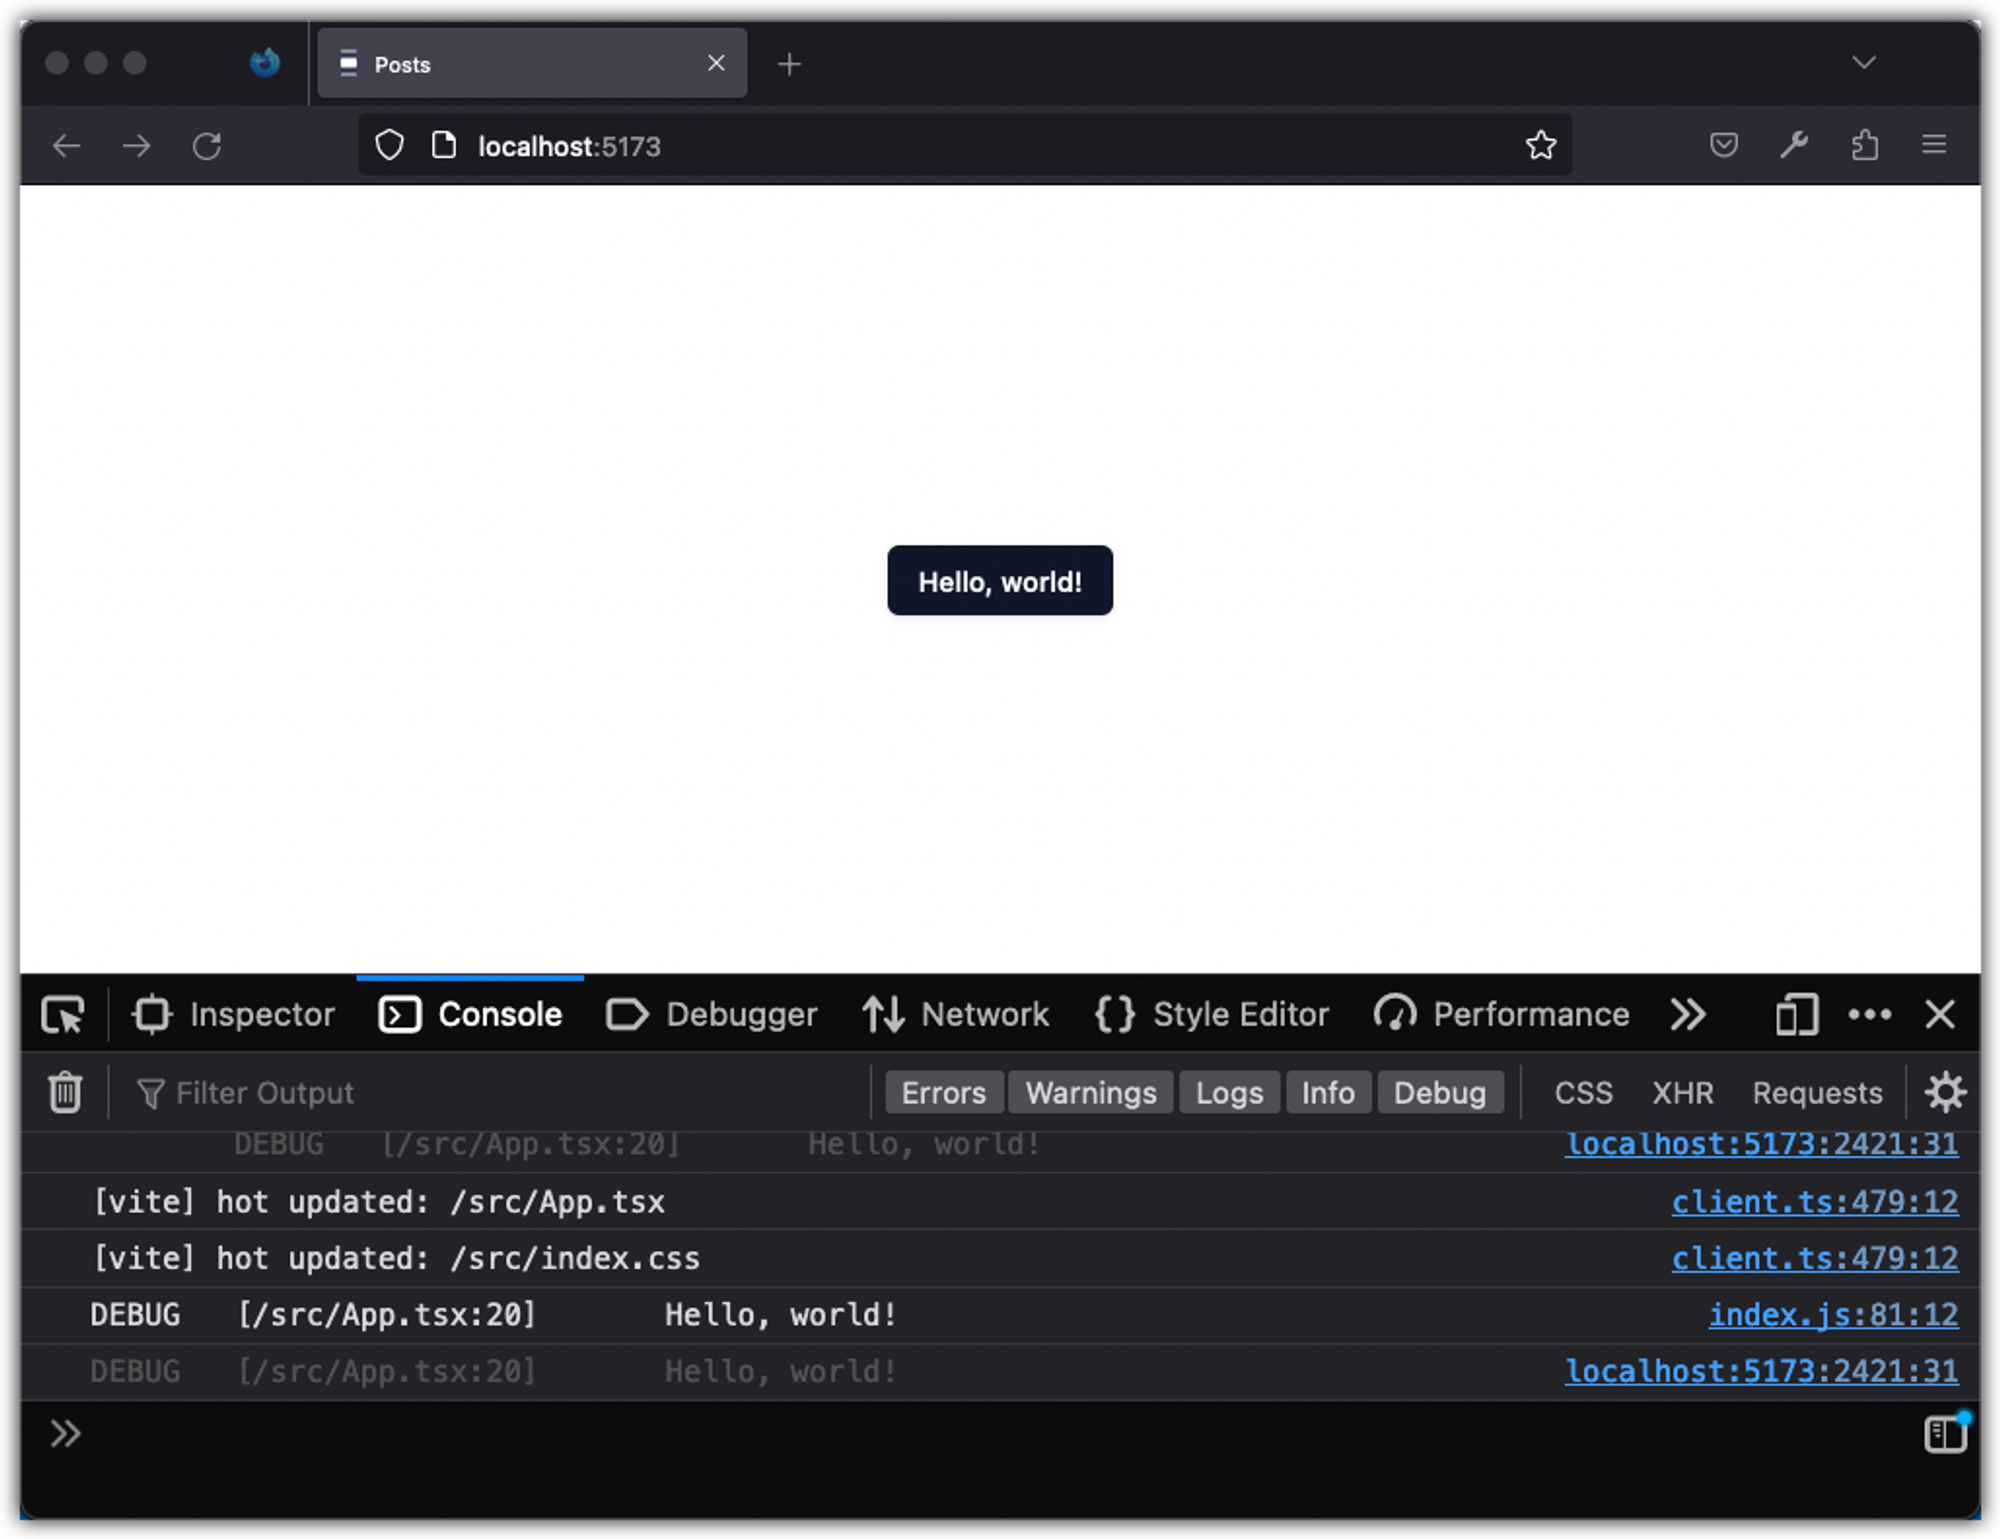
Notice that the message printed to the console includes the filename, file path, and line number. This will be a great help for debugging our application.
-
Next, build the app with
pnpm buildand then preview the build withpnpm previewcommand: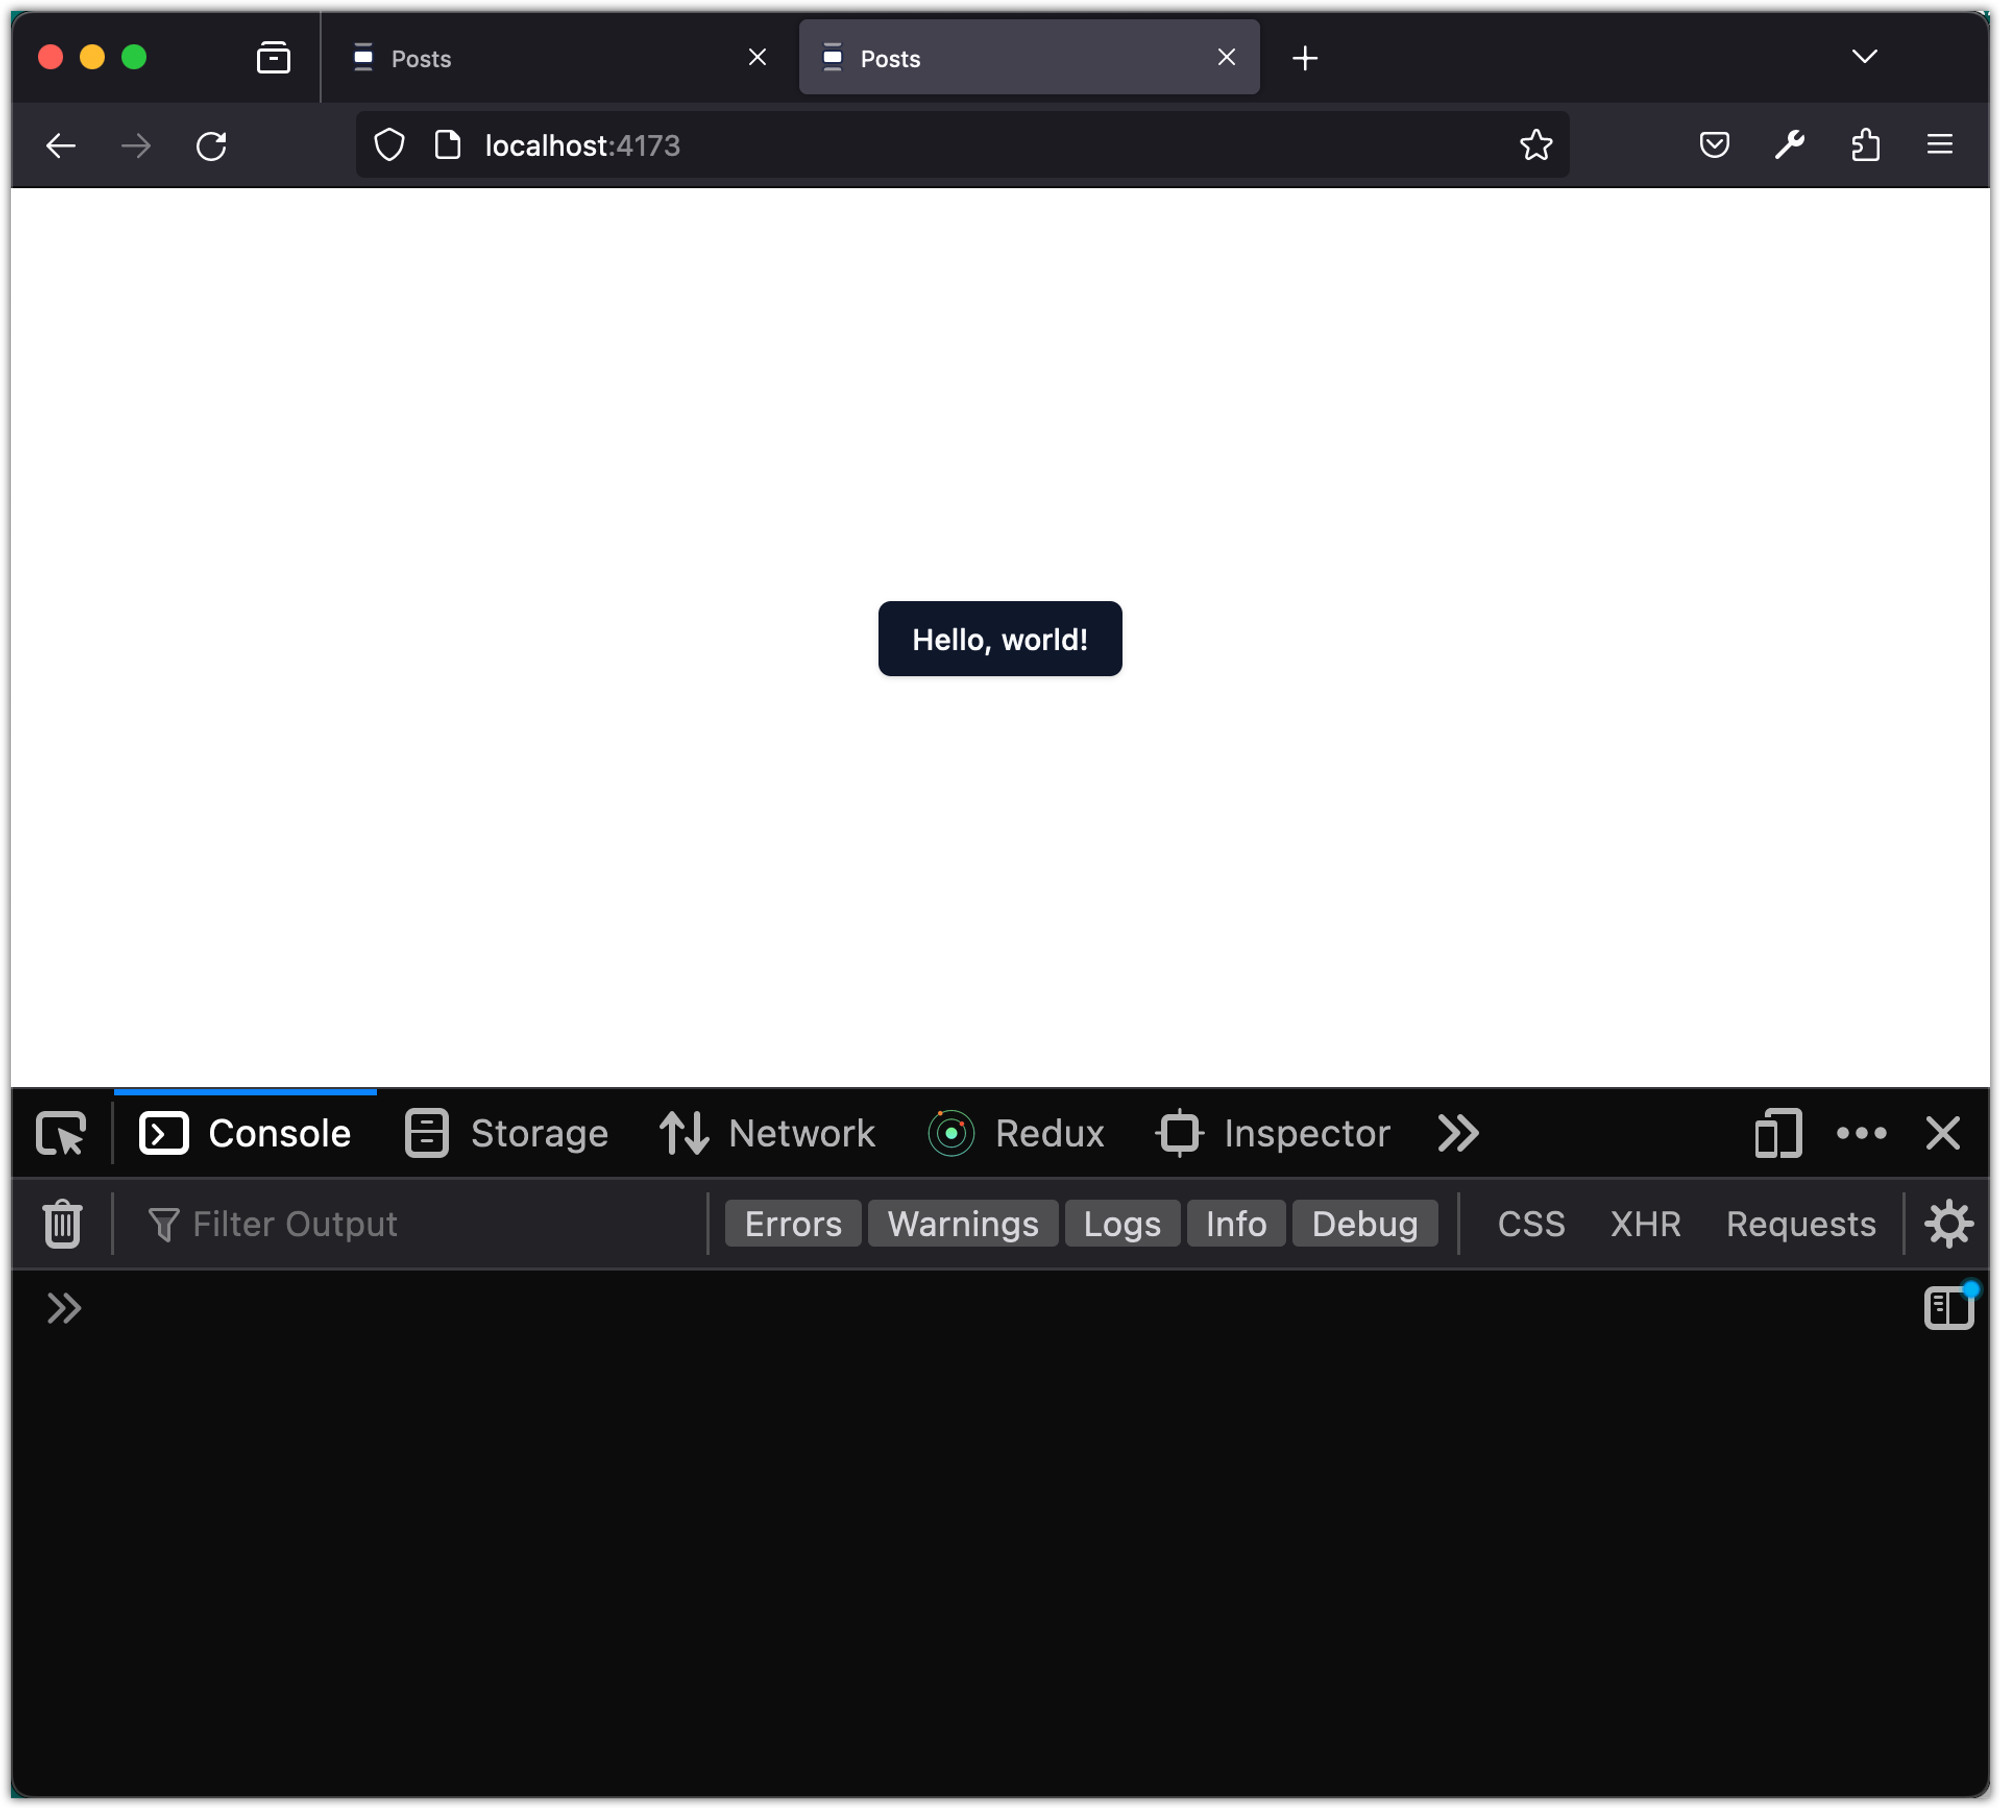
Notice that there is no console log in the previewed application! This is because of how we have configured the
tslog(can you figure out where this configuration is made?) -
Stage and commit all changes.
git add .
git commit -m "Installed and configured tslog"
Step 8: Deploy the App
As with previous applications, we will deploy this app to GitHub pages. Create a GitHub repository and push your local code to it. Next, on your local repository, update the vite.config.js file with the following content:
	import path from "path";
	import react from "@vitejs/plugin-react";
	import { defineConfig } from "vite";

	// https://vitejs.dev/config/
	export default defineConfig({
+	  base: "/REPO_NAME/",
	  plugins: [react()],
	  resolve: {
	    alias: {
	      "@": path.resolve(__dirname, "./src"),
	    },
	  },
	});
💡 replace
REPO_NAMEwith the name of your repository!
Next, create a .github folder. Add a subfolder workflows to .github. Finally, add a deploy.yml file to this subfolder with the following content:
name: Deploy Vite app to GitHub Pages

on:
  push:
    branches:
      - main

permissions:
  contents: read
  pages: write
  id-token: write

concurrency:
  group: "pages"
  cancel-in-progress: true

jobs:
  build:
    runs-on: ubuntu-latest
    steps:
      - name: Checkout
        uses: actions/checkout@v3

      - name: Detect package manager
        id: detect-package-manager
        run: |
          if [ -f "${{ github.workspace }}/pnpm-lock.yaml" ]; then
            echo "::set-output name=manager::pnpm"
            echo "::set-output name=command::install"
            echo "::set-output name=runner::pnpx --no-install"
            exit 0
          elif [ -f "${{ github.workspace }}/yarn.lock" ]; then
            echo "::set-output name=manager::yarn"
            echo "::set-output name=command::install"
            echo "::set-output name=runner::yarn"
            exit 0
          elif [ -f "${{ github.workspace }}/package-lock.json" ]; then
            echo "::set-output name=manager::npm"
            echo "::set-output name=command::ci"
            echo "::set-output name=runner::npx --no-install"
            exit 0
          else
            echo "Unable to determine package manager"
            exit 1
          fi

      - name: Install pnpm
        if: steps.detect-package-manager.outputs.manager == 'pnpm'
        run: npm install -g pnpm

      - name: Install yarn
        if: steps.detect-package-manager.outputs.manager == 'yarn'
        run: npm install -g yarn

      - name: Setup Node
        uses: actions/setup-node@v3
        with:
          node-version: "16"
          cache: ${{ steps.detect-package-manager.outputs.manager }}

      - name: Setup Pages
        uses: actions/configure-pages@v2

      - name: Install dependencies
        run: ${{ steps.detect-package-manager.outputs.manager }} ${{ steps.detect-package-manager.outputs.command }}

      - name: Build with Vite
        run: ${{ steps.detect-package-manager.outputs.manager }} run build

      - name: Upload artifact
        uses: actions/upload-pages-artifact@v1
        with:
          path: ./dist

  deploy:
    environment:
      name: github-pages
      url: ${{ steps.deployment.outputs.page_url }}
    runs-on: ubuntu-latest
    needs: build
    steps:
      - name: Deploy to GitHub Pages
        id: deployment
        uses: actions/deploy-pages@v1
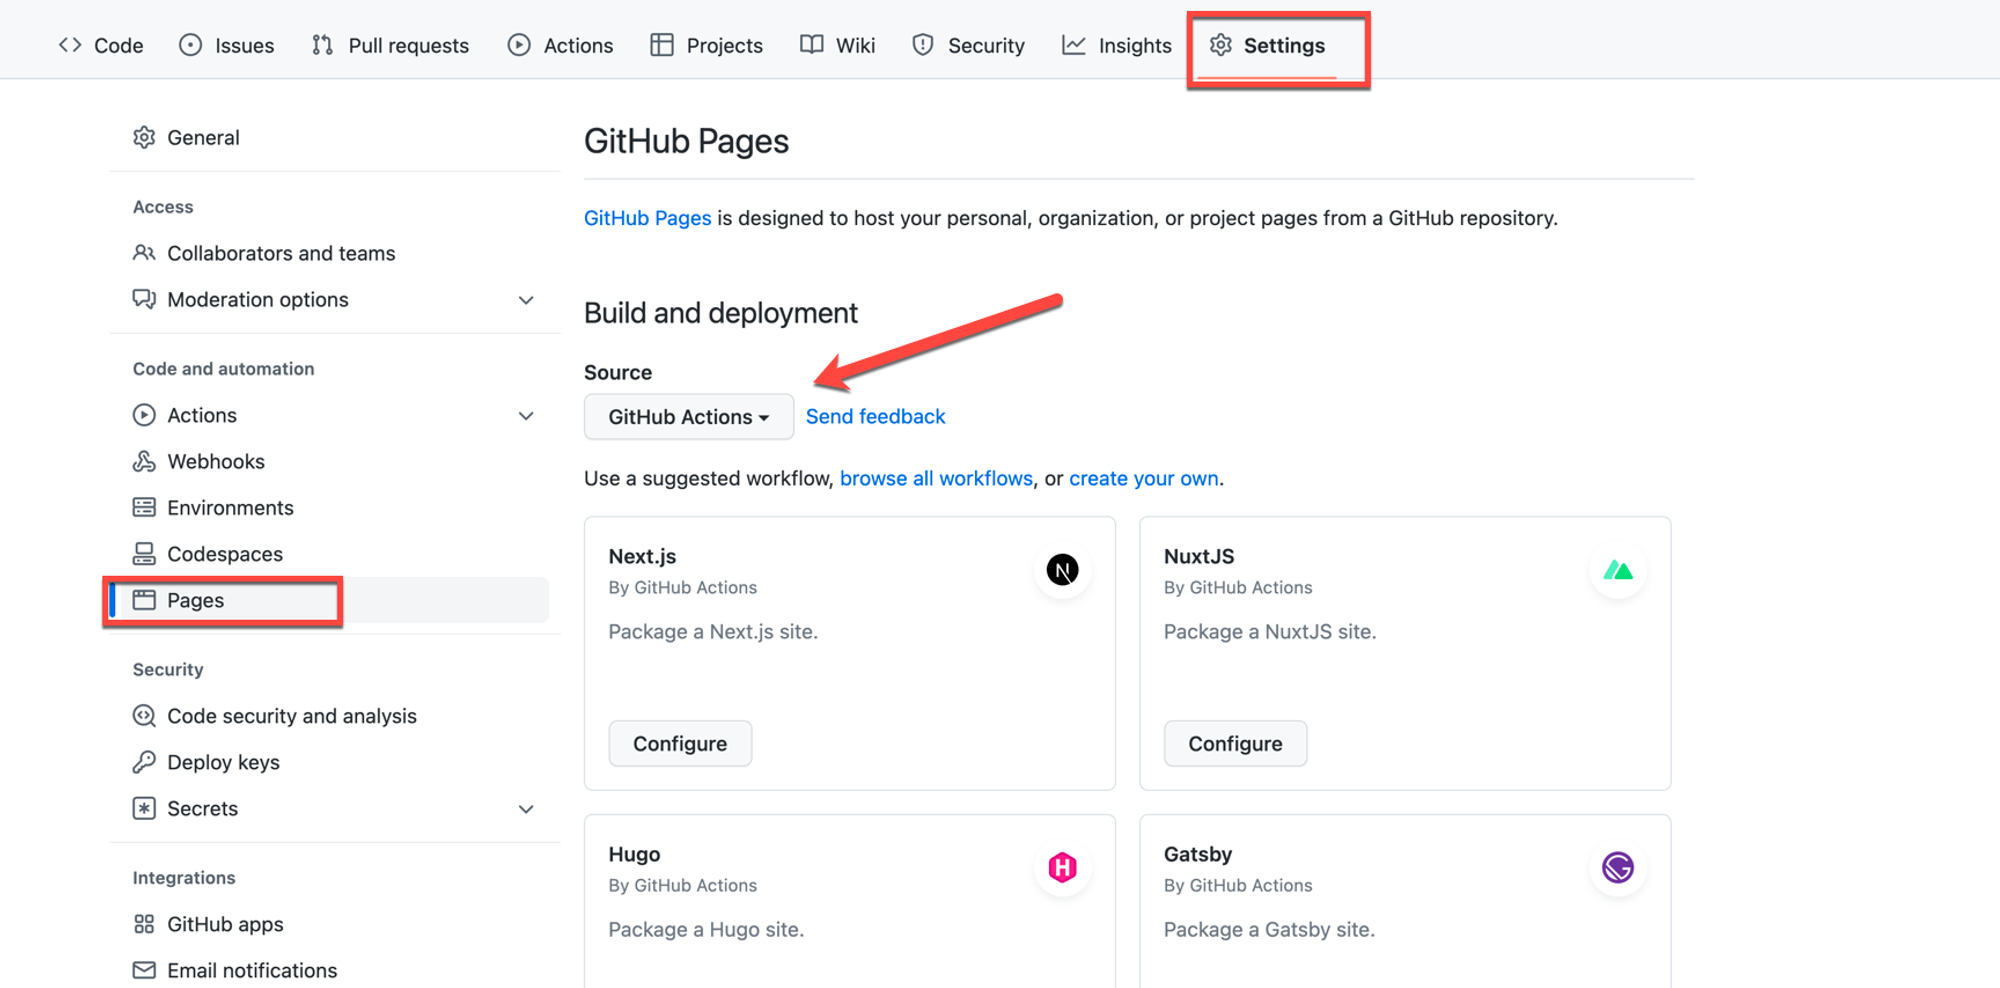
Before pushing these changes to GitHub, update the settings of your GitHub repository to use "GitHub Action" for deploying the app to GitHub Pages.
Commit changes and push your code to the GitHub repository. This will trigger a build process that will result in deploying your app. From this point on, every time you make changes to your code on the main branch and push those changes to GitHub, the new app will be automatically deployed.