Task 7: Set up a remote Git repository on GitHub
Step 1: Creating a GitHub Repository
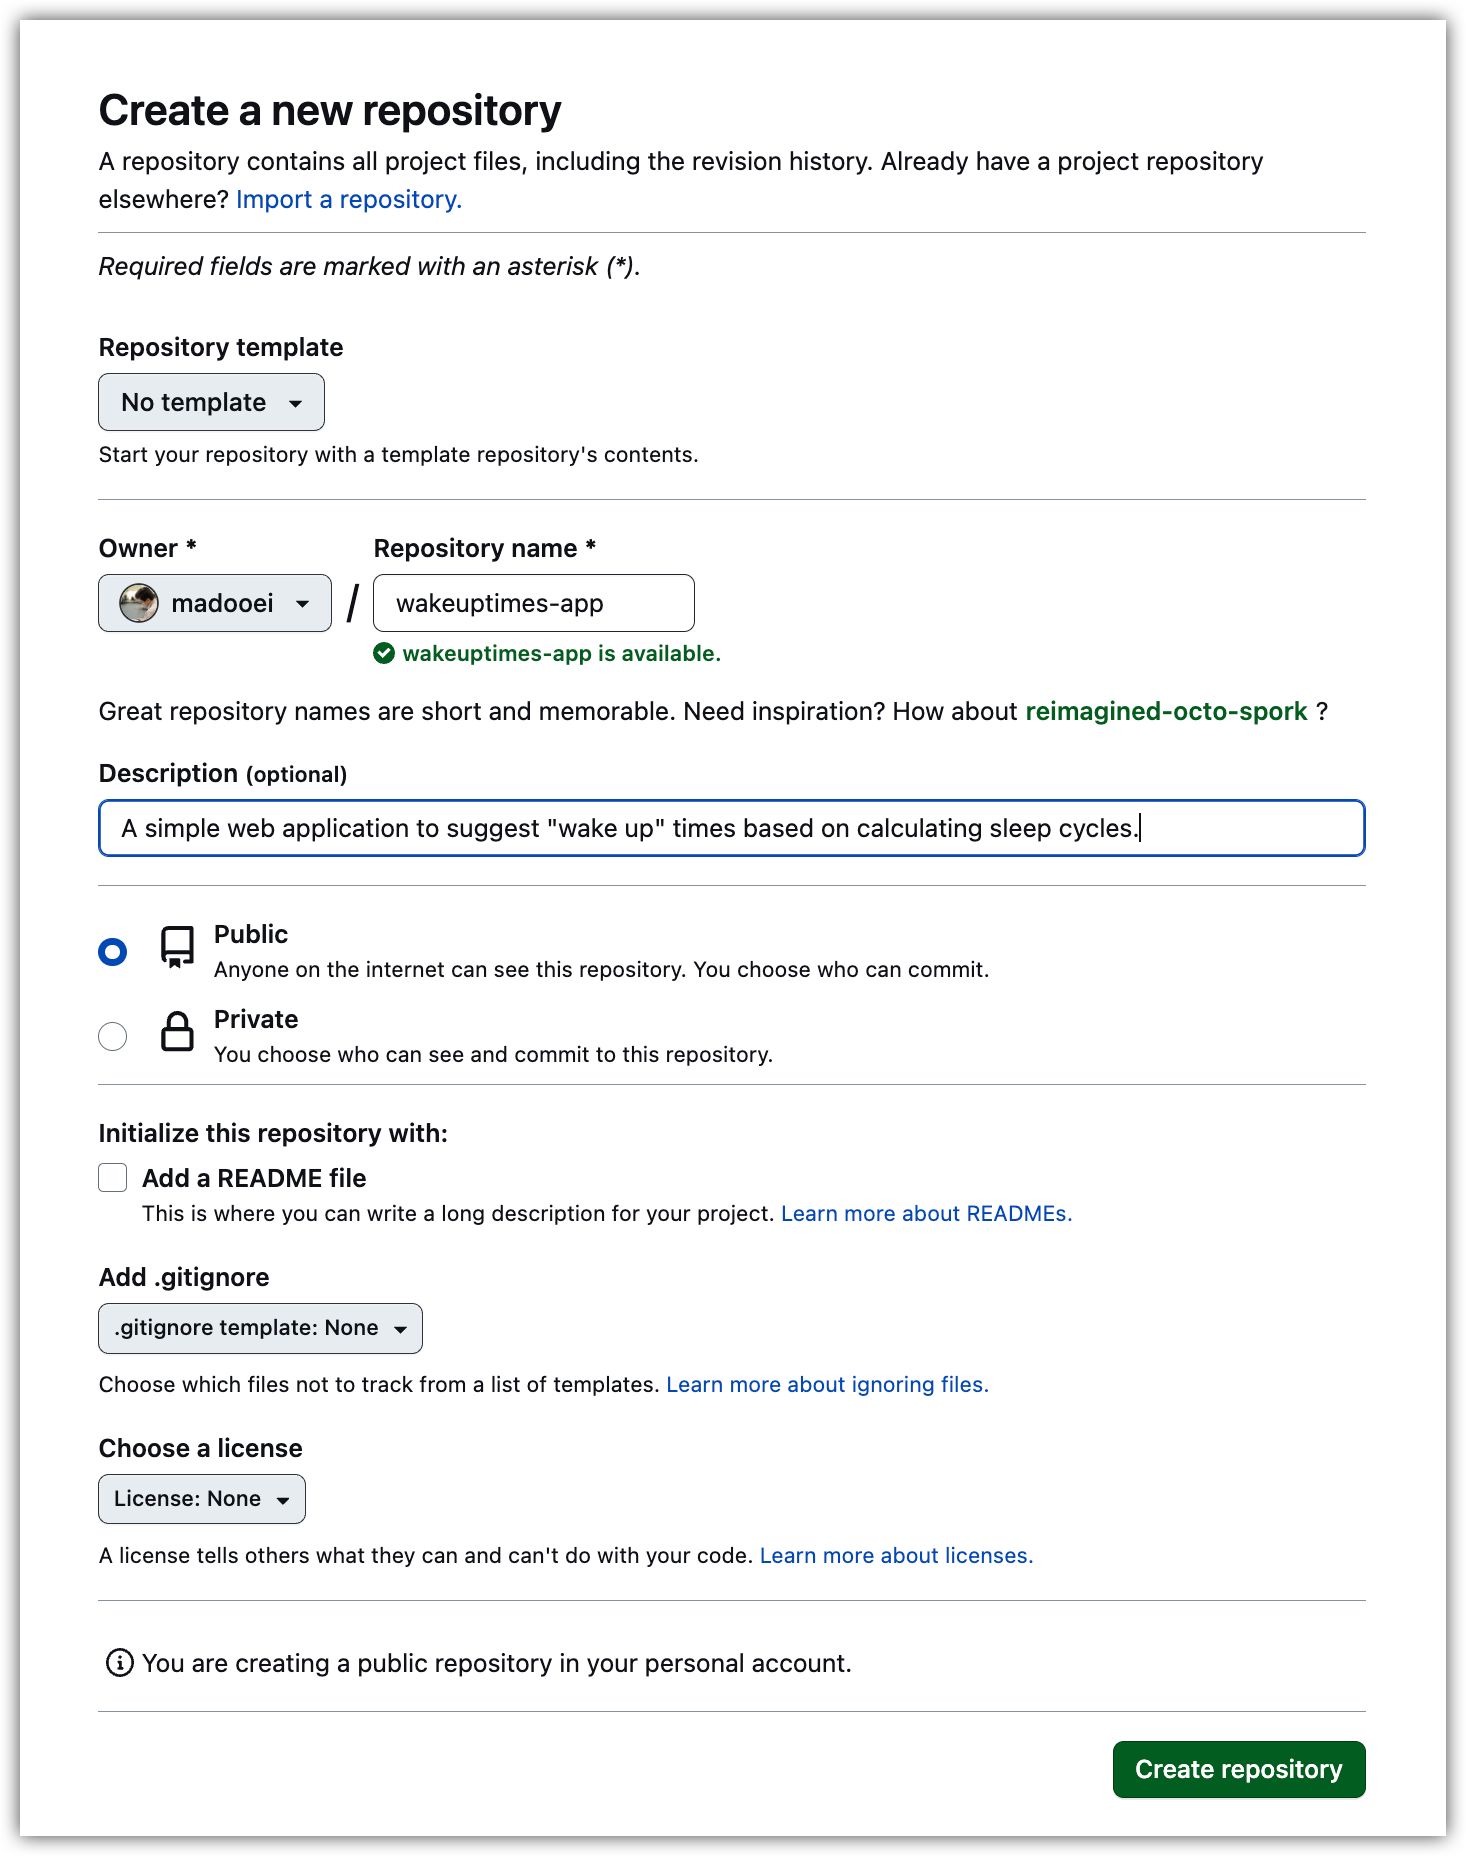
To create a new repository on GitHub, login to your account and follow these steps:
- Click on "New Repository".
- Give your repository a name and a description.
- Choose between making it public or private.
- Click on "Create Repository".
Once the repository is created, GitHub will suggest some instructions to start working with your new repository. Since you already have a local repository, you will need to follow the instructions for "...or push an existing repository from the command line". Copy the command provided and run it in the terminal of your local git repository.
You should see a response similar to this:
Enumerating objects: 6, done.
Counting objects: 100% (6/6), done.
Delta compression using up to 10 threads
Compressing objects: 100% (5/5), done.
Writing objects: 100% (6/6), 1.48 KiB | 1.48 MiB/s, done.
Total 6 (delta 0), reused 0 (delta 0), pack-reused 0
To https://github.com/madooei/wakeuptimes-app.git
 * [new branch]      main -> main
branch 'main' set up to track 'origin/main'.
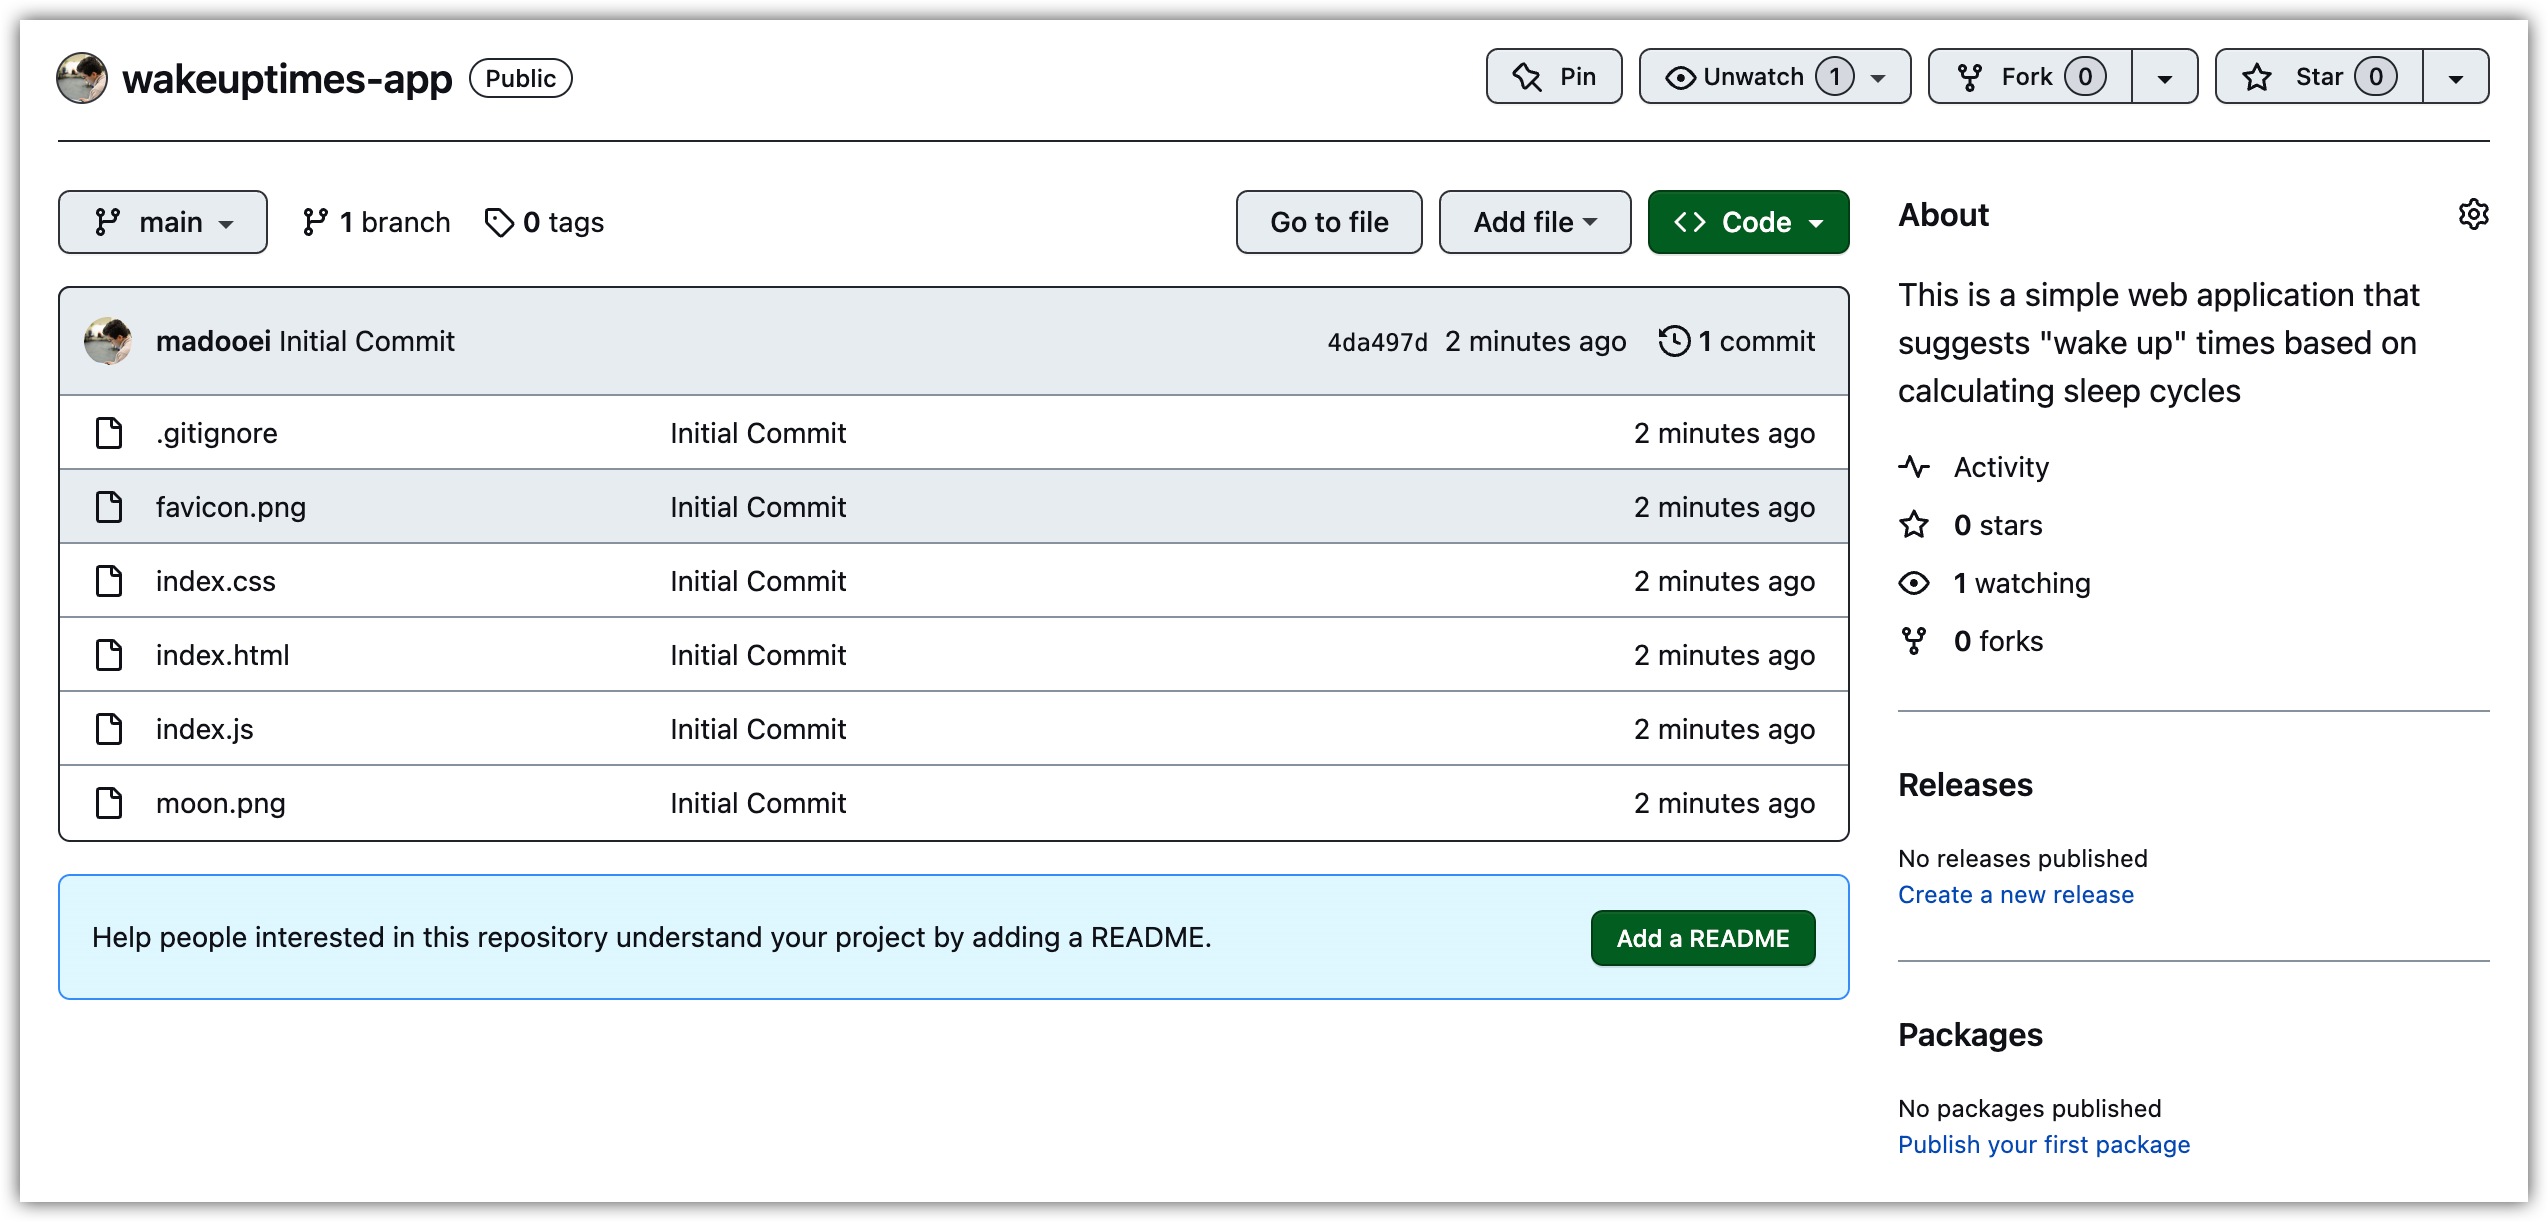
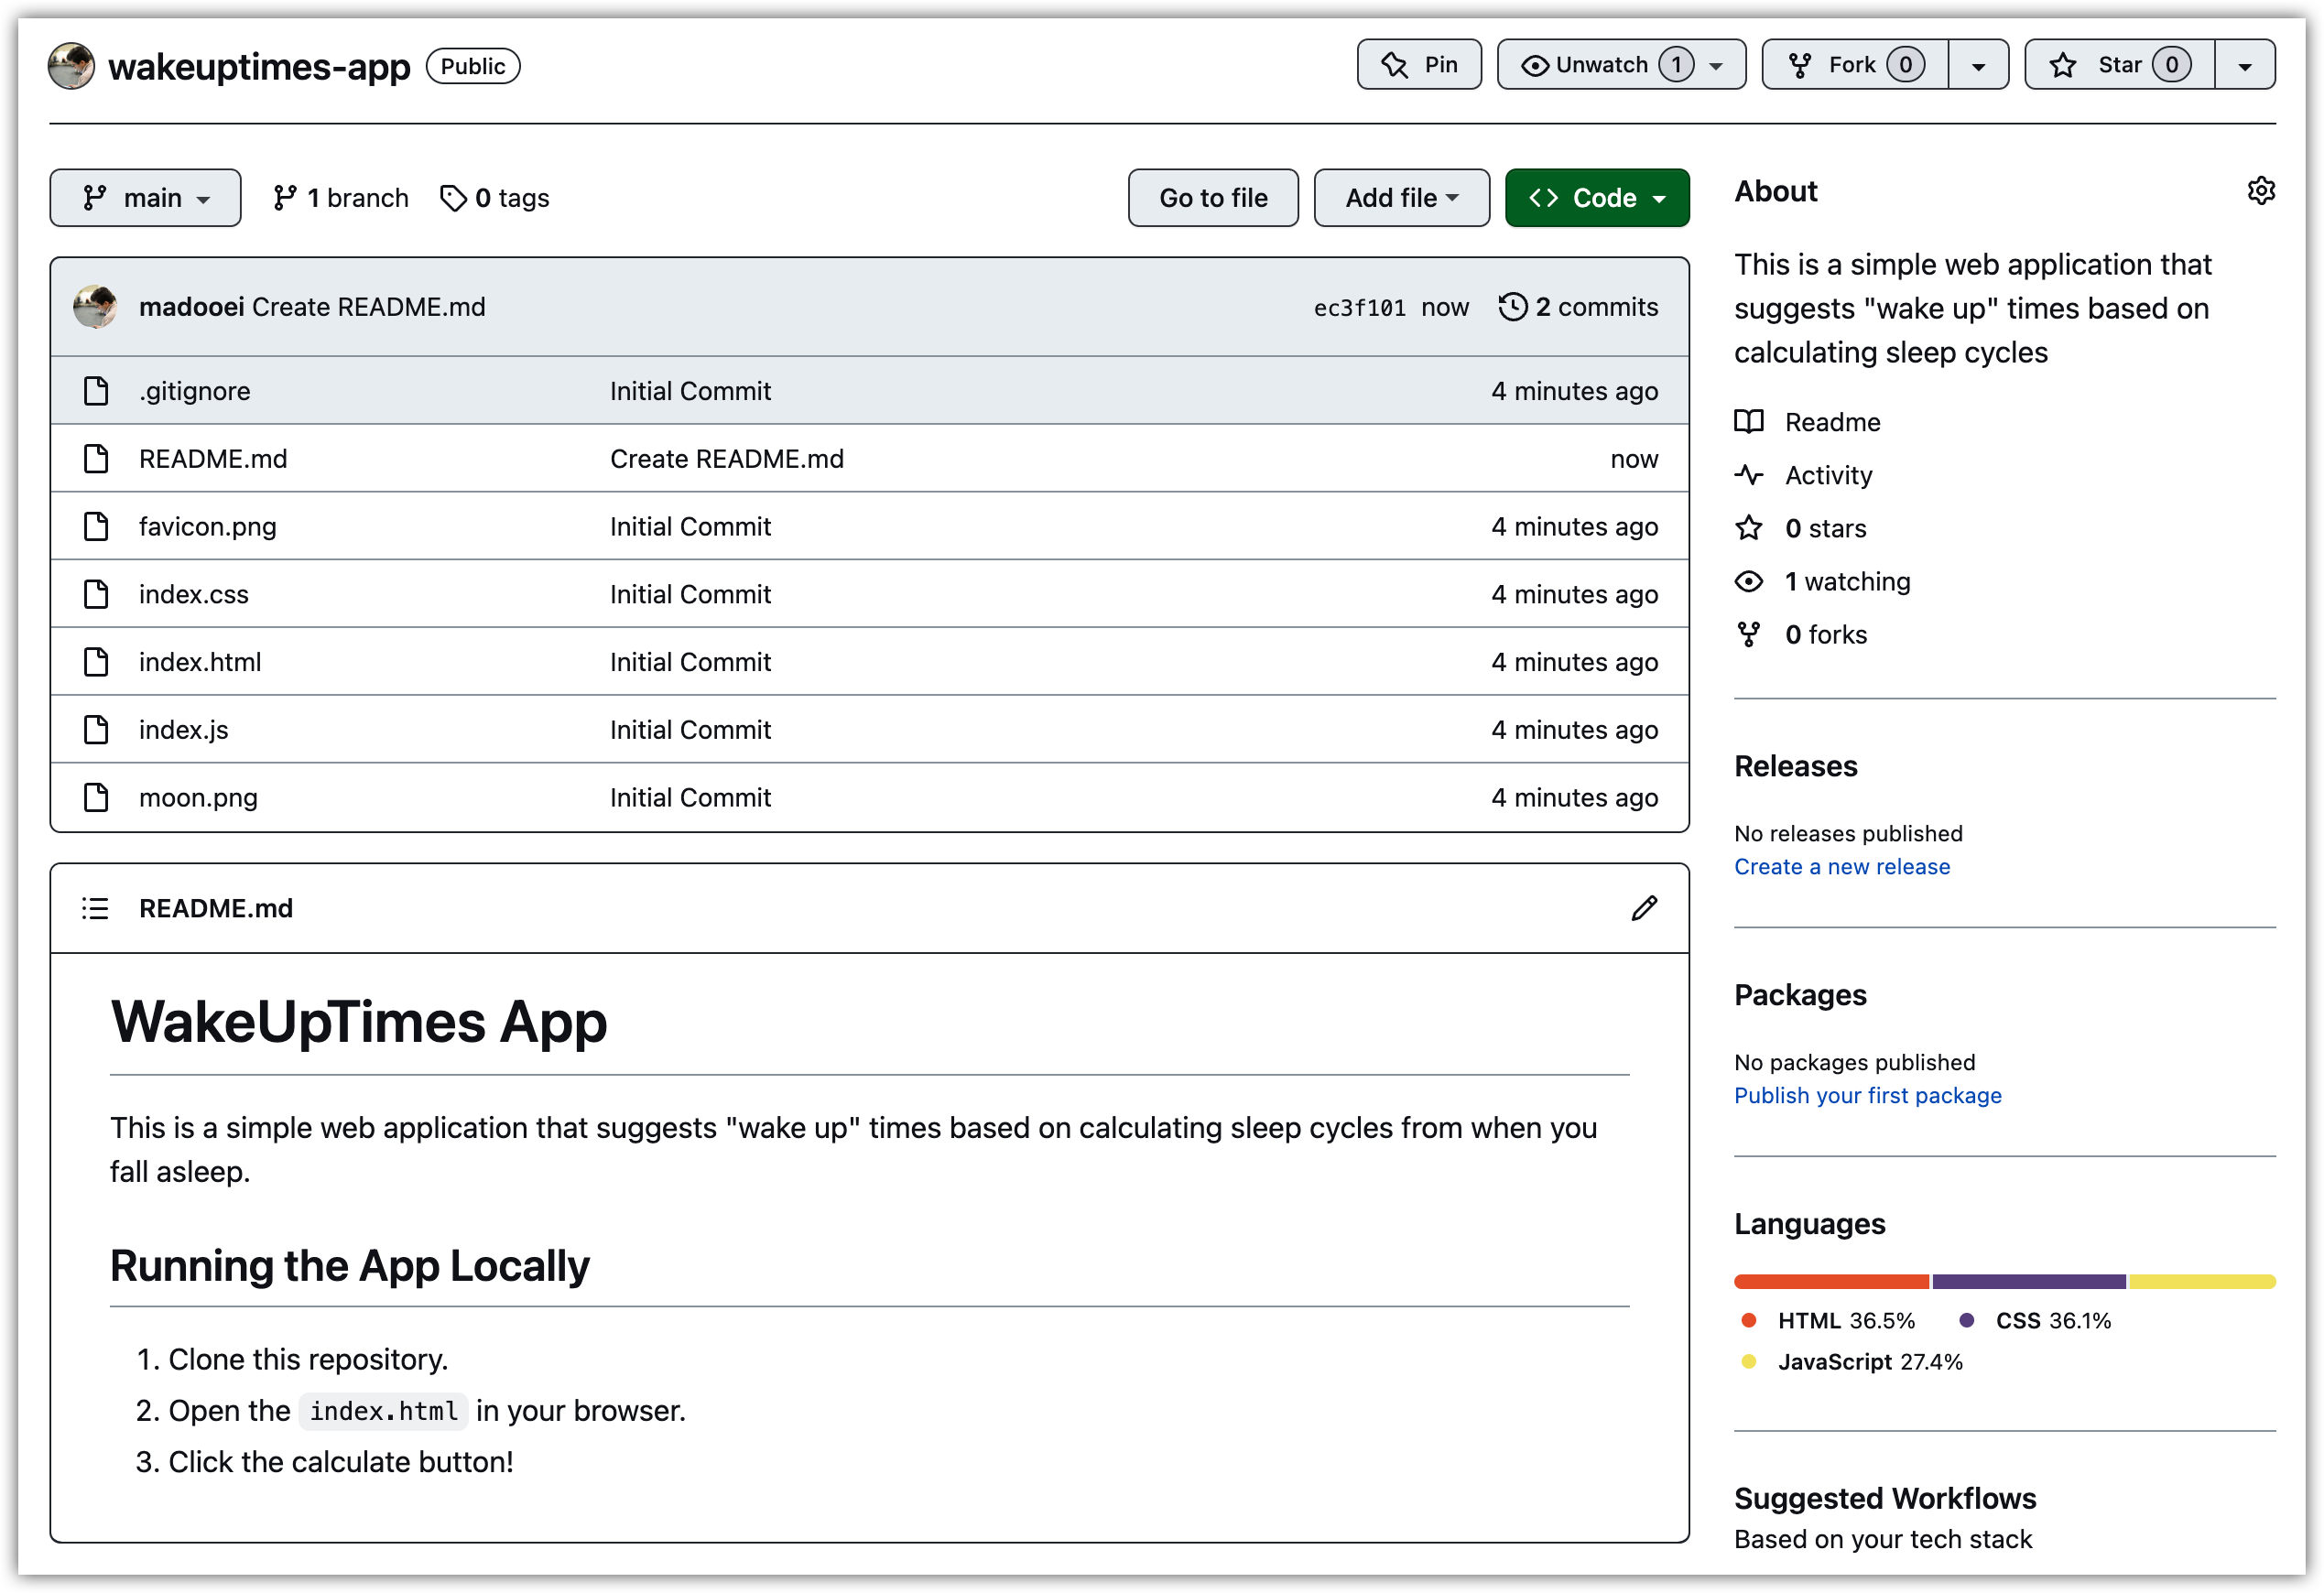
Once you have done this, refresh your repository page on GitHub and you should see the content of the wakeuptimes-app folder uploaded to your GitHub repository.
Step 2: Adding a README.md file to the repository
To add a README.md file to your GitHub repository, follow these steps:
- Go to your GitHub repository page and click on the "Add a README" button.
- In the editor that opens up, enter the following content:
# WakeUpTimes App

This is a simple web application that suggests "wake up" times based on calculating sleep cycles from when you fall asleep.

## Running the App Locally

1. Clone this repository.
2. Open the `index.html` in your browser.
3. Click the calculate button!
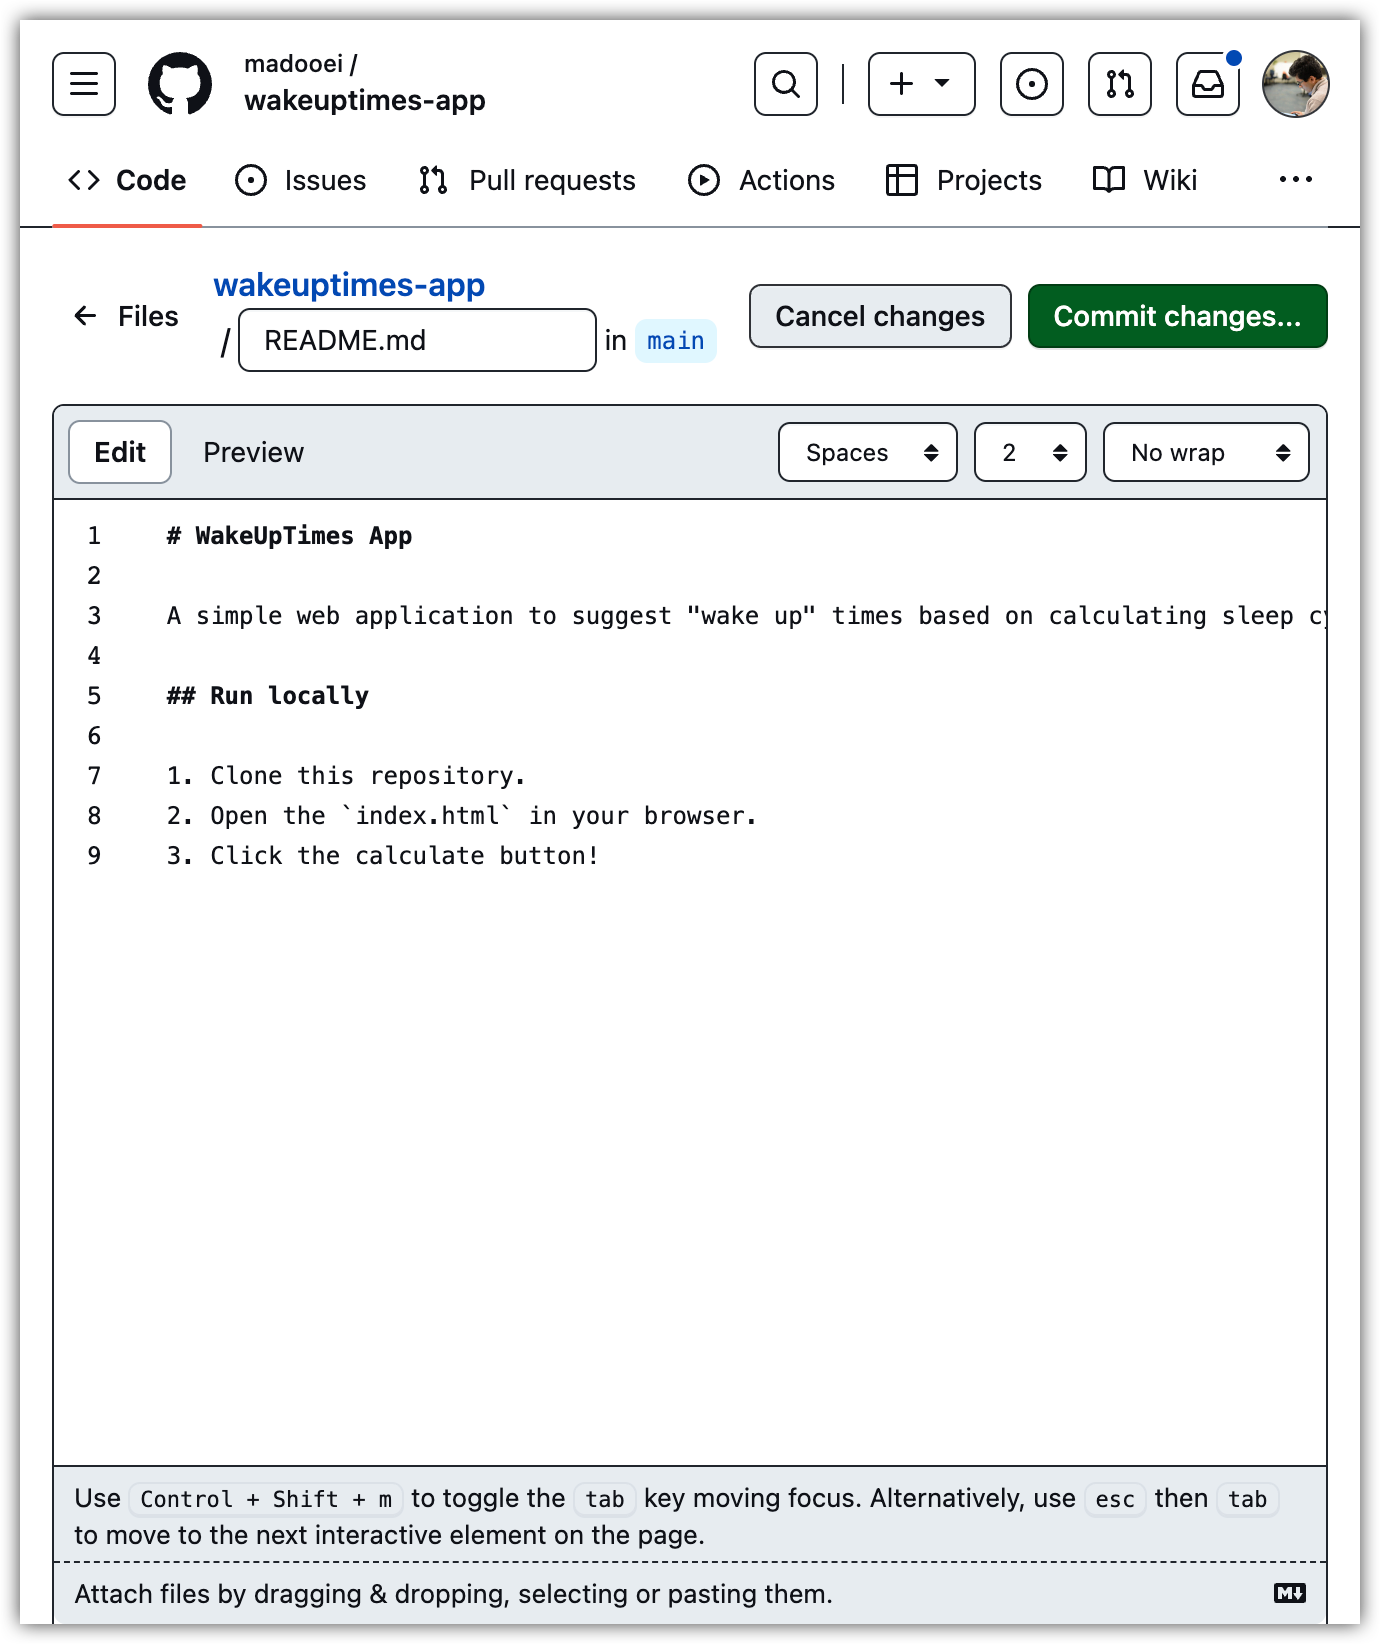
- After entering the content, click on the "Commit changes..." button.
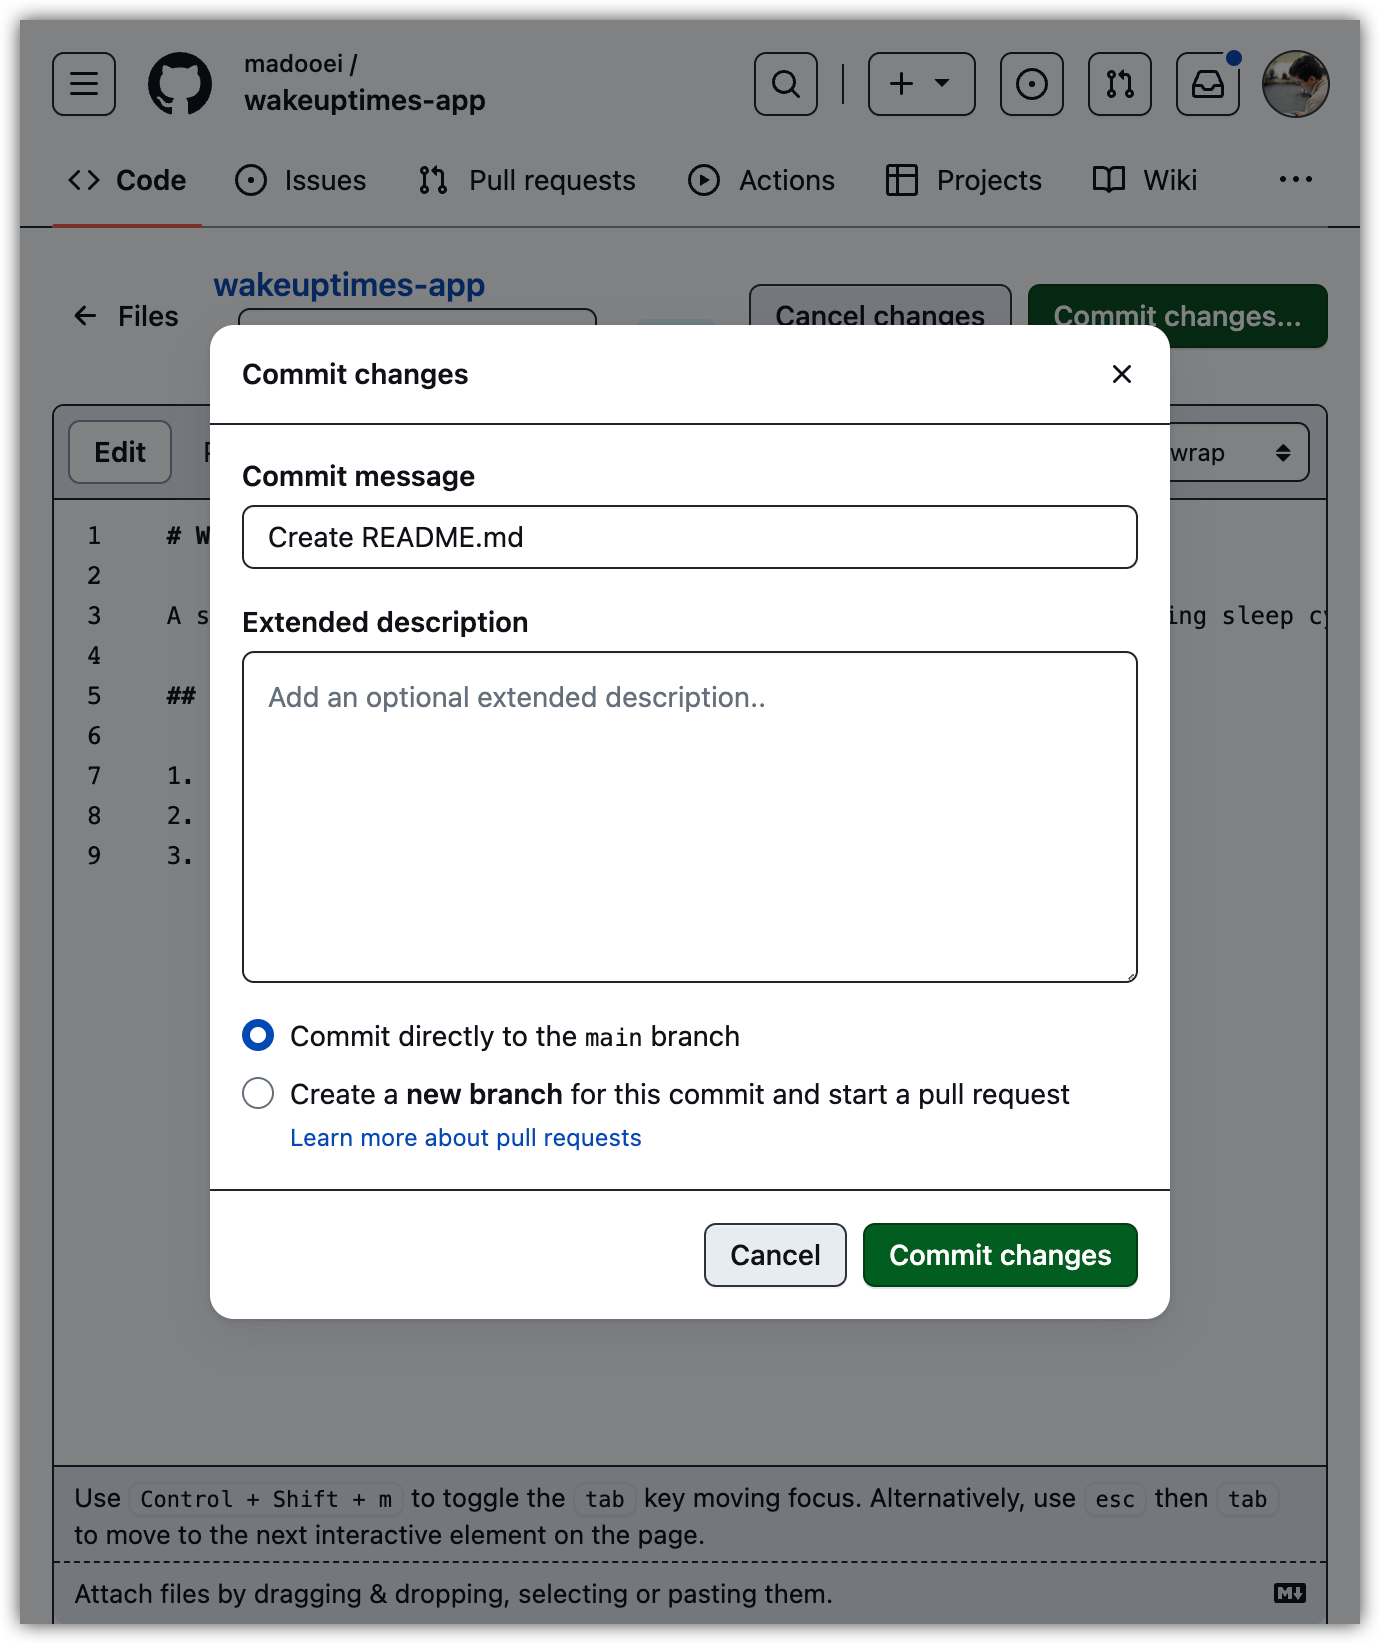
- The commit message is sufficiently descriptive, so click on the "Commit changes" button. Then, return to your GitHub repository page. You will notice that GitHub automatically loads the content of the
README.mdfile as the description of your repository.
Step 3: Fetch Changes from GitHub
To fetch changes from GitHub, open the terminal in your local git repository for this project and run the following commands:
git fetch
git pull
This should result in a response similar to the following:
Updating ecf25cb..d18a113
Fast-forward
README.md | 9 +++++++++
1 file changed, 9 insertions(+)
create mode 100644 README.md
Notice that the README.md file created on GitHub is now fetched and pulled down to your local repository.
Step 4: Clone a GitHub repository
GitHub makes it easy to share your coding projects. The process of downloading a GitHub repository to your computer is called "cloning." When you clone a repository, you get a copy of its history as a local Git repository. Downloading a repository (as opposed to cloning) only downloads the files from the most recent commit. Let's try it.
In the wakeuptimes-app folder, delete all the files using the following command:
rm -rf ./* ./.*
Next, run the following command, replacing <repository> with the URL of your GitHub repository (the one we made in the previous steps). Notice the trailing dot (.) at the end of the command, which indicates copying the repository content into the current folder.
git clone <repository> .
You now should have all the files you had deleted! This is a clone (a copy) of the GitHub repository.