Task 16: Implement Client-side Routing
In this task, we will leverage react-router-dom, a variant of react-router specifically tailored for web applications, to implement client-side routing in our React project. This will enhance our application's user experience by allowing fluid navigation and direct access to different views without the need for full page reloads.
What is Client-Side Routing?
Client-side routing is a fundamental concept in modern web development, especially in single-page applications (SPAs). Unlike traditional web applications where a new page is requested from the server each time the user navigates to a different part of the site, client-side routing enables navigation between different views of an SPA without refreshing the entire page. This is achieved by manipulating the browser's history API to update the URL and render different components based on the current route, all done within the browser.
Role of react-router
The react-router library is a popular client-side routing solution in the React ecosystem. It provides a set of navigation components and hooks that integrate seamlessly with React applications, allowing developers to implement dynamic routing. The library manages the synchronization between the UI and the URL, ensuring that users can navigate through, bookmark, and share URLs within the application. It supports features like route parameters, nested routes, and protected routes, making it an essential tool for creating rich, navigable web applications.
Step 1: Create an Aside Component
In this step, we will create an Aside component to enhance the structure of our application. This component will handle user authentication-related functionalities.
Follow these steps:
-
Updating
App.tsx: We start by updating theapp/src/App.tsxfile. The changes involve importing the newAsidecomponent and removing the direct import and usage of theLoginDialog,LogoutDialog, andRegisterDialogcomponents.+ import Aside from "./components/aside"; - import { LoginDialog } from "./components/auth/login-dialog"; - import { LogoutDialog } from "./components/auth/logout-dialog"; - import { RegisterDialog } from "./components/auth/register-dialog"; function App() { - const user = useStore((state) => state.user); return ( <div className="flex justify-center min-h-screen"> <Sidebar /> <Feed /> - <div className="flex flex-col gap-2 p-4"> - {user ? <LogoutDialog /> : <LoginDialog />} - {!user && <RegisterDialog />} - </div> + <Aside /> <Toaster /> </div> ); } export default App; -
Creating the
AsideComponent: Next, we create a new fileaside.tsxin theapp/src/componentsfolder. This component will conditionally render theLoginDialog,LogoutDialog, andRegisterDialogbased on the user's authentication status.import { useStore } from "@/lib/store"; import { LogoutDialog } from "./auth/logout-dialog"; import { RegisterDialog } from "./auth/register-dialog"; import { LoginDialog } from "./auth/login-dialog"; const Aside = () => { const user = useStore((state) => state.user); return ( <div className="flex flex-col gap-2 p-4"> {user ? <LogoutDialog /> : <LoginDialog />} {!user && <RegisterDialog />} </div> ); }; export default Aside;
After making these changes, it's important to stage and commit them to our version control system:
git add .
git commit -m "Add Aside component for user authentication"
This step encapsulates the user authentication-related elements in a single Aside component, simplifying the overall structure of the App.tsx file.
Step 2: Create a Main View
This step involves creating a dedicated MainView component. This component will serve as the primary layout for our application, housing key sections like the sidebar, feed, and aside components.
Follow these steps:
-
Organizing the File Structure: We start by creating a
viewssubfolder inside theapp/srcdirectory. This organization aids in maintaining a clear separation between different views of our application. -
Updating
App.tsx: Inapp/src/App.tsx, we replace direct references toSidebar,Feed, andAsidecomponents with a single reference to the newMainViewcomponent. This change streamlines theApp.tsxfile and delegates the responsibility of rendering these components toMainView.- import Sidebar from "./components/sidebar"; - import Feed from "./components/feed"; - import Aside from "./components/aside"; + import MainView from "./views/main-view"; function App() { return ( <div className="flex justify-center min-h-screen"> - <Sidebar /> - <Feed /> - <Aside /> + <MainView /> <Toaster /> </div> ); } export default App; -
Creating
MainViewComponent: Inapp/src/views, we create a new filemain-view.tsx. This component is a composition of theSidebar,Feed, andAsidecomponents, forming the main layout of our application.import Aside from "@/components/aside"; import Feed from "@/components/feed"; import Sidebar from "@/components/sidebar"; const MainView = () => { return ( <> <Sidebar /> <Feed /> <Aside /> </> ); }; export default MainView;
Once these changes are complete, we stage and commit them to ensure that our version control system is up to date:
git add .
git commit -m "Add MainView component"
This step effectively centralizes the main layout components of our application into a single, manageable MainView component, enhancing the readability and maintainability of our code.
Step 3: Add React Router
In this step, we integrate react-router-dom into our application. This library enables client-side routing, allowing us to create a single-page application (SPA) with navigable, bookmarkable pages without refreshing the browser.
Follow these steps:
-
Installing
react-router-dom: We begin by addingreact-router-domto our project. This package is essential for enabling dynamic client-side routing in React applications.pnpm add react-router-dom -
Updating
App.tsx: In theapp/src/App.tsxfile, we import necessary functionalities fromreact-router-dom, such ascreateBrowserRouterandRouterProvider. These imports are crucial for setting up the router.import { createBrowserRouter, RouterProvider } from "react-router-dom";We then create a browser router and configure our first route. This configuration is fundamental for defining navigable paths in the application.
const router = createBrowserRouter([
  {
    path: "/",
    element: <MainView />,
  },
]);
Lastly, we update the
Appcomponent's return statement to include theRouterProvider. This wraps our application with the routing context.return ( <div className="flex justify-center min-h-screen"> - <MainView /> + <RouterProvider router={router} /> <Toaster /> </div> );
After configuring react-router-dom, we need to stage and commit these changes:
git add .
git commit -m "Add react-router-dom to App component"
This step is crucial as it introduces client-side routing, making our application more dynamic and user-friendly by allowing different views to be displayed under specific routes without reloading the entire page.
Step 4: Show a 404 for Undefined Routes
This step involves creating a mechanism to handle undefined routes in our application by displaying a custom 404 error page. This enhances user experience by providing clear feedback when a user navigates to a non-existent route.
Follow these steps:
-
Creating an Error Page: To begin, we will add a new component called
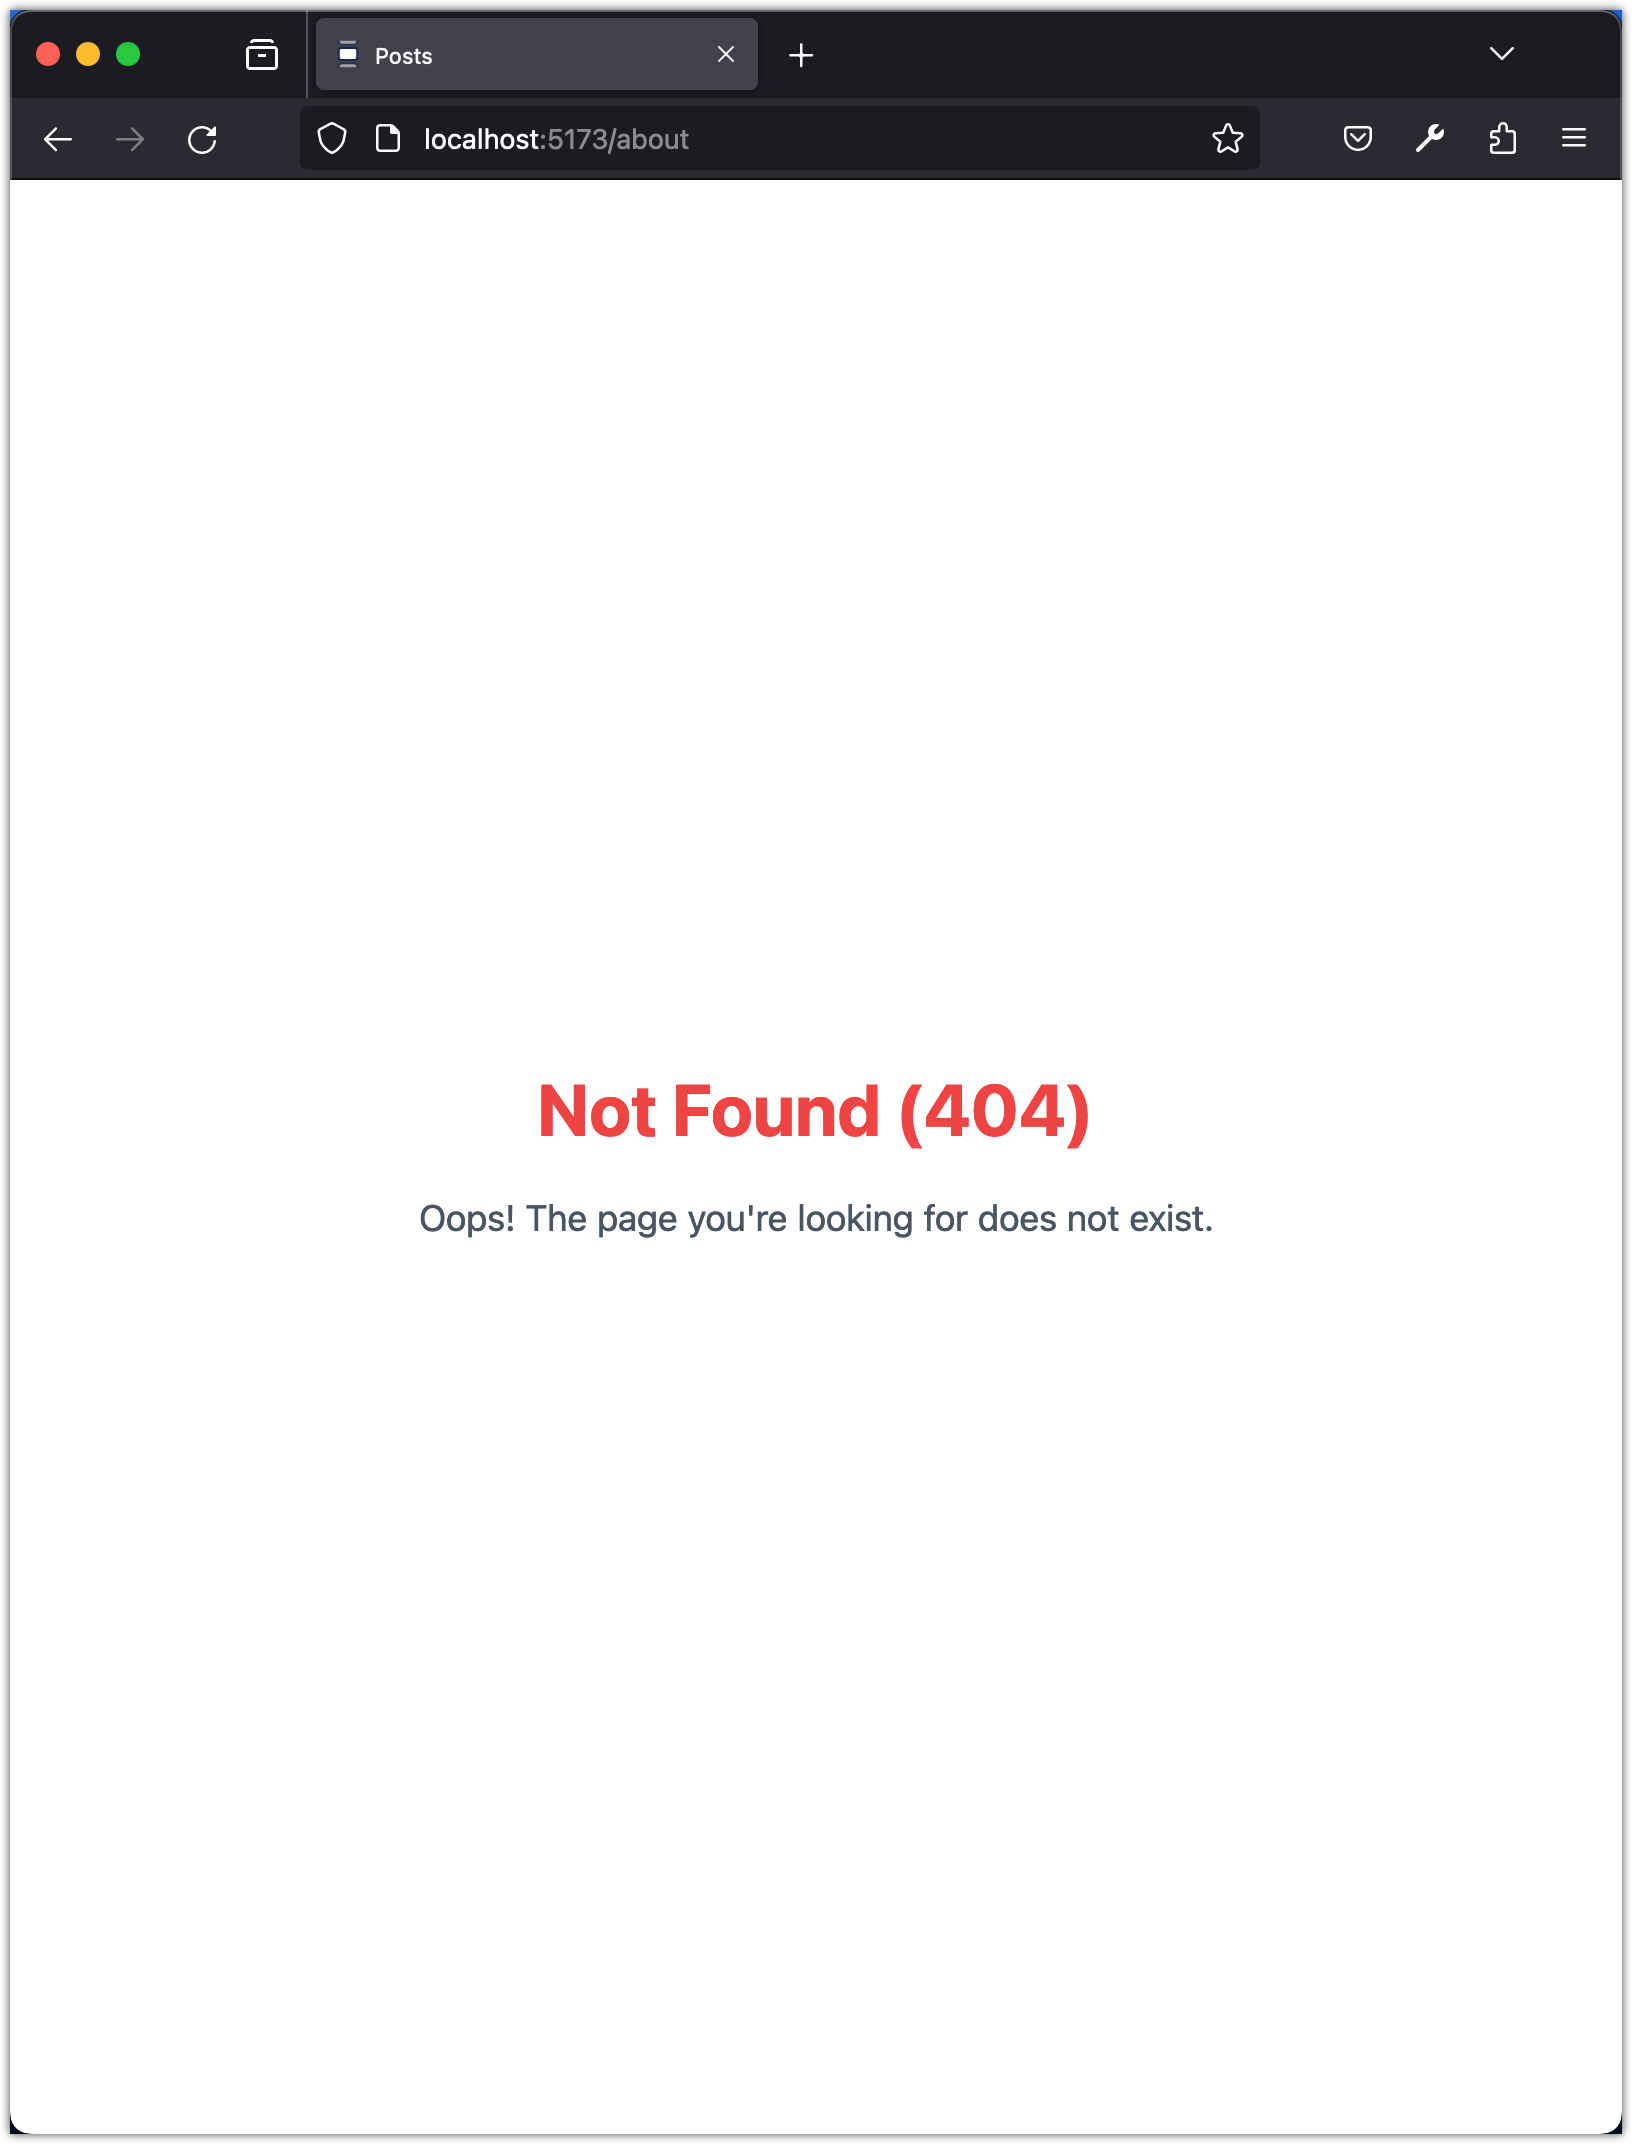
ErrorPage. This component will be responsible for displaying a message indicating that the requested page was not found. TheErrorPagecomponent is created in theerror-page.tsxfile located in theapp/src/viewsfolder.const ErrorPage = () => { return ( <div className="flex flex-col items-center justify-center h-screen gap-5 "> <h1 className="text-4xl font-bold text-red-500">Not Found (404)</h1> <p className="text-lg text-gray-600"> Oops! The page you're looking for does not exist. </p> </div> ); }; export default ErrorPage; -
Updating Router Configuration: Next, we update the
createBrowserRouterin theapp/src/App.tsxfile to include anerrorElementproperty. This property specifies the component to render when no other routes match the current URL, effectively handling undefined routes.const router = createBrowserRouter([ { path: "/", element: <MainView />, errorElement: <ErrorPage />, }, ]);
Testing the 404 Page
To ensure the error page works as expected, we test the application by navigating to an undefined route, such as http://localhost:5173/about.
Code Staging and Committing
After implementing and testing the error page, we stage and commit these changes to maintain version control:
git add .
git commit -m "Add error page component"
This step is essential for providing a better user experience, as it handles undefined routes gracefully and informs the user clearly when a page does not exist.
Step 5: Navigate Back to Homepage from Error Page
This step focuses on enhancing the user experience of the error page by adding a button that allows users to easily navigate back to the homepage. This feature provides a convenient way for users to return to the main content of the application after encountering a 404 error.
Implementation Details
Adding a Navigation Button: We modify the ErrorPage component to include a "Go Home" button. This button, when clicked, will redirect the user back to the homepage.
import { Button } from "@/components/ui/button";
import { useNavigate } from "react-router-dom";

const ErrorPage = () => {
  const navigate = useNavigate();

  const handleClickHome = () => {
    navigate("/");
  };

  return (
    <div className="flex flex-col items-center justify-center h-screen gap-5 ">
      <h1 className="text-4xl font-bold text-red-500">Not Found (404)</h1>
      <p className="text-lg text-gray-600">
        Oops! The page you're looking for does not exist.
      </p>
      <Button onClick={handleClickHome}>Go Home</Button>
    </div>
  );
};

export default ErrorPage;
Understanding the useNavigate Hook
The useNavigate hook from react-router-dom is used to programmatically navigate within the app. It returns a function that can be called to navigate to different routes.
In this implementation, handleClickHome is a function that invokes navigate("/"), which directs the user back to the root route (/) of the application, effectively taking them to the homepage.
Code Staging and Committing
After integrating the navigation functionality into the error page, we proceed to stage and commit the changes:
git add .
git commit -m "Add Go Home button to error page"
This addition to the error page enhances navigation within the application, providing a seamless and user-friendly experience, especially in cases where users encounter a 404 error.
Step 6: Create a Dedicated Route for Each Post
In this step, we aim to establish dedicated routes for individual posts in our application. This feature will allow users to access and share links to specific posts directly, enhancing the app's usability and navigability.
Implementation Details
We modify the post-actions.tsx file in the app/src/components/post folder to include a link to each post. This link will be a part of the post's dropdown menu, allowing users to navigate to or copy the URL of a specific post.
+ import { Link } from "react-router-dom";

- <DropdownMenuItem>Copy link to post</DropdownMenuItem>
+ <DropdownMenuItem>
+   <Link to={`posts/${postId}`}>Link to post</Link>
+ </DropdownMenuItem>
The Link component from react-router-dom is used to create navigable links without reloading the page.
Understanding the Link Component
The Link component is crucial for creating internal navigation links in React applications. It enables navigation to different routes defined in the application without a full page refresh, which is essential for a single-page application (SPA).
In our implementation, <Link to={posts/${postId}}> creates a link that, when clicked, navigates the user to the route corresponding to the specific post.
Testing the Feature
To verify the functionality, we test the application by clicking on the "Link to post" option in the post's dropdown menu. This action should navigate us to the dedicated page for the respective post.
Code Staging and Committing
Once the dedicated routes for posts are implemented and tested, we stage and commit the changes:
git add .
git commit -m "Add link to post in post actions"
This step significantly improves the application by enabling direct navigation and linking to individual posts, thereby increasing the app's interactivity and shareability.
Step 7: Add Post View
In this step, we introduce a PostView component to our application. This component will render a single post along with its comments, providing a focused view for each post.
Follow these steps:
-
Creating the
PostViewComponent: We create a new filepost-view.tsxin theapp/src/viewsfolder. This component will be responsible for displaying a single post and its associated comments.import Aside from "@/components/aside"; import Comments from "@/components/comment/comments"; import Post from "@/components/post/post"; import Sidebar from "@/components/sidebar"; import useQueryPosts from "@/hooks/use-query-posts"; import { useStore } from "@/lib/store"; import { PostWithUserData } from "@/lib/types"; import { useEffect, useState } from "react"; const PostView = () => { const { posts } = useQueryPosts(); const [post, setPost] = useState<PostWithUserData | null>(null); const setSelectedPostId = useStore((state) => state.setSelectedPostId); const selectedPostId = useStore((state) => state.selectedPostId); useEffect(() => { if (posts && posts.length !== 0) { setPost(posts[0]); setSelectedPostId(posts[0].id); } }, [posts]); return ( <> <Sidebar /> <div className="flex flex-col w-full min-h-screen border-x-2 border-slate-400 md:max-w-xl"> {post && <Post post={post} />} {post && selectedPostId && <Comments />} </div> <Aside /> </> ); }; export default PostView;The
PostViewuses theuseQueryPostshook to fetch posts and then sets the selected post based on the posts available.Inside the
useEffecthook, the code updates thepoststate and assigns the selected post ID when the list of posts is successfully fetched. We will soon modify this code to fetch a post based on the post ID found in the URL. -
Updating the Router Configuration: We then update the
createBrowserRouterin theapp/src/App.tsxfile to include a route forPostView. This addition allows users to navigate to a specific post using its dedicated route.const router = createBrowserRouter([ { path: "/", element: <MainView />, errorElement: <ErrorPage />, }, { path: "/posts/:postId", element: <PostView />, errorElement: <ErrorPage />, }, ]);
Testing the Post View
To ensure the PostView component functions correctly, we test the application by navigating to a post's dedicated route, such as http://localhost:5173/posts/1.
Code Staging and Committing
After completing the implementation and testing of the PostView component, we stage and commit the changes:
git add .
git commit -m "Add PostView component"
This step enhances the application's functionality by providing a dedicated view for individual posts, allowing users to focus on a single post and its comments, thus enriching the user experience.
Step 8: Fetch a Post Based on Route Parameter
This step focuses on enhancing the PostView component to fetch and display a specific post based on the post ID obtained from the route parameter. This functionality allows users to view individual posts directly via their unique URLs.
Implementation Details
Backend Updates for findOne Operations: We update the findOne method in both the posts.service.ts and posts.controller.ts files of our backend (API). These updates allow the backend to handle requests for individual posts based on their ID.
-
Update the
findOneoperation in theapi/src/posts/posts.service.tsfile:async findOne(id: string, withUserData?: boolean): Promise<Post | null> { const relations = []; if (withUserData) { relations.push("user"); } return this.postRepository.findOne({ where: { id }, relations, }); } -
Update the
findOneoperation in theapi/src/posts/posts.controller.tsfile:@Get(":id") async findOne( @Param("id") id: string, @Query("withUserData") withUserData?: boolean, ): Promise<PostResponseDTO> { const post = await this.postsService.findOne(id, withUserData); if (!post) { throw new NotFoundException(`Post with ID ${id} not found`); } delete post.userId; if (withUserData) { delete post.user.password; } return post; }
Frontend Implementation: We have made updates to the API functions and our custom hooks to support fetching a single post. Furthermore, we have made modifications to the PostView component to retrieve the post ID from the route parameter and fetch the corresponding post.
-
In the
api.tsfile, we add a new functionfetchPostByIdto fetch a specific post using its ID.// Fetch a post given its id export const fetchPostById = async (id: string): Promise<PostWithUserData> => { const response = await fetch(`${API_URL}/posts/${id}?withUserData=true`); const responseJson = await response.json(); if (!response.ok) { handleError(response, responseJson.message); } return responseJson.data; }; -
We then update the
useQueryPostshook to include aloadPostfunction. This function usesfetchPostByIdto retrieve the desired post.const loadPost = async (id: string) => { let post = null; try { post = await fetchPostById(id); setPost(post); setSelectedPostId(post.id); } catch (error) { setPost(null); clearSelectedPostId(); toast({ variant: "destructive", title: "Failed to fetch posts", description: (error as Error).message || "There was an error loading the posts. Please try again later.", }); } };Make sure to import the
setSelectedPostIdandclearSelectedPostIdfunctions from theuseStorehook, and define state to hold the selected post:const setSelectedPostId = useStore((state) => state.setSelectedPostId); const clearSelectedPostId = useStore((state) => state.clearSelectedPostId); const [post, setPost] = useState<PostWithUserData | null>(null);Also, include the necessary imports and return
postandloadPost. -
Finally, we modify the
PostViewcomponent to use theuseParamshook fromreact-router-dom. This hook allows us to access the post ID from the route parameter and fetch the corresponding post.import Aside from "@/components/aside"; import Comments from "@/components/comment/comments"; import Post from "@/components/post/post"; import Sidebar from "@/components/sidebar"; import useQueryPosts from "@/hooks/use-query-posts"; import { useStore } from "@/lib/store"; import { useEffect } from "react"; import { useParams } from "react-router-dom"; const PostView = () => { const { postId } = useParams(); const { post, loadPost } = useQueryPosts(); const selectedPostId = useStore((state) => state.selectedPostId); useEffect(() => { if (postId) { loadPost(postId); } }, [postId]); return ( <> <Sidebar /> <div className="flex flex-col w-full min-h-screen border-x-2 border-slate-400 md:max-w-xl"> {post && <Post post={post} />} {post && selectedPostId && <Comments />} </div> <Aside /> </> ); }; export default PostView;
Understanding the useParams Hook
The useParams hook is a hook provided by the react-router-dom library. It allows you to access the dynamic parameters from the URL in your React components.
When you define a route with a parameter in your router configuration, such as "/posts/:postId", the useParams hook allows you to retrieve the value of postId from the URL. For example, if the URL is "/posts/123", useParams will give you an object with the value { postId: "123" }.
Note that the useParams hook can only be used within a component that is rendered by a RouterProvider component. It will not work outside of the router context.
Testing the Feature
We test the updated PostView component by navigating to specific post URLs. Each URL should display the corresponding post along with its comments.
Code Staging and Committing
Once the feature is implemented and tested, we stage and commit the changes:
git add .
git commit -m "Update PostView to load post based on postId parameter"
This step crucially adds the ability to view individual posts based on their unique IDs, significantly enhancing the application's navigability and user experience.
Step 9: Add Navigation Functionality to Home Button in Sidebar
In the final step of Task 16, we enhance the navigation experience by adding functionality to the "Home" button in the sidebar. This update allows users to quickly return to the homepage from anywhere within the application.
Implementation Details
-
Updating the
SidebarComponent: We modify theSidebarcomponent located inapp/src/components/sidebar.tsxto include navigation functionality. TheuseNavigatehook fromreact-router-domis employed to programmatically navigate to the homepage.import { HomeIcon, MagnifyingGlassIcon } from "@radix-ui/react-icons"; import { Button } from "./ui/button"; import { AddPostDialog } from "./post/add-post-dialog"; import { useNavigate } from "react-router-dom"; const Sidebar = () => { const navigate = useNavigate(); const handleClickHome = () => { navigate("/"); }; return ( <div className="flex flex-col gap-2 p-4"> <Button variant={"ghost"} size="sm" onClick={handleClickHome}> <HomeIcon className="w-5 h-5" /> </Button> <Button variant={"ghost"} size="sm"> <MagnifyingGlassIcon className="w-5 h-5" /> </Button> <AddPostDialog /> </div> ); }; export default Sidebar;The
handleClickHomefunction is attached to the "Home" button'sonClickevent. When clicked, it triggers navigation to the root path ("/"), effectively directing the user to the homepage. -
Updating the
MainViewComponent: We also update theMainViewcomponent inapp/src/views/main-view.tsxto ensure that the selected post ID is cleared when navigating back to the homepage. This is important for resetting the application state and displaying the homepage view correctly.import Aside from "@/components/aside"; import Feed from "@/components/feed"; import Sidebar from "@/components/sidebar"; import { useStore } from "@/lib/store"; import { useEffect } from "react"; const MainView = () => { const clearSelectedPostId = useStore((state) => state.clearSelectedPostId); useEffect(() => { clearSelectedPostId(); }, []); return ( <> <Sidebar /> <Feed /> <Aside /> </> ); }; export default MainView;The
useEffecthook with an empty dependency array ensures that theclearSelectedPostIdfunction is called when theMainViewcomponent mounts, resetting the selected post ID.
Testing the Navigation
To test the new navigation functionality, click on the "Home" button in the sidebar and verify that the application navigates back to the homepage, displaying the feed view.
Code Staging and Committing
After successfully integrating and testing the navigation functionality, we stage and commit the changes:
git add .
git commit -m "Add navigation functionality to home button in sidebar"
This final step enhances the navigational ease of the application, allowing users to quickly return to the homepage from any point within the app, thereby improving the overall user experience.
That concludes Task 16: Implement Client-side Routing.