Task 8: Deploying the app as a GitHub Page
GitHub Pages allows you to host a website from your repository. In this task, we will deploy our WakeUpTimes app as a GitHub Page.
Step 1: Add a .nojekyll file to the repository
By default, GitHub Pages uses a static site builder called Jekyll. However, we do not need Jekyll as we have already built our website! To inform GitHub of this, we need to add a .nojekyll file to our repository.
To do so, go to your local repository (the wakeuptimes-app folder on your computer) and add the file .nojekyll. The file should have a leading dot in its name and no content (it should be empty). Once you've created the file, commit the changes using the following commands:
touch .nojekyll
git add .nojekyll
git commit -m "Add .nojekyll"
Note that although the changes are committed in your local repository, the remote repository on GitHub is still behind your local repository.
git push
To sync the local and remote repositories, you need to push the latest local commits to the remote repository. You can accomplish this by running the following command:
git push
Once this is complete, go to your repository page on GitHub. You should now see a .nojekyll file in the repository.
Step 2: Deploy the application as a GitHub page
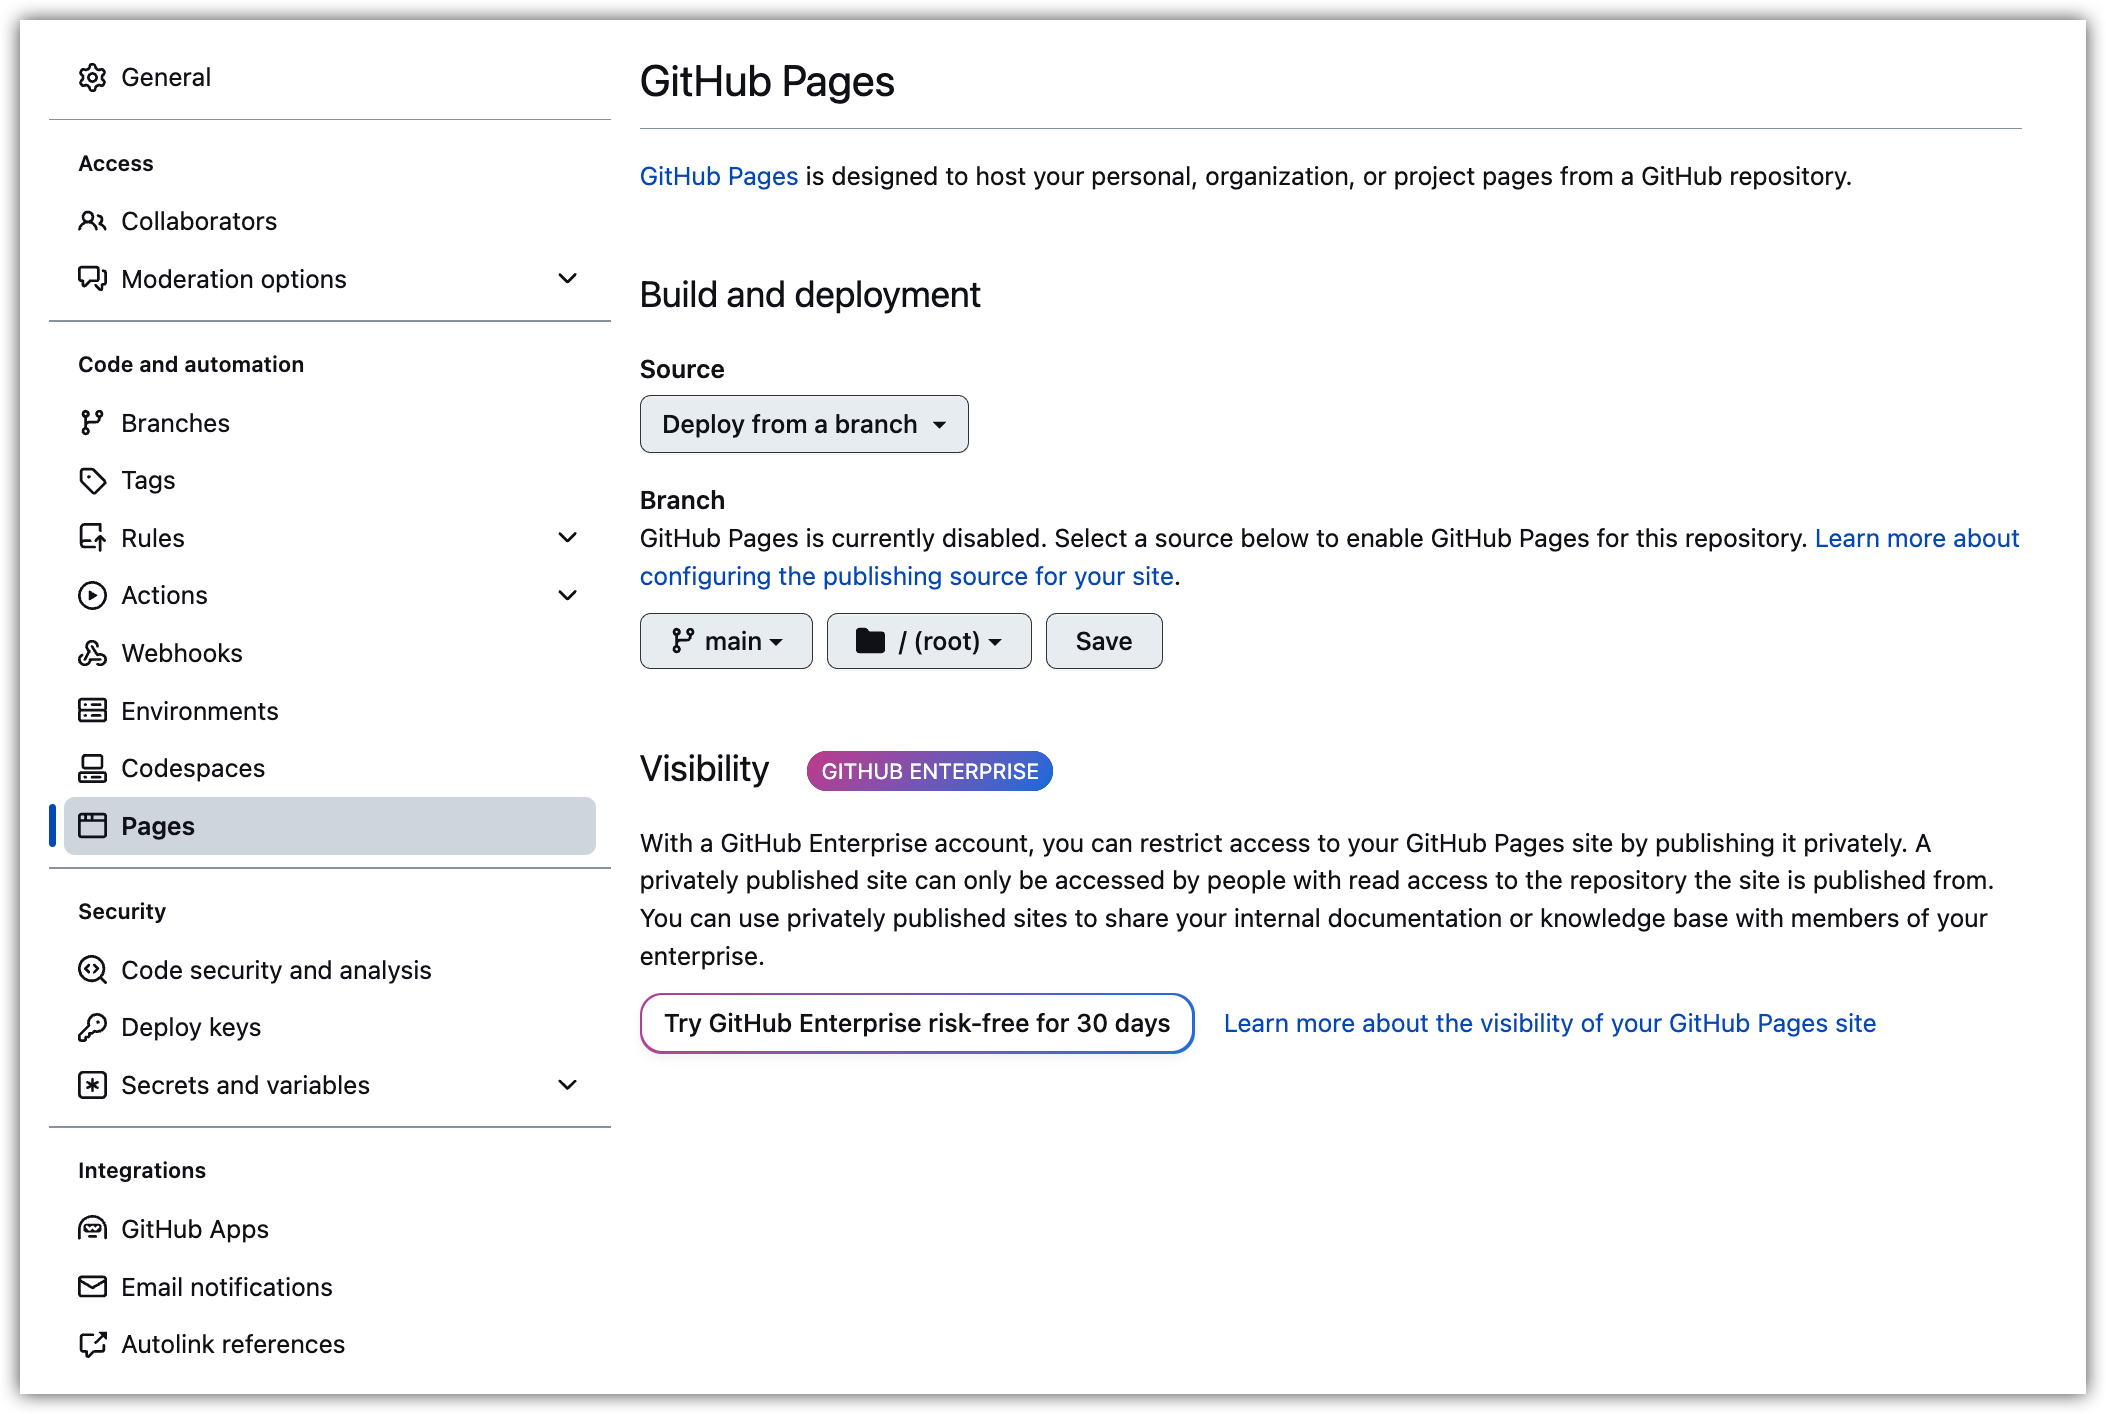
Firstly, navigate to the "settings" tab in your GitHub repository. Then, locate the "GitHub Pages" section and set its source to the "main" branch, as shown in the image below.
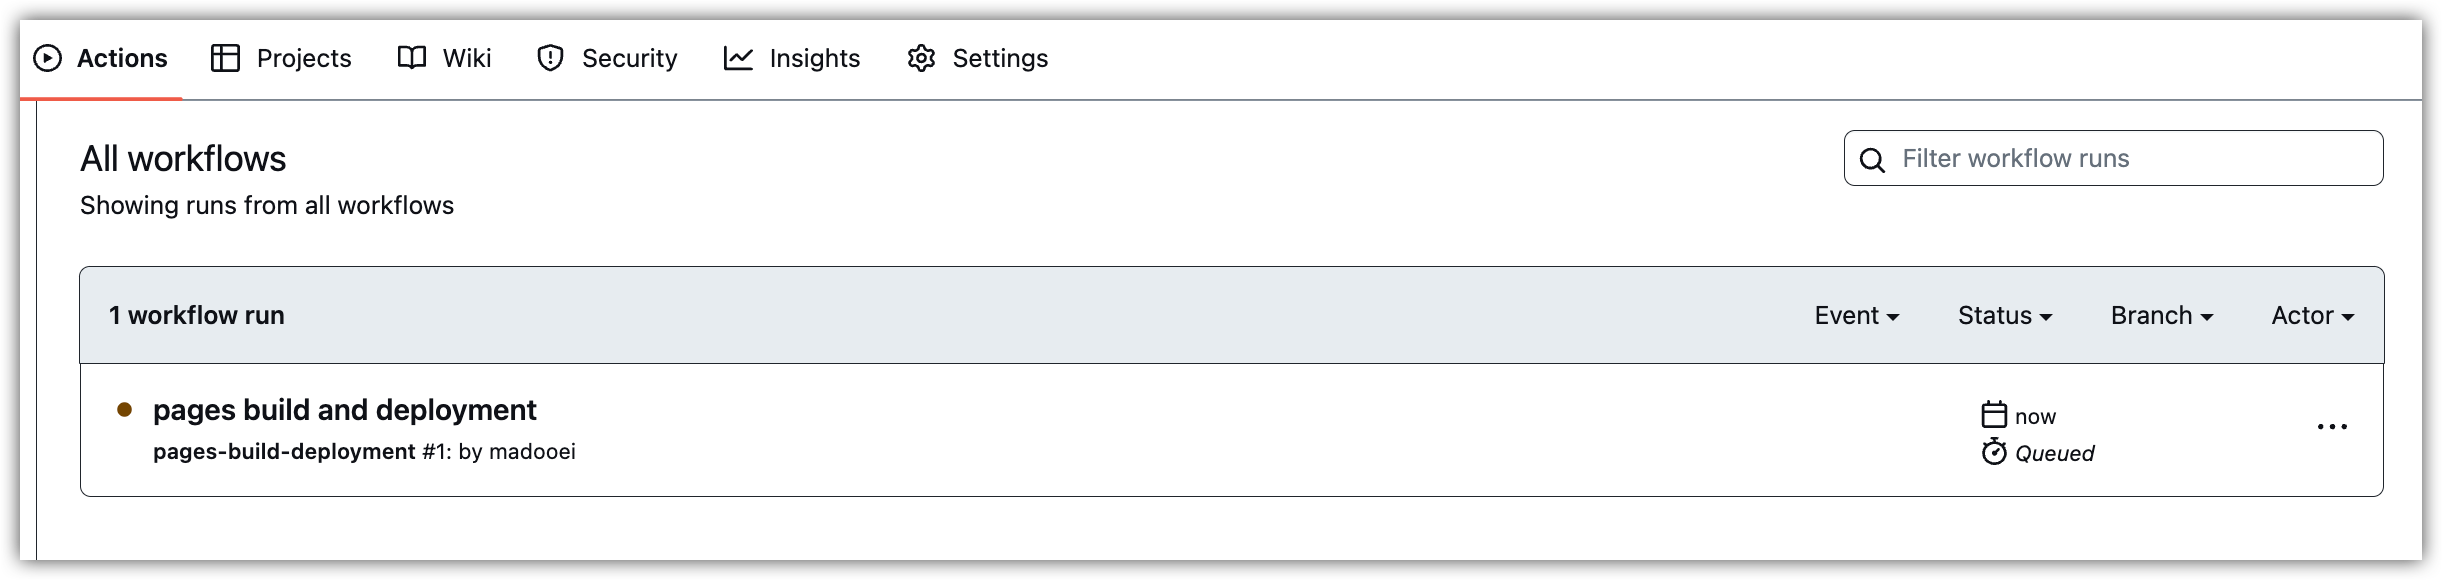
After saving the changes, GitHub will begin building the page for your app. You can view this action in the Actions tab.
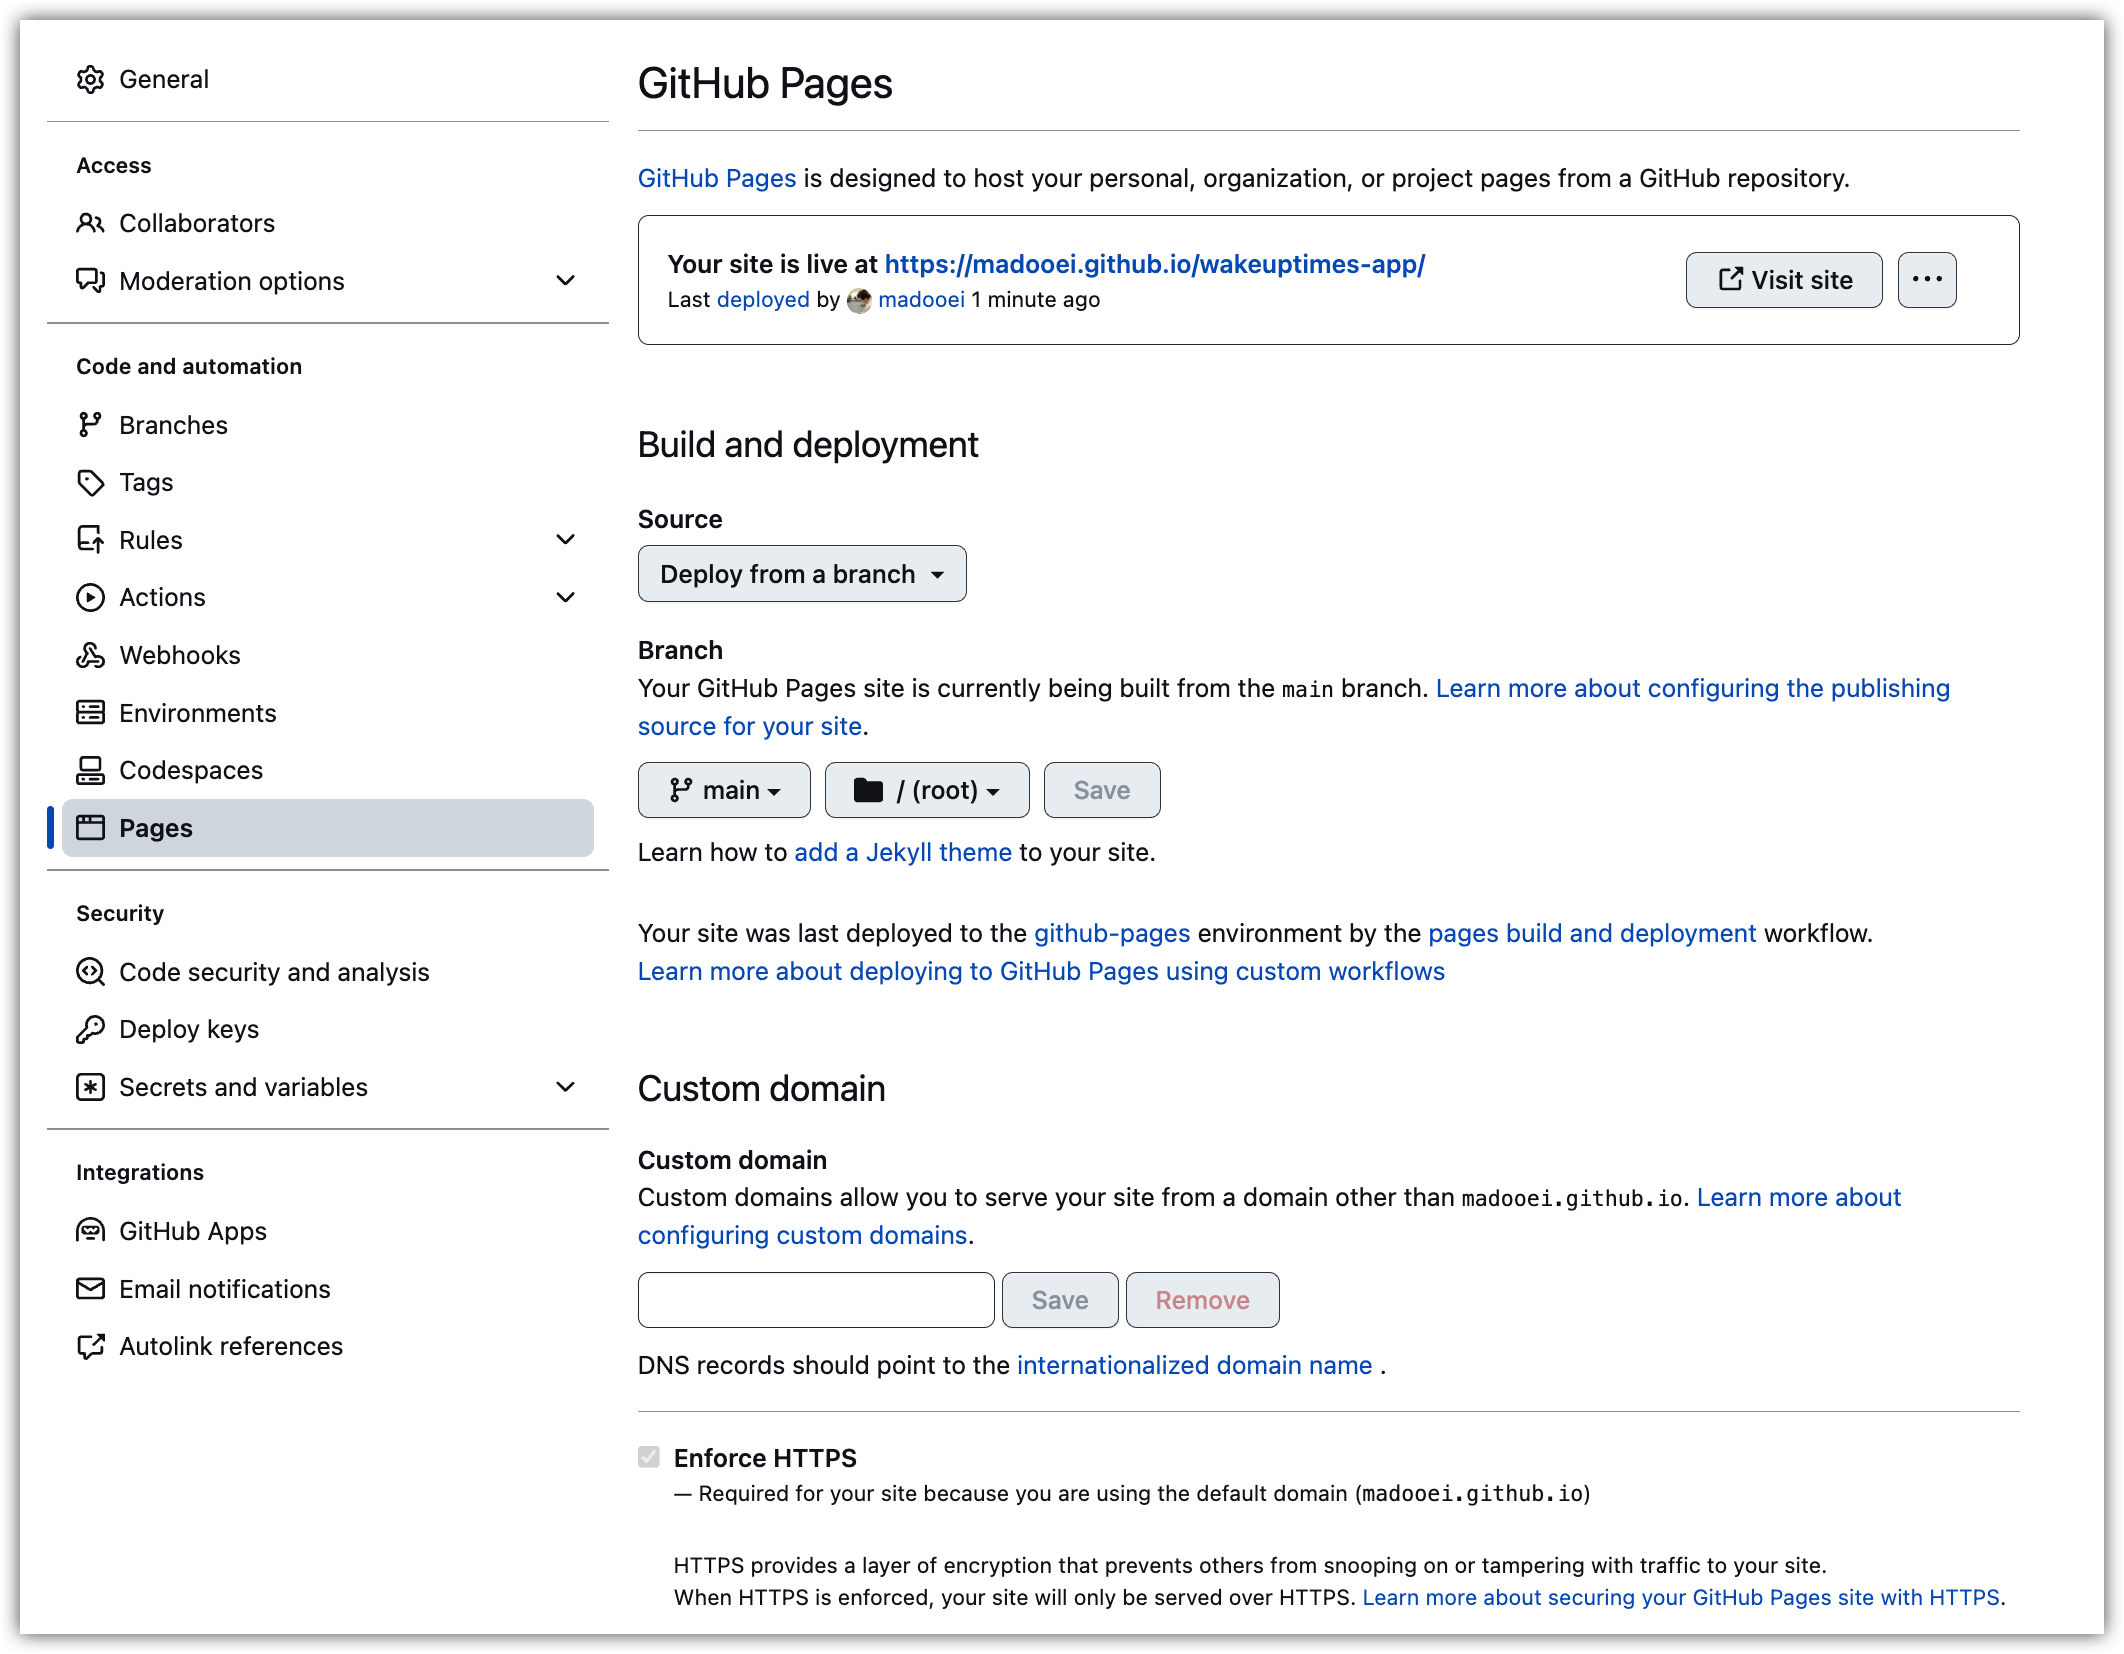
Once the action is complete (indicated by a green checkmark), go back to the Settings tab and navigate to the Pages section. The URL for your deployed application will be displayed.
Click on the link to view your app, which should now be deployed and available on the internet!