Task 5: Improvements
In this section, we will make some improvements to the style and presentation of our WakeUpTimes app. We will add some CSS to make the app more visually appealing and user-friendly. We will also add some additional content to help users understand how the app works and how to use it effectively.
Step 1: Add static assets
Download the following assets.zip file to your computer, unzip and copy the containing files (moon.png and favicon.png) to the wakeuptimes-app folder.
Step 2: Update the HTML file
Replace the index.html content with the following:
<!DOCTYPE html>
<html lang="en-us">
  <head>
    <meta charset="UTF-8" />
    <meta name="viewport" content="width=device-width, initial-scale=1.0" />
    <link rel="icon" type="image/x-icon" href="favicon.png" />
    <title>WakeUpTimes App</title>
    <link
      href="https://fonts.googleapis.com/css?family=Roboto"
      rel="stylesheet"
    />
    <link rel="stylesheet" href="index.css" />
  </head>
  <body>
    <main id="app">
      <section id="prompt-section">
        <h1>WakeUpTimes App</h1>
        <p>
          A sleep cycle lasts about 90 minutes, and a good night's sleep
          consists of 5-6 sleep cycles.
        </p>
        <p>
          If you wake up in the middle of a sleep cycle, you will feel groggy,
          even if you've completed several cycles prior to waking up.
        </p>
        <p>If you go to bed now, when should you wake up?</p>
        <button id="calc-btn">Calculate</button>
      </section>

      <div id="img-container">
        <img src="moon.png" alt="Sleep Cycle" />
      </div>

      <section id="result-section" class="hidden">
        <div class="button-group">
          <button id="return-btn">←</button>
          <button id="refresh-btn">Refresh</button>
        </div>

        <p>
          If you go to bed right now<sup>*</sup>, try to wake up at one of these
          times:
        </p>

        <div id="wakeup-hours-div" class="wakeup-hours">
          <div id="cycle-1" class="cycle">12:15 AM</div>
          <div id="cycle-2" class="cycle">1:45 AM</div>
          <div id="cycle-3" class="cycle">3:15 AM</div>
          <div id="cycle-4" class="cycle">4:45 AM</div>
          <div id="cycle-5" class="cycle">6:15 AM</div>
          <div id="cycle-6" class="cycle">7:45 AM</div>
        </div>

        <p>
          <sup>*</sup>It takes the average human fourteen minutes to fall
          asleep.
        </p>
      </section>
    </main>
    <script src="index.js"></script>
  </body>
</html>
Here is a list of updates made to the index.html file:
-
Favicon Added
<link rel="icon" type="image/x-icon" href="favicon.png" />Added a favicon to the webpage by linking to a local
favicon.pngfile in the<head>section. This will display the icon in the browser tab.💡 Favicon (pronounced /ˈfæv.ɪˌkɒn/, short for "favorite icon") is a graphic that the browsers displays in the address bar next to the page's title.
-
Google Fonts Added:
<link
  href="https://fonts.googleapis.com/css?family=Roboto"
  rel="stylesheet"
/>
Added the Roboto font from the Google Fonts API in the
<head>section. This will make the text on the webpage appear in the Roboto font. -
HTML Structure: Organized the HTML content into semantic sections:
-
Wrapped all content in the
<body>tag inside a<main>tag with the idapp. This is the main container for the application. -
Wrapped the introductory text and calculate button in a
<section>tag with the idprompt-section. -
Added an image of a moon inside a
divwith the idimg-containerto visually enhance the webpage.<div id="img-container"> <img src="moon.png" alt="Sleep Cycle" /> </div> -
Wrapped the result content in a
<section>tag with the idresult-sectionand the classhidden. This section is initially hidden and will be shown after the user clicks the Calculate button.<section id="result-section" class="hidden">It also includes two new buttons for returning to the previous screen and refreshing the results.
-
-
New Buttons: Added two new buttons in the
result-section:- A return button (
return-btn) that will take the user back to the initial screen. - A refresh button (
refresh-btn) that will refresh the results (i.e., recalculate the wakeup times).
- A return button (
Step 3: Update the Styles File
Replace the index.css file with the following:
html {
  box-sizing: border-box;
  font-size: 16px;
  height: 100%;
  font-family: "Roboto", sans-serif;
  background-color: #282828;
  color: #e5e5e5;
}

*,
*:before,
*:after {
  box-sizing: inherit;
}

body,
h1,
h2,
h3,
h4,
h5,
h6,
p,
ol,
ul {
  margin: 0;
  padding: 0;
  font-weight: normal;
}

ol,
ul {
  list-style: none;
}

img {
  max-width: 80%;
  height: auto;
  transform: rotate(-25deg);
}

button {
  margin: auto;
  border: none;
  outline: none;
  border-radius: 0.5rem;
  background: #996fe5;
  color: #e5e5e5;
  font-size: larger;
}

button:hover {
  opacity: 90%;
}

button:active {
  transform: scale(0.98);
}

#app {
  display: flex;
  flex-direction: column;
  justify-content: space-between;
  align-items: center;
  text-align: center;
  gap: 2rem;
  max-width: 412px;
  margin: 0 auto;
  min-height: 100vh;
  /* padding: 1rem; */
  background: linear-gradient(#8462bd, #4c0db8);
  background-repeat: no-repeat;
  font-size: large;
}

#prompt-section {
  display: flex;
  flex-direction: column;
  gap: 2rem;
  padding: 2rem;
}

#result-section {
  display: flex;
  flex-direction: column;
  gap: 2rem;
  padding: 2rem;
}

.button-group {
  display: flex;
  justify-content: space-between;
  flex-wrap: wrap;
}

#calc-btn {
  padding: 0.5rem 2rem 0.5rem 2rem;
}

#refresh-btn {
  padding: 0.5rem 2rem 0.5rem 2rem;
}

#return-btn {
  padding: 0.5rem;
}

#img-container {
  display: flex;
  justify-content: flex-start;
  align-items: flex-end;
  overflow: hidden;
}

#wakeup-hours-div {
  display: flex;
  flex-direction: column;
  gap: 0.5rem;
}

.cycle {
  background-color: #e5e5e5;
  color: #282828;
  padding: 0.5rem;
  border-radius: 0.5rem;
  font-size: larger;
}

#cycle-1 {
  background: #ffb9af;
}
#cycle-2 {
  background: #ffdaa3;
}
#cycle-3 {
  background: #e5e5e5;
}
#cycle-4 {
  background: #b5ffff;
}
#cycle-5 {
  background: #87fda1;
}
#cycle-6 {
  background: #b1ff8c;
}

.hidden {
  display: none !important;
}
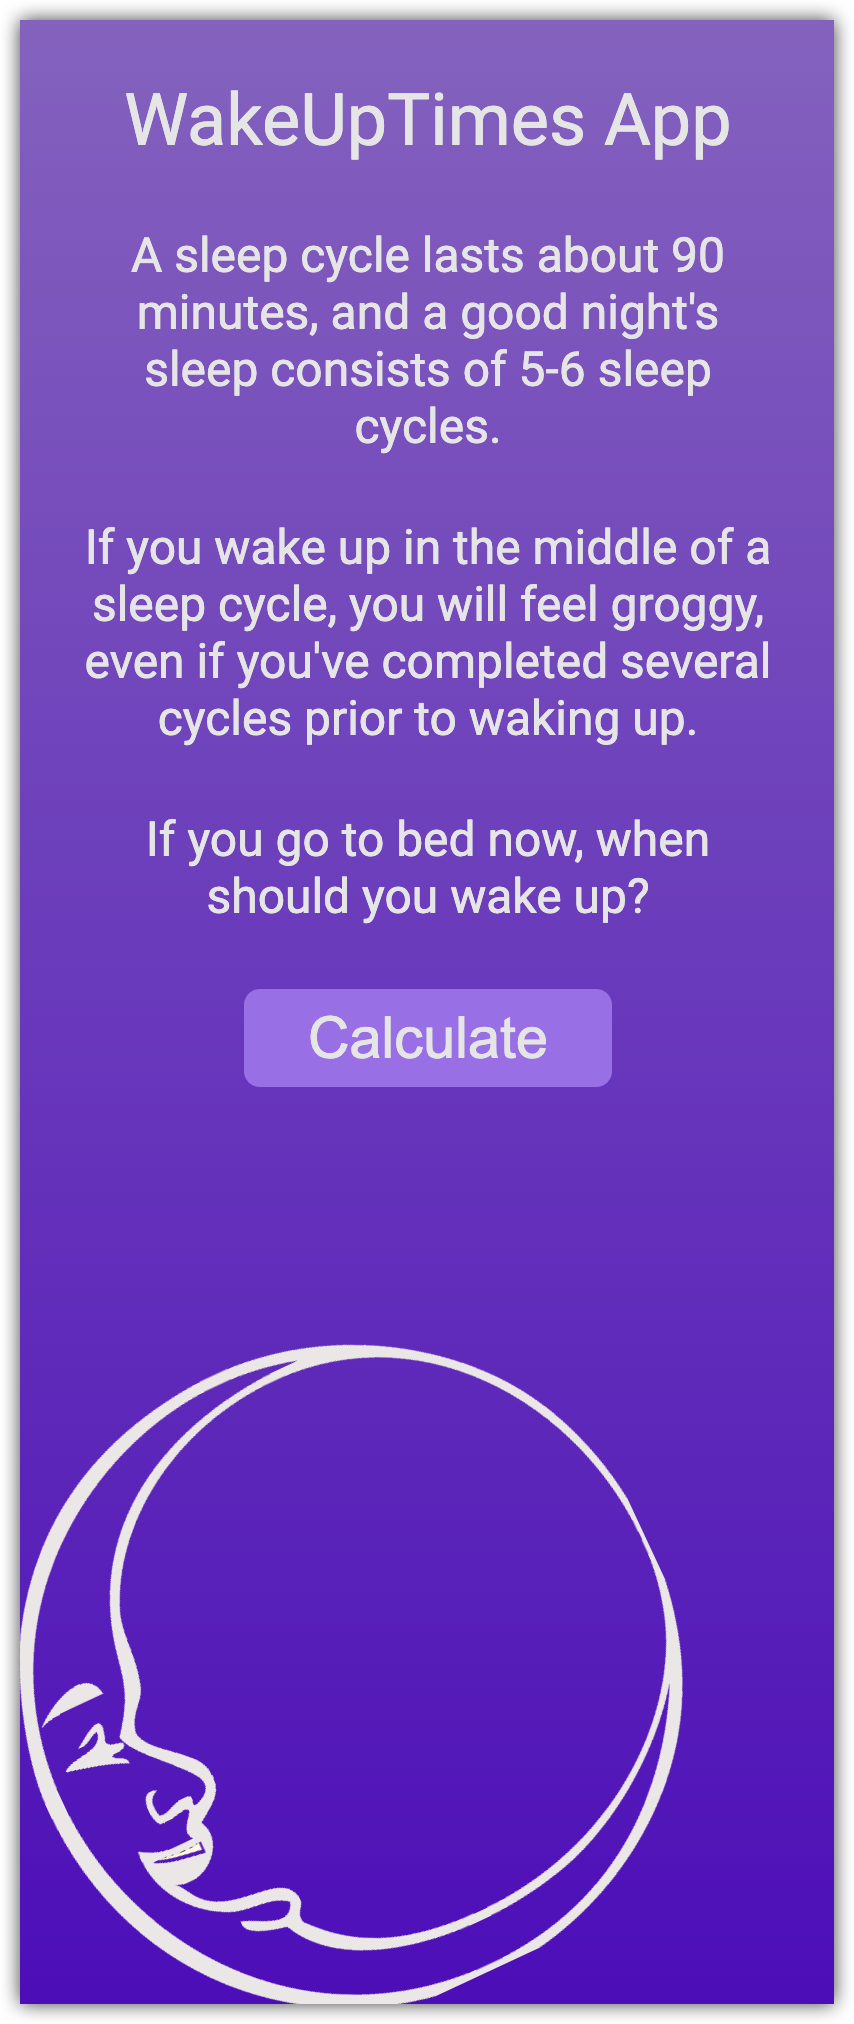
If you open the index.html in the browser, you should see this view:
We have made several updates to various HTML elements. However, there is one in particular that I want to bring to your attention:
.hidden {
	display: none !important;
}
This class is applied to the results section:
<section class="hidden" id="result-section">
	<!--  elements inside the result section -->
</section>
As a result of this styling, this result section is initially hidden. Our plan is to update the JavaScript file so the results will be shown after the user clicks the Calculate button.
Step 4: Update the JavaScript file
Replace the index.js file with the following:
const clcBtn = document.getElementById("calc-btn");
const refreshBtn = document.getElementById("refresh-btn");
const returnBtn = document.getElementById("return-btn");
const wakeUpHoursDiv = document.getElementById("wakeup-hours-div");
const promptSection = document.getElementById("prompt-section");
const imageContainer = document.getElementById("img-container");
const resultSection = document.getElementById("result-section");

clcBtn.addEventListener("click", calcWakeUpTimes);
refreshBtn.addEventListener("click", calcWakeUpTimes);
returnBtn.addEventListener("click", () => {
  promptSection.classList.remove("hidden");
  imageContainer.classList.remove("hidden");
  resultSection.classList.add("hidden");
});

function calcWakeUpTimes() {
  const fallAsleepTime = new Date();
  fallAsleepTime.setMinutes(fallAsleepTime.getMinutes() + 14);

  const wakeUpTime = new Date(fallAsleepTime);
  wakeUpHoursDiv.innerHTML = "";
  for (let i = 1; i <= 6; i++) {
    wakeUpTime.setMinutes(wakeUpTime.getMinutes() + 90);
    const wakeUpTimeString = wakeUpTime.toLocaleTimeString("en-US", {
      timeStyle: "short",
    });
    const cycleDiv = document.createElement("div");
    cycleDiv.classList.add("cycle");
    cycleDiv.setAttribute("id", `cycle-${i}`);
    cycleDiv.textContent = wakeUpTimeString;
    wakeUpHoursDiv.appendChild(cycleDiv);
  }

  promptSection.classList.add("hidden");
  imageContainer.classList.add("hidden");
  resultSection.classList.remove("hidden");
}
Notice that the "onclick" event handler of both calcBtn and refreshBtn is the calcWakeUpTimes function. Moreover, instead of calc.Btn.onclick, we use a more generic approach to bind event handlers. Namely, we have:
clcBtn.addEventListener("click", calcWakeUpTimes);
addEventListener is a method in JavaScript used to attach an event listener to an HTML element. It takes two arguments: the type of event to listen for (e.g. "click", "scroll", "keydown"), and the function to be executed when the event is triggered.
When the specified event occurs on the element, the function is called. This allows you to add interactivity to your web pages and respond to user actions.
For example, in the code snippet provided, clcBtn.addEventListener("click", calcWakeUpTimes); adds a click event listener to the calcBtn element, so that when the button is clicked, the calcWakeUpTimes function is called.
In JavaScript, functions can be passed as arguments to other functions. For example, the calcWakeUpTimes function is passed as an argument to the addEventListener function, which adds a click event listener to the calcBtn element. This is a powerful feature of JavaScript that allows for greater flexibility and modularity in programming.
I would also like to draw your attention to how we switch the visibility of some HTML elements. For example, at the end of calcWakeUpTimes, we have these statements:
These statements use the classList property of DOM elements in JavaScript to add or remove CSS classes from the elements.
The classList property returns the class attribute of an element as a DOMTokenList object. This object represents a collection of classes and provides methods to add, remove, and toggle classes on the element.
In this case, promptSection.classList.add("hidden") adds the CSS class "hidden" to the promptSection element, which hides it from view. Similarly, imageContainer.classList.add("hidden") adds the "hidden" class to the imageContainer element, and resultSection.classList.remove("hidden") removes the "hidden" class from the resultSection element, revealing it to the user.
Recall that we have discussed the "hidden" class in the previous section.
Step 5: Putting it all together!
Open the app in your browser and click on the "calculate" button. This should bring up a new view that lists the calculated wakeup times. To return to the initial view, click on the "return" button.