Task 1: Set up the project
JavaScript is changing more rapidly than its runtime environments can keep up with. For instance, we will be using the import and export keywords (which are part of ES6 modules) in this project. These keywords were not supported in Chrome (or other browsers) until recently.
To work around this issue, the community has developed programs that allow JavaScript to be written using the latest features and transformed into an earlier version that will run seamlessly on the browser. These programs are typically called "transpilers" and are part of a "build tool." In addition to a transpiler, a build tool typically includes a bundler that combines several JavaScript files into a single (minified) .js file or breaks a very large file into several (minified) chunks to improve initial load time (a process known as code splitting), among other utilities.
There are many build tools available, and it is common practice to use one for web development. In this chapter, we will use a build tool called Vite (a French word for "fast," pronounced /vit/).
💡 You must have Node and PNPM installed on your computer. Please refer to Logistics for more details.
Step 1: Create a New Vite Project
We will create a new Vite project using the pnpm create vite command followed by the name of our project, which we will call todo-app.
pnpm create vite todo-app
When prompted, select Vanilla for the project framework and JavaScript for the variant.
✔ Select a framework: › Vanilla
✔ Select a variant: › JavaScript
Now, we will navigate to our newly created project directory and open it in VSCode.
cd todo-app && code .
Notice that Vite has created the following files:
.
├── .gitignore
├── counter.js
├── index.html
├── javascript.svg
├── main.js
├── package.json
├── public
│   └── vite.svg
└── style.css
We will explore these files. However, let's first demystify the scaffolding process:
pnpmis a package manager for Node.create viteloads a command-line tool that scaffolds a Vite application.todo-appis the name of our application.vanillais a term developers use to refer to using plain JavaScript instead of a library like React.- Resources:
Step 2: Explore the Vite project
Let's explore the template project created by Vite:
.
├── .gitignore
├── counter.js
├── index.html
├── javascript.svg
├── main.js
├── package.json
├── public
│   └── vite.svg
└── style.css
- The
.gitignoreis a minimal list of files and folders to be ignored when Git tracks this project. - The
javascript.svgandvite.svgare Scalar Vector Graphics (SVG). These graphics are displayed in the sample web app that comes in the template project. - The
index.htmlis a minimal boilerplate HTML file similar to those we created in an earlier project. - The
main.jsis a minimal JavaScript file linked to theindex.htmlsimilar to those we created in an earlier project. It makes use ofcounter.jswhich implements a simple counter! - The
style.cssis linked to theindex.htmlfile and provides minimal styling similar to those we created in an earlier project. - The
package.jsonholds metadata relevant to the project. It is also used by PNPM for managing the project's dependencies, scripts, version, and more. We will explore this further in a future project.
Let's glance over the content of package.json:
{
  "name": "todo-app",
  "private": true,
  "version": "0.0.0",
  "type": "module",
  "scripts": {
    "dev": "vite",
    "build": "vite build",
    "preview": "vite preview"
  },
  "devDependencies": {
    "vite": "^4.4.5"
  }
}
Notice the section under "scripts." We can use the keywords under the script to run the commands associated with them. First, however, you must install the "dependencies" for this project. In this case, the only dependency is the vite library.
Open the terminal and change the directory to todo-app folder. Then, run the following command.
pnpm install
It will take a moment for the dependencies to be installed. Once done, you will have a folder, node_modules, added to todo-app. This folder contains the dependencies of your application (and their dependencies).
💡 Make sure to always exclude the
node_modulesfolder from your Git repository. The folder name is already included in your.gitignorefile.
Additionally, a file, pnpm-lock.yaml, is added to the todo-app folder. This file contains the dependency tree of your application (its dependencies, and the dependencies of the dependencies, etc.).
💡 The
pnpm-lock.yamlis automatically generated and modified. Therefore, you should never directly edit it.
Make sure to include pnpm-lock.yaml in your Git repository. You need this file to get the exact dependencies your project is built on for any subsequent installs.
Step 3: Run the Vite project
You are now ready to "run" the application. In the terminal, enter the following command:
pnpm dev
The command will spin up a local server to run your web application at http://localhost:5173/. Open your browser and visit the website.
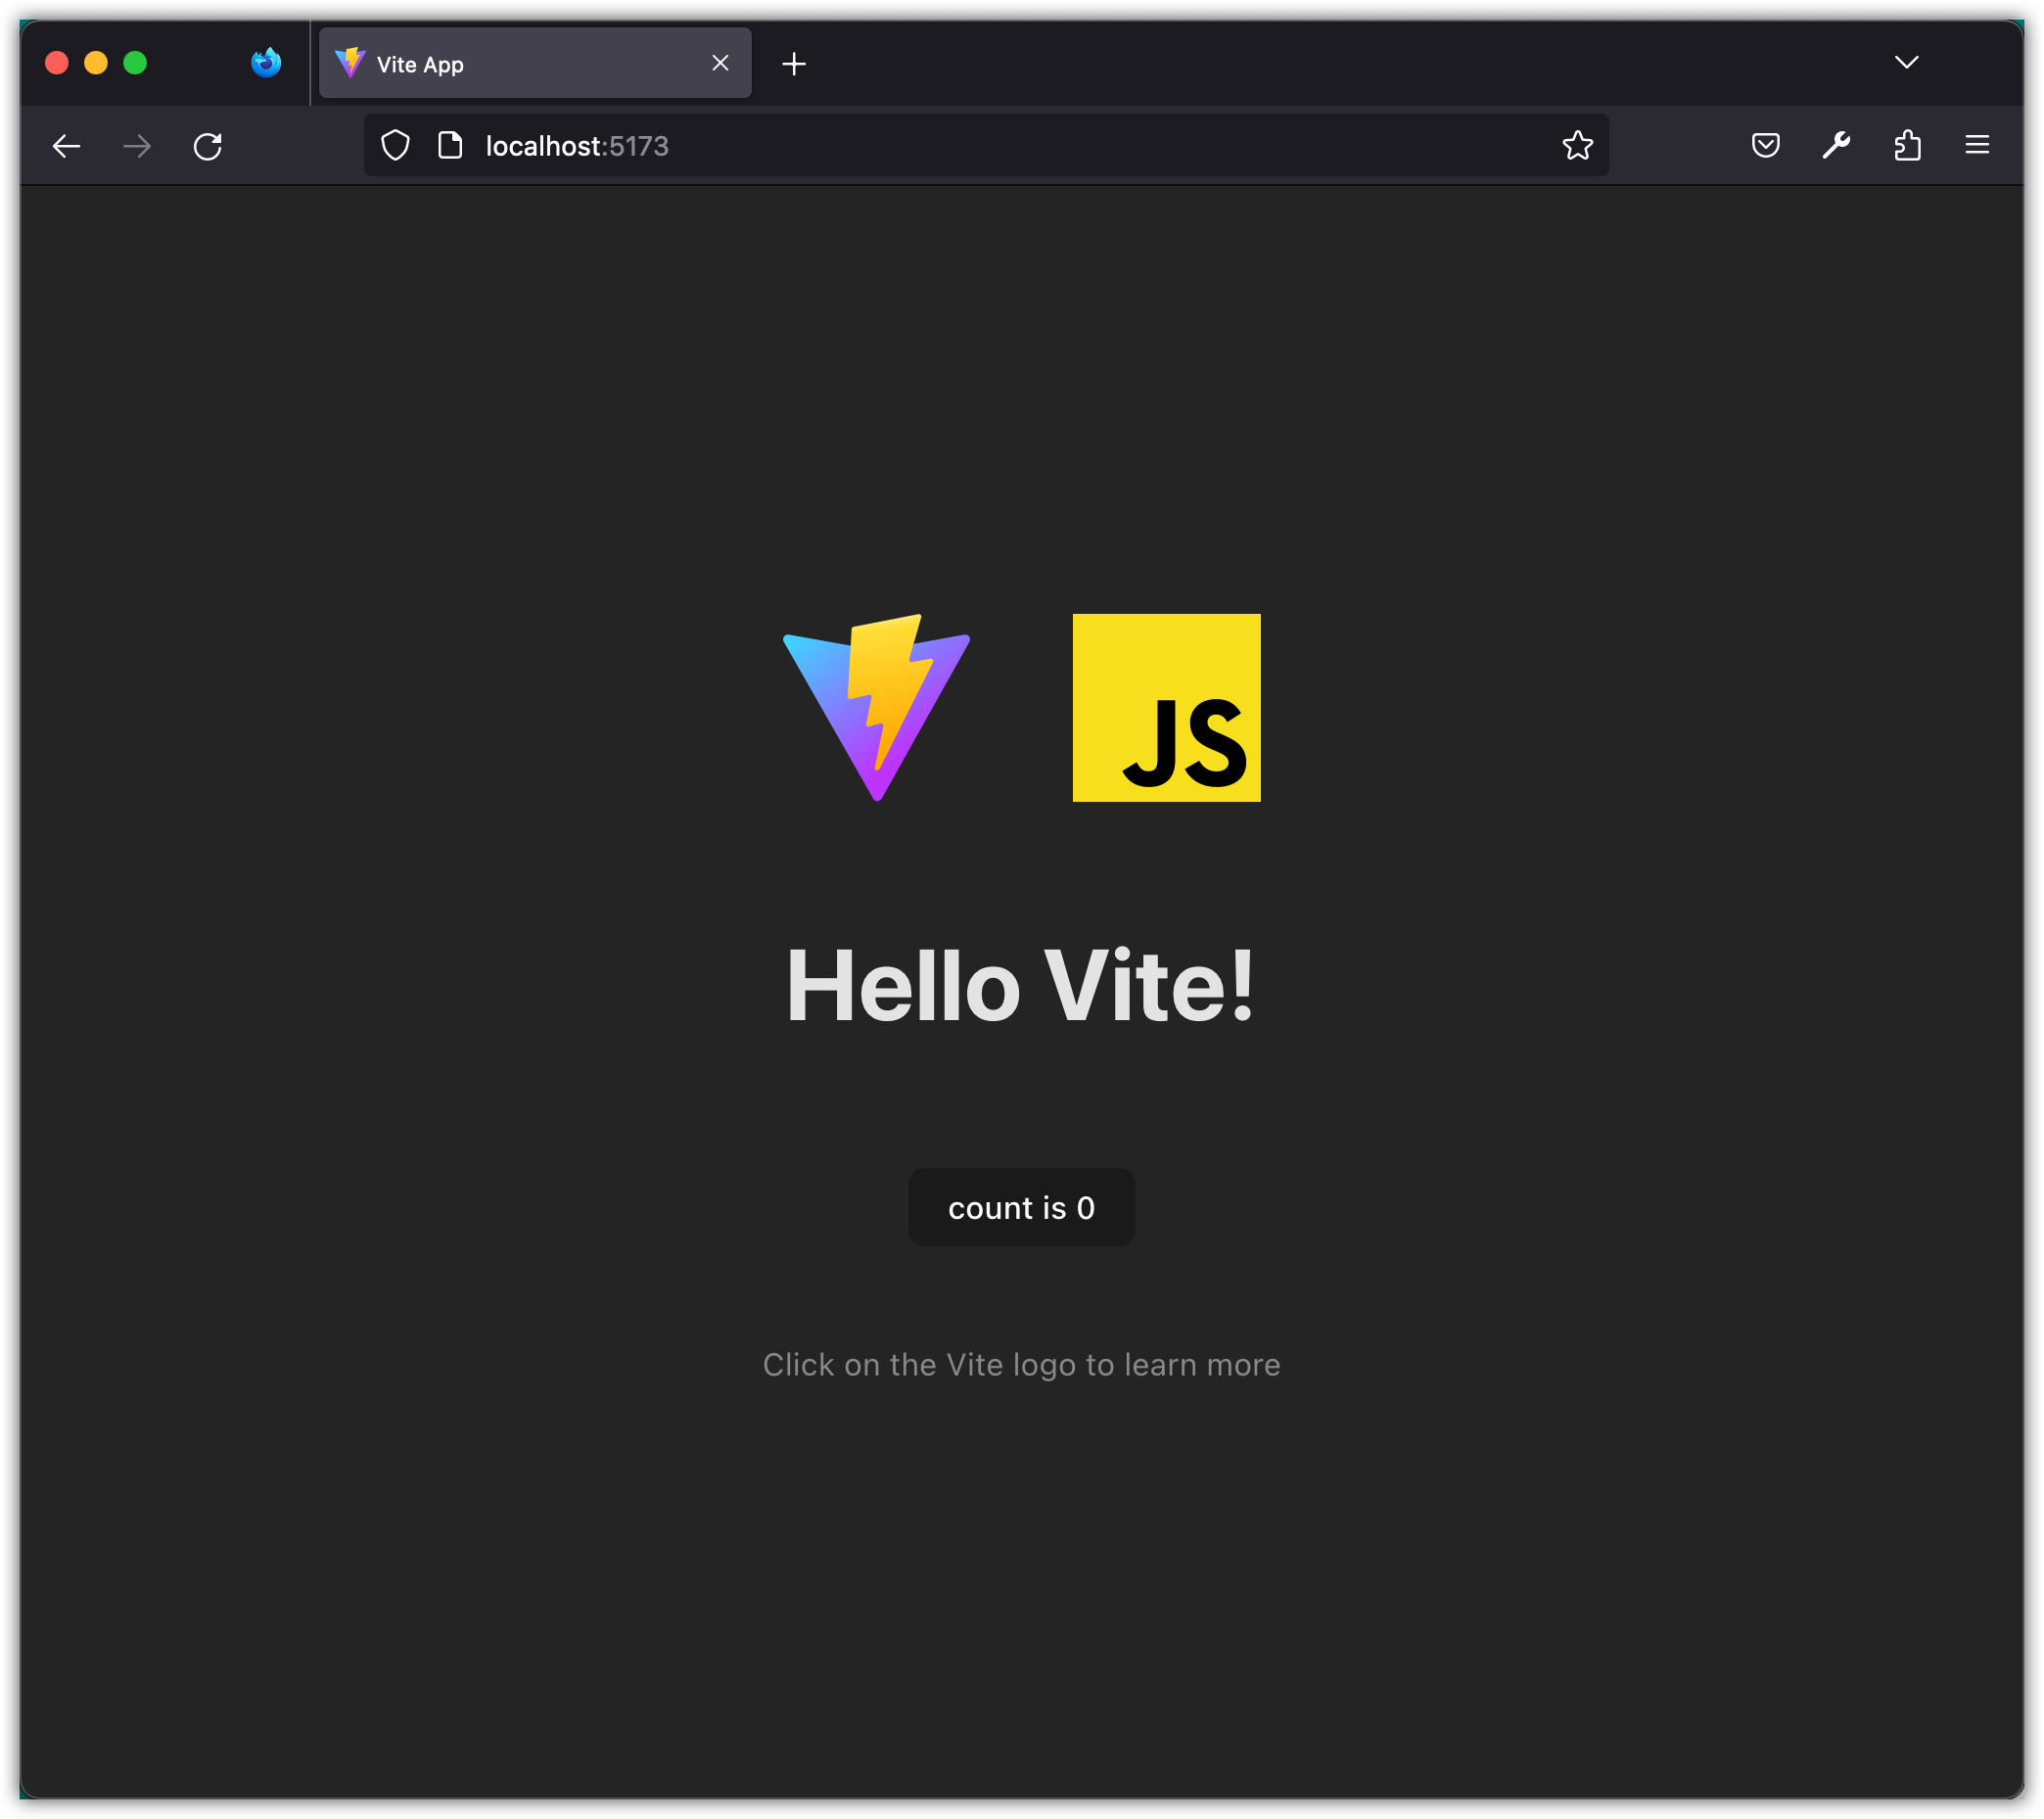
💡 To stop the server, you must halt the process by pressing
Ctrl+Cin the terminal.
Aside-1: To run the web application, Vite uses your computer as a server. By default, this server is not accessible over the web; you can only access it on your local computer. That's where the name localhost comes from. To learn more, check out What is Localhost? Explained for Beginners.
Aside-2: The number 5173 is a port number. In computer networking, a port is a communication endpoint. Port numbers start from 0. The numbers 0 to 1024 are reserved for privileged services (used by the operating system, etc.). For local development, we usually use numbers ≥ 3000. By default, Vite runs the web application under development on port 5173. Note that if the port is already being used, Vite will automatically try the next available port, so this may not be the actual port the server ends up listening on.
Aside-3: Vite comes with several goodies, including Hot Module Replacement, which efficiently reloads the page in the browser as you update the source code.
Step 4: Clean up the boilerplate code
Let's clean up the boilerplate code that was generated by Vite. We'll delete the counter.js file and the two SVG files, vite.svg and javascript.svg. We'll also clear the contents of main.js and style.css.
rm counter.js
rm javascript.svg
rm public/vite.svg
echo "" > main.js
echo "" > style.css
Download the following favicon.png and add it to the public folder.
Step 5: Create a** src **directory
We'll create a src directory and move the main.js file into it.
mkdir src
mv main.js src/
We'll import the CSS file in main.js and include some sample code to display "Hello World!" in the browser.
import "../style.css";

const app = document.getElementById("app");
app.innerHTML = `<div>Hello World!</div>`;
Next, we'll update the index.html file to reflect the changes. We'll link to our favicon and change the title of the page to "ToDo App". We'll also update the script tag to point to the main.js file in the src directory.
<!doctype html>
<html lang="en">
  <head>
    <meta charset="UTF-8" />
    <meta name="viewport" content="width=device-width, initial-scale=1.0" />
    <title>ToDo App</title>
  </head>
  <body>
    <div id="app"></div>
    <script type="module" src="/src/main.js"></script>
  </body>
</html>
Run the app with the following command.
pnpm dev
Then point your browser (Firefox Developer Edition) to http://localhost:5173/ to view the app.
Aside: In this section, we used JavaScript to add style and HTML elements to the index.html file. The index.html file itself only contains a single div element with an id of app. This demonstrates how JavaScript can be used to dynamically modify the content and appearance of a webpage.
Step 6: Install TailwindCSS
Next, we will install TailwindCSS. We will use pnpm to install it as a development dependency.
pnpm install -D tailwindcss@latest postcss@latest autoprefixer@latest
TailwindCSS is a utility-first CSS framework that provides pre-built CSS classes to help developers build user interfaces more efficiently. It is designed to solve the problem of having to write repetitive CSS code for common UI patterns, such as margins, paddings, and typography, by providing a set of reusable utility classes that can be combined to achieve the desired styles.
The advantages of using TailwindCSS over writing plain CSS files are numerous. First, TailwindCSS eliminates the need to write custom CSS for every UI element, which saves a significant amount of time and effort. Second, it promotes consistency in design by providing a standardized set of CSS classes that can be used across projects. Third, it reduces the file size of CSS by only including the necessary styles rather than a large set of CSS rules that may not be used. Fourth, it makes responsive design easier with its built-in responsive utility classes. Finally, TailwindCSS allows for easy customization by enabling developers to add or modify the existing CSS classes to fit their specific needs.
After installing TailwindCSS, we will need to initialize it.
npx tailwindcss init -p
This command creates a tailwind.config.js file in our project root.
Aside: npx is a command-line utility that lets users run Node.js packages without installing them globally on their system. When a command is run with npx, it searches for the package locally in the project's node_modules directory. If it is not found, it automatically downloads and installs the package before running it. This can be helpful for running one-time or infrequently used commands without needing to install the package globally on the system.
Next, we will configure TailwindCSS to remove unused styles in production and to include the forms plugin. We will do this by modifying the tailwind.config.js file.
/** @type {import('tailwindcss').Config} */
export default {
  content: [
    "./index.html",
    "./src/**/*.js",
  ],
  theme: {
    extend: {},
  },
  plugins: [],
}
Next, we will add the configuration for PostCSS, which is a dependency of Tailwind. To do this, create a postcss.config.js file with the following content:
export default {
  plugins: {
    tailwindcss: {},
    autoprefixer: {},
  },
}
Now, we will include TailwindCSS in our CSS. We will do this by adding the following lines to our style.css file.
@import 'tailwindcss/base';
@import 'tailwindcss/components';
@import 'tailwindcss/utilities';
To check that our setup works, update the main.js as follows:
import "../style.css";

const app = document.getElementById("app");
app.innerHTML = `<div class="flex items-center justify-center h-screen">
  <div>Hello World!</div>
</div>`;
Run the app and observe the changes!
Step 7: Install Prettier
Next, we will install Prettier as a development dependency.
pnpm install --save-dev --save-exact prettier
Prettier is a code formatter that automatically formats your code according to a set of rules. It can be used with a variety of programming languages, including JavaScript, CSS, HTML, and more. Prettier solves the problem of inconsistent code formatting, which can make code difficult to read and maintain. By applying a consistent formatting style to your code, Prettier can improve code readability and make code easier to understand for developers. Prettier can be integrated with most code editors and build tools, allowing for automatic formatting during development and deployment.
Then, we will create a .prettierrc.json file in the root of our project to configure Prettier.
{
  "semi": true,
  "trailingComma": "all",
  "singleQuote": false,
  "printWidth": 80,
  "tabWidth": 2,
  "endOfLine": "auto"
}
These Prettier configurations determine how Prettier formats the code.
semi: determines whether to use semicolons at the end of statements.trailingComma: determines whether to include a trailing comma after the last element in an array or object.singleQuote: determines whether to use single quotes or double quotes for strings.printWidth: determines the maximum line length before Prettier wraps the code to a new line.tabWidth: determines the number of spaces to use for indentation.endOfLine: determines the type of line ending to use for the file.
These configurations ensure that the code is formatted consistently and in a readable manner.
Next, create a .prettierignore file to let Prettier and editors know which files not to format.
dist
When we use Vite to build the site, it creates the build artifacts in the dist folder. We have added the dist folder in the .prettierignore file to avoid formatting it.
Finally, add this command to the scripts section of the package.json file:
"prettier": "prettier --write \"src/**/*.js\" --config \".prettierrc.json\""
Now you can run Prettier from the terminal:
pnpm prettier
Step 8: Build the App Locally
When it's time to deploy your application for production, you must first "build" the appropriate production bundle to be served over a hosting service.
Stop the development server and run the following command:
pnpm build
The build command will generate an optimized build of your web application, ready to be deployed. The generated artifacts will be placed in the dist folder.
Open the dist folder and explore its contents. To preview the application in production, you can use the following command to serve it locally from the dist folder:
pnpm preview
The production-ready app will be served at http://localhost:4173/.

When it's time to deploy the application for production, the contents of the dist folder need to be deployed to a web server or hosting service. This can be done manually by copying the contents of the dist folder to the server or by using a deployment tool like rsync or scp. Some hosting services, like GitHub Pages or Netlify, can also be configured to automatically deploy the contents of the dist folder when changes are pushed to the Git repository.
Step 9: Deploy the App
If you haven't already done so, initialize a local Git repository and commit your code.
git init -b main
git add .
git commit -m "Initial commit: Set up project with Vite, TailwindCSS, and Prettier"
We will deploy this app to GitHub pages. Create a GitHub repository and push your local code to it. Next, on your local repository, create the vite.config.js file with the following content:
import { defineConfig } from "vite";

export default defineConfig({
  base: "/REPO_NAME/",
});
💡 replace
REPO_NAMEwith the name of your repository!
Next, create a .github folder. Add a subfolder workflows to .github. Finally, add a deploy.yml file to this subfolder with the following content:
name: Deploy Vite app to GitHub Pages

on:
  push:
    branches:
      - main

permissions:
  contents: read
  pages: write
  id-token: write

concurrency:
  group: "pages"
  cancel-in-progress: true

jobs:
  build:
    runs-on: ubuntu-latest
    steps:
      - name: Checkout
        uses: actions/checkout@v3

      - name: Detect package manager
        id: detect-package-manager
        run: |
          if [ -f "${{ github.workspace }}/pnpm-lock.yaml" ]; then
            echo "::set-output name=manager::pnpm"
            echo "::set-output name=command::install"
            echo "::set-output name=runner::pnpx --no-install"
            exit 0
          elif [ -f "${{ github.workspace }}/yarn.lock" ]; then
            echo "::set-output name=manager::yarn"
            echo "::set-output name=command::install"
            echo "::set-output name=runner::yarn"
            exit 0
          elif [ -f "${{ github.workspace }}/package-lock.json" ]; then
            echo "::set-output name=manager::npm"
            echo "::set-output name=command::ci"
            echo "::set-output name=runner::npx --no-install"
            exit 0
          else
            echo "Unable to determine package manager"
            exit 1
          fi

      - name: Install pnpm
        if: steps.detect-package-manager.outputs.manager == 'pnpm'
        run: npm install -g pnpm

      - name: Install yarn
        if: steps.detect-package-manager.outputs.manager == 'yarn'
        run: npm install -g yarn

      - name: Setup Node
        uses: actions/setup-node@v3
        with:
          node-version: "16"
          cache: ${{ steps.detect-package-manager.outputs.manager }}

      - name: Setup Pages
        uses: actions/configure-pages@v2

      - name: Install dependencies
        run: ${{ steps.detect-package-manager.outputs.manager }} ${{ steps.detect-package-manager.outputs.command }}

      - name: Build with Vite
        run: ${{ steps.detect-package-manager.outputs.manager }} run build

      - name: Upload artifact
        uses: actions/upload-pages-artifact@v1
        with:
          path: ./dist

  deploy:
    environment:
      name: github-pages
      url: ${{ steps.deployment.outputs.page_url }}
    runs-on: ubuntu-latest
    needs: build
    steps:
      - name: Deploy to GitHub Pages
        id: deployment
        uses: actions/deploy-pages@v1
Before pushing these changes to GitHub, update the settings of your GitHub repository to use "GitHub Action" for deploying the app to GitHub Pages.
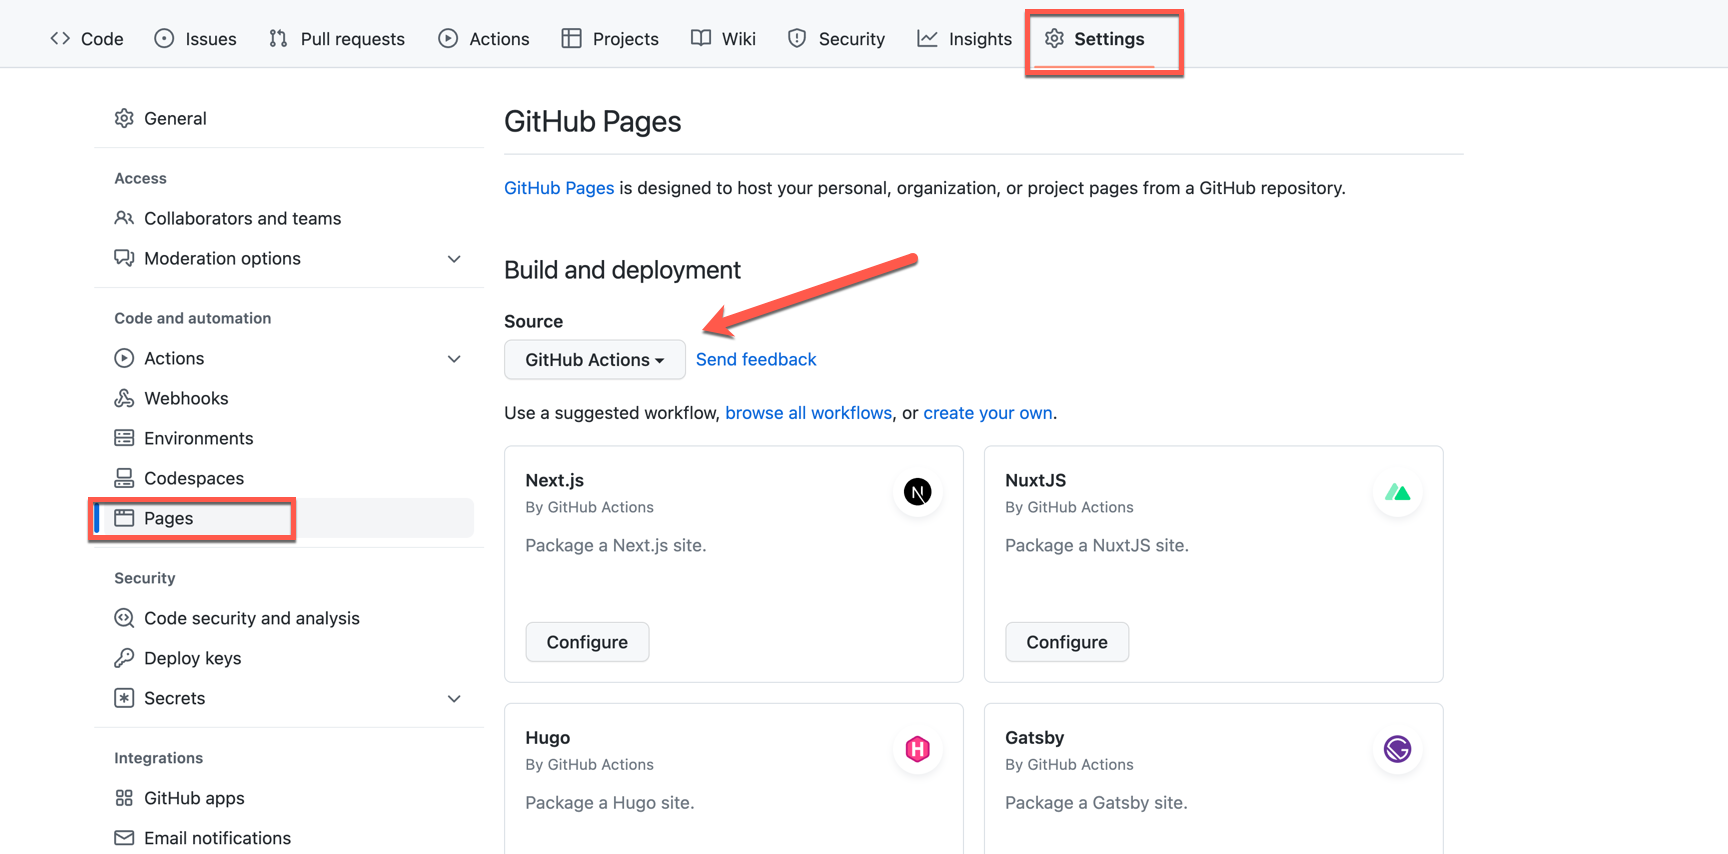
Push your code to the GitHub repository. This will trigger a build process that will result in deploying your app. From this point on, every time you make changes to your code on the main branch and push those changes to GitHub, the new app will be automatically deployed.
Note: The deploy.yml configuration file above uses GitHub Actions to deploy a site to GitHub Pages. For more information, refer to GitHub Pages now uses Actions by default.