Task 4: Styling the HTML Page with CSS
In the previous task, we learned how to add interactivity to our HTML page using JavaScript. In this task, we will learn how to style our HTML page using CSS, or Cascading Style Sheets. CSS is a language used to describe the presentation of a document written in HTML or XML. With CSS, we can control the layout, colors, fonts, and other visual aspects of our web page. By separating the content and structure of a web page from its presentation, CSS allows us to create more responsive and visually appealing web pages.
Step 1: Style Attributes
Inline styles can be added to an HTML element using the style attribute. Here's an example:
<body style="text-align: center;">
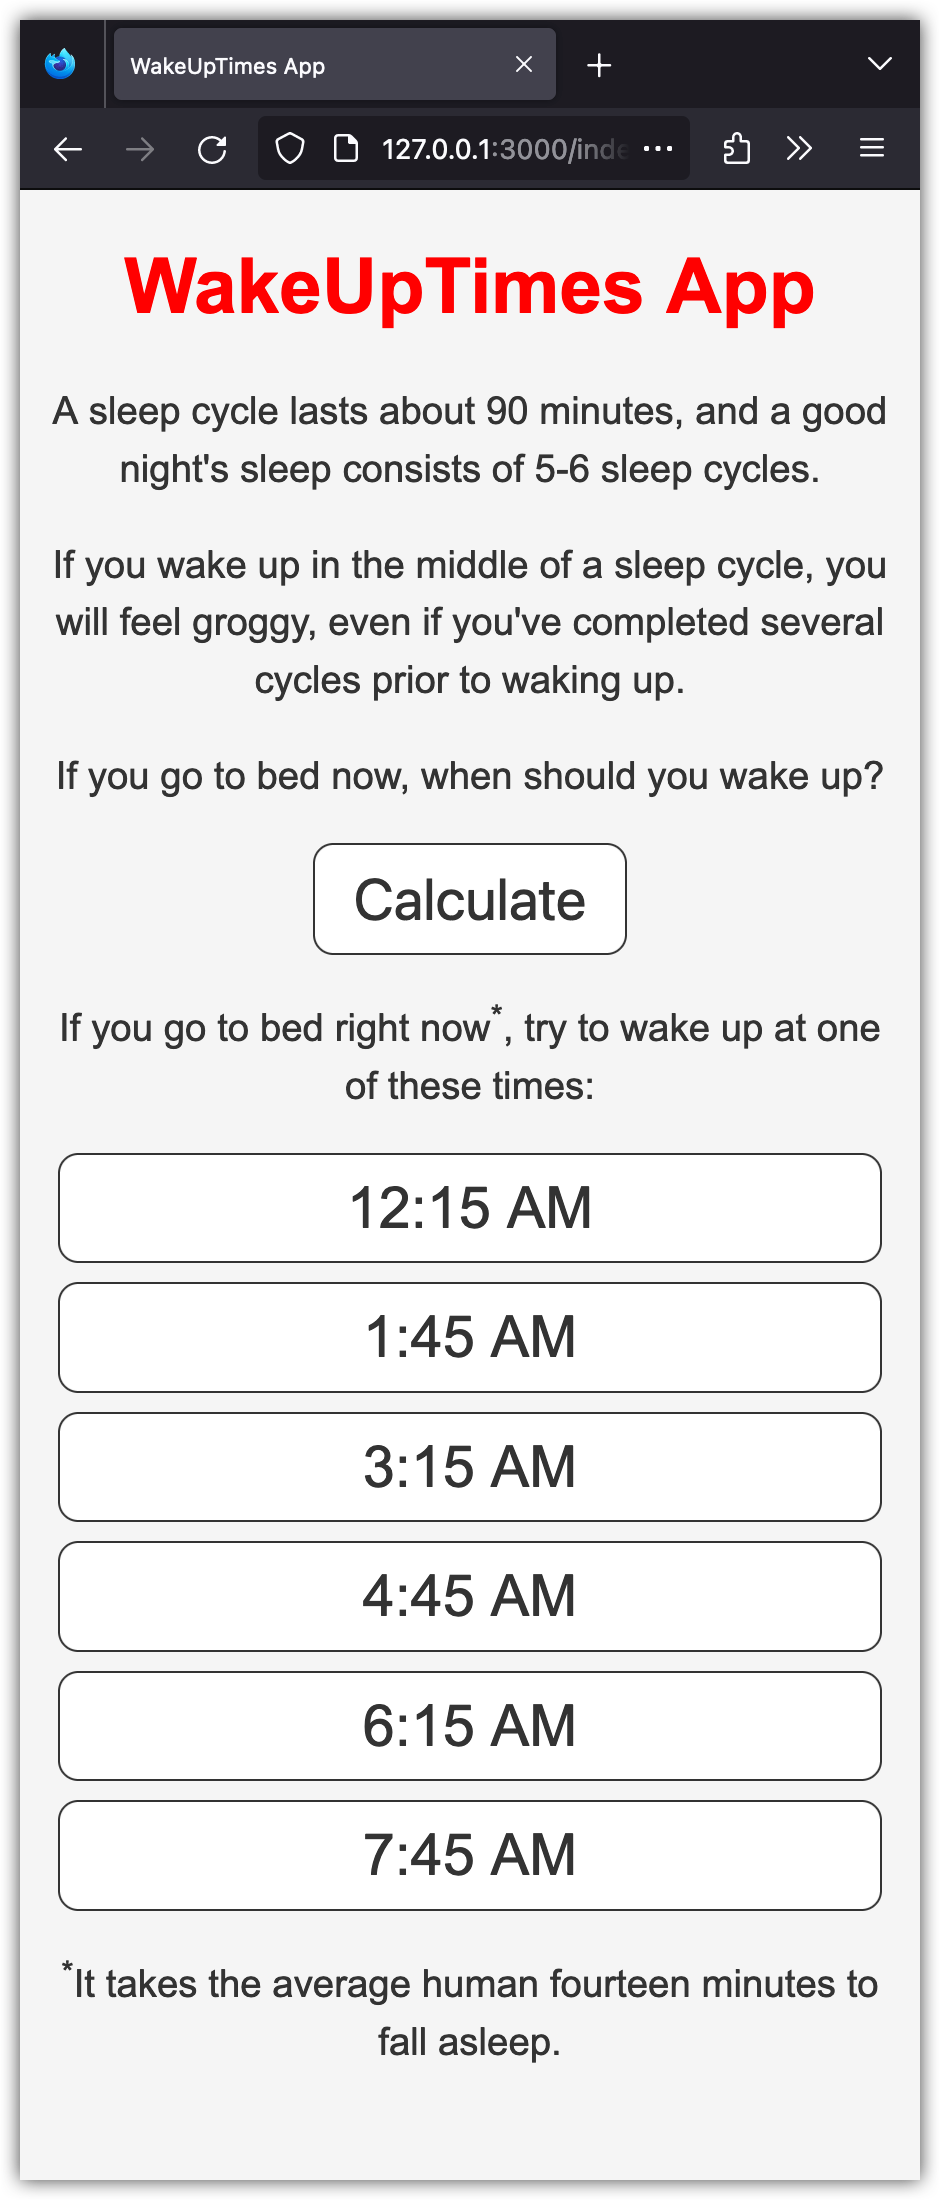
<h1 style="color: red;">WakeUpTimes App</h1>
<!-- the rest of your code -->
</body>
This code centers the text of the entire body and makes the text color of the heading red.

Notice the syntax used to declare the styles. This is the syntax of Cascading Style Sheets (CSS), a stylesheet language that instructs the browser on how we want our HTML to appear. (CSS is not a programming language!)
💡 Cascading Style Sheets (CSS) is a style sheet language used to describe the presentation of a document written in HTML. It plays a crucial role in web development by allowing developers to add visual styling to their web pages.
CSS works by creating rules that apply a set of styles to specified HTML elements. These styles can include things like font size, color, background color, borders, and layout properties. CSS allows for a separation between the content and presentation of a web page, which makes it easier to maintain and update.
Inline styles can be used for quick and simple styling changes, but they can become difficult to manage as the page grows in complexity. It is better to use a separate CSS stylesheet for larger projects.
Step 2: Style Tags
Remove the style attributes added to the <body> and <h1> tags previously. Then, define the styles inside <style></style> tags, inside the <head> section of HTML:
<!DOCTYPE html>
<html>
  <head>
    <title>WakeUpTimes App</title>
    <style>
      body {
        font-size: 16px;
        font-family: Arial, sans-serif;
        background-color: #f5f5f5;
        text-align: center;
        color: #333;
      }

      h1 {
        color: red;
      }

      p {
        line-height: 1.5;
      }
    </style>
  </head>
  <!-- The rest of your code -->
This stylesheet defines styles for the body, h1, and p elements. The background-color style sets the background color of the body to a light gray, while the color style sets the text color to a dark gray. The text-align style centers the text, and the line-height style sets the line height of the p element to 1.5 times the font size.
💡 To select different HTML elements in CSS, you use a selector followed by curly braces containing one or more property-value pairs.
The selector can be an element name, class name, ID, or a combination of these. In the previous example, we used the element names body, h1, and p. For instance, the style declared for the p element will apply to all p elements in our HTML page.
Add the following to the style tags:
#calc-btn {
  font-size: 1.5rem;
  padding: 0.5rem 1rem;
  border-radius: 0.5rem;
  border: 1px solid #333;
  background-color: #fff;
  color: #333;
  cursor: pointer;
}

#calc-btn:hover {
  background-color: #333;
  color: #fff;
}

.cycle {
  font-size: 1.5rem;
  padding: 0.5rem 1rem;
  border-radius: 0.5rem;
  border: 1px solid #333;
  background-color: #fff;
  color: #333;
  margin: 0.5rem;
}
The CSS code above defines the styles for two selectors: #calc-btn and .cycle. #calc-btn styles the "Calculate" button, setting its font size, padding, border, background color, and color. It also sets the cursor to "pointer" to indicate that it is clickable. #calc-btn:hover styles the button on hover, changing its background color and text color. .cycle styles the wake-up times, setting their font size, padding, border, background color, color, and margin.
CSS selectors are used to select different parts of an HTML page to style in particular ways. In the above example, #calc-btn is used to select the element with id="calc-btn" and the .cycle selects all the elements with class="cycle". Pay attention to the leading # and . in these cases.
Step 3: Separate Style Files
CSS stylesheets can also be defined in a separate file with a .css extension and linked to an HTML document using a <link> tag in the <head> section.
Create an index.css file with the following content:
body {
  font-size: 16px;
  font-family: Arial, sans-serif;
  background-color: #f5f5f5;
  text-align: center;
  color: #333;
}

h1 {
  color: red;
}

p {
  line-height: 1.5;
}

#calc-btn {
  font-size: 1.5rem;
  padding: 0.5rem 1rem;
  border-radius: 0.5rem;
  border: 1px solid #333;
  background-color: #fff;
  color: #333;
  cursor: pointer;
}

#calc-btn:hover {
  background-color: #333;
  color: #fff;
}

.cycle {
  font-size: 1.5rem;
  padding: 0.5rem 1rem;
  border-radius: 0.5rem;
  border: 1px solid #333;
  background-color: #fff;
  color: #333;
  margin: 0.5rem;
}
This CSS file contains the same styles as the previous example, but they are defined in a separate file.
Now remove the style element from the index.html file and instead add the following link element:
<!DOCTYPE html>
<html>
  <head>
    <title>WakeUpTimes App</title>
    <link rel="stylesheet" type="text/css" href="index.css">
  </head>
  <!-- The rest of your code -->
The <link> tag is used to link an external resource, such as a CSS stylesheet, to an HTML document. In this case, the rel attribute specifies the relationship between the HTML and the linked resource. rel="stylesheet" indicates that the linked resource is a stylesheet. The type attribute specifies the MIME type of the linked resource, which is text/css in this case. The href attribute specifies the location of the linked resource. In this example, the linked resource is a file named index.css in the same directory as the HTML document.
Using a separate CSS stylesheet is generally a better practice than using inline styles or styles defined within a <style> tag. It allows for easy maintenance and updates to the styling of the page and improves the separation of content and presentation.
There are best practices and coding conventions when it comes to authoring HTML documents. A good starting point is given on W3School's HTML Style Guide. You can search online for more resources. (You will find many).
We've already followed many of the points made in W3School's HTML Style Guide. We will polish our work by incorporating a few that we've left out.
- Add a
langattribute to the<html>tag:
<html lang="en-us">
- Use the
<meta>tag to declare the character encoding used in your HTML document. (Place it right after the<head>opening tag.)
<meta charset="UTF-8">
💡 To ensure proper interpretation and correct search engine indexing, both the language and the character encoding should be defined as early as possible in an HTML document.
- We can use the
<meta>tag for setting the viewport.
<meta name="viewport" content="width=device-width, initial-scale=1.0">
💡 The viewport gives the browser instructions on how to control the page's dimensions and to scale. It is needed for responsive web design, which aims to make your web page look good on all devices.